Parts and equipment for motorcycles, quads, scooters and bicycles


Informations General > Tips and Guides > Tutorials > Quads > Motor parts > Replace the variator rollers on a quad
 TUTORIAL REPLACING SCABSTS OF A QUAD VARIATOR
Ce tutorial aims at you help replace variator rollers of your quad.
Find all our tips for choose your variator rollers well.
Difficulty :

Temps necessary:
20 minutes
HOW TO REPLACE SCABSTS OF VARIATOR - QUAD ?
The variator rollers are parts that wear out over time.
When they are damaged, they lose material and weight, leading to power losses.
Changing the variator rollers is an essential thing to do regularly (every 10/000 km). On the other hand, if you change the exhaust, you have to lighten the variator. If you notice jerks and hear clicking noises from the variator, it is time to think about replacing the rollers.
They are placed in the moving cheek of the variator. These rollers are metal weights in the shape of a cylinder.
Their role is to tilt the movable cheek towards the fixed cheek of the variator so that the variator can, with the force centrifugal, change speed automatically.
Variator rollers impact the efficiency and performance of your quad. Unsuitable rollers will not be able to make the variator work perfectly and your quad will have difficulty shifting gears automatically when accelerating. You must therefore choose your variator rollers according to their weight and their diameter to find the best possible compromise.
Check out our guide: how to choose the right variator rollers for quad.
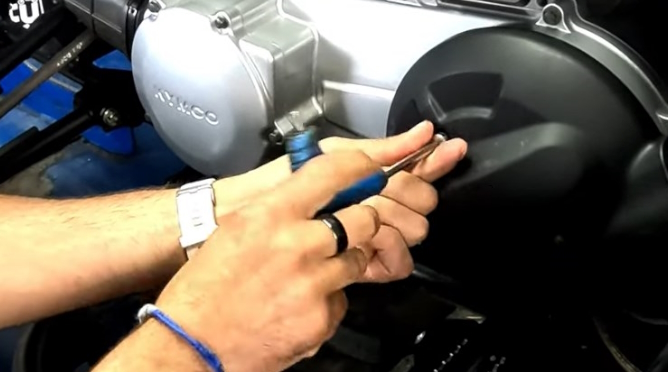
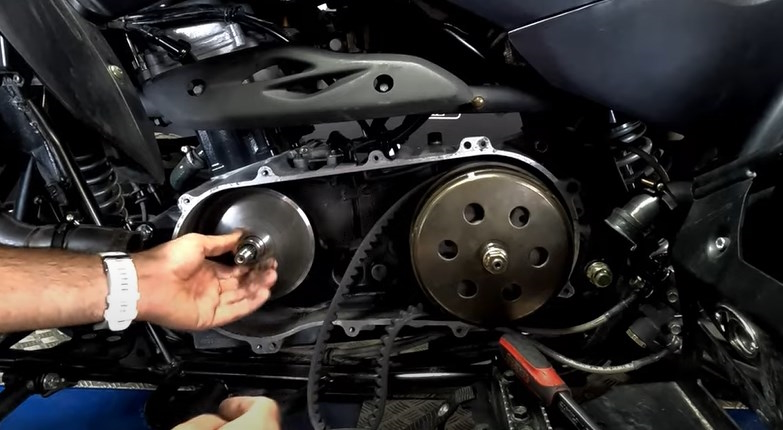
1) Remove the crankcase guard
2) Remove the air inlet and outlet hoses
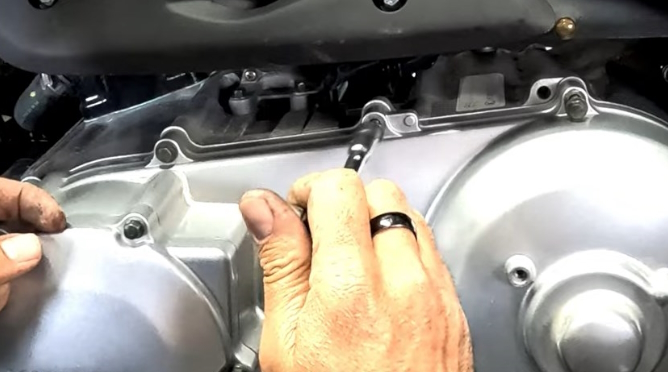
3) Loosen all the screws of the transmission housing
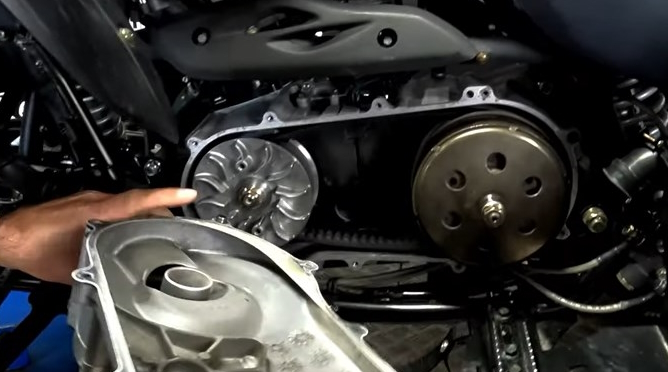
4) Remove the transmission cover
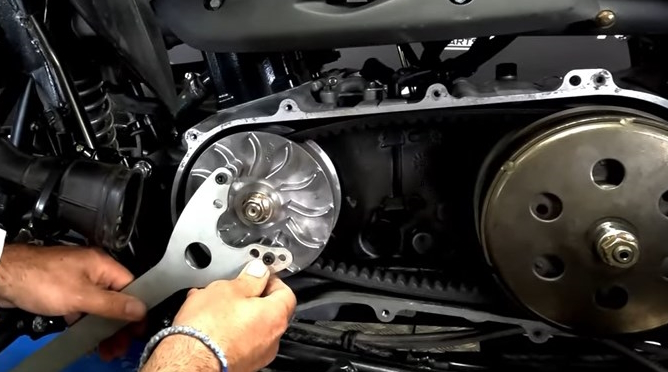
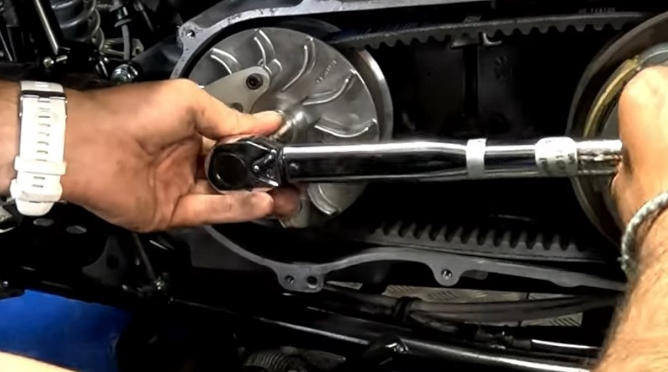
5) Using the dimmer key, block the dimmer
6) Loosen the variator nut
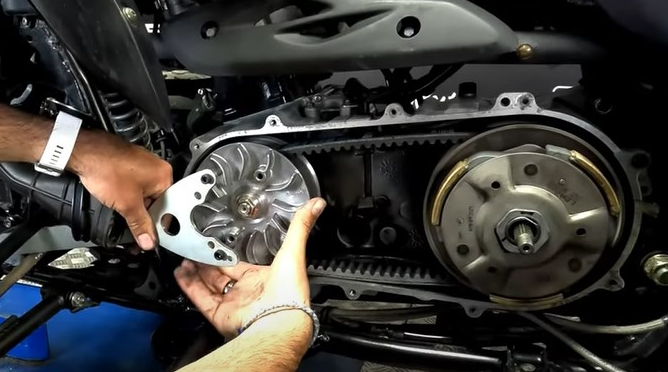
7) Remove the fixed cheek
8) Shift the belt
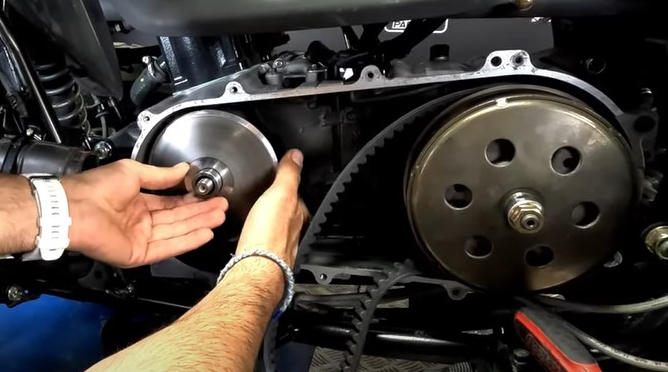
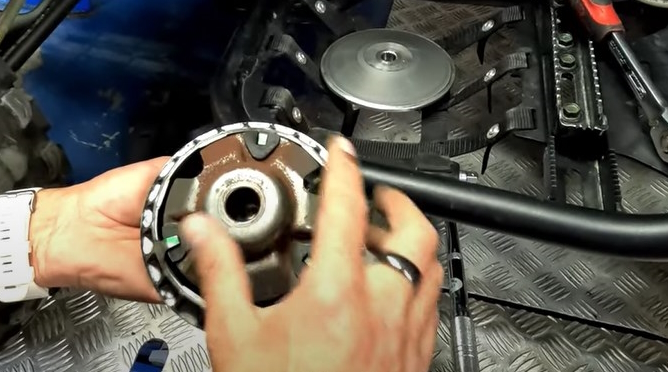
9) Remove the movable cheek

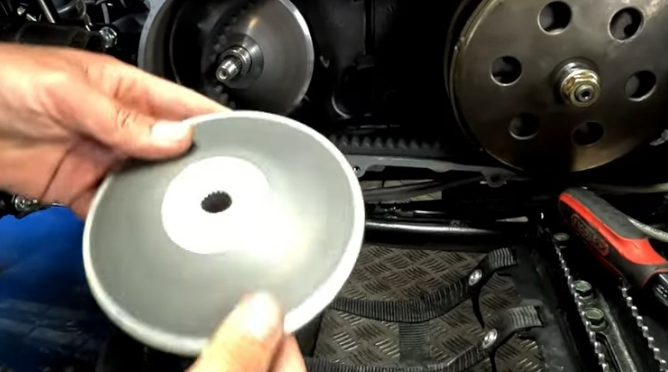
11) Use the barrel to extract the flange
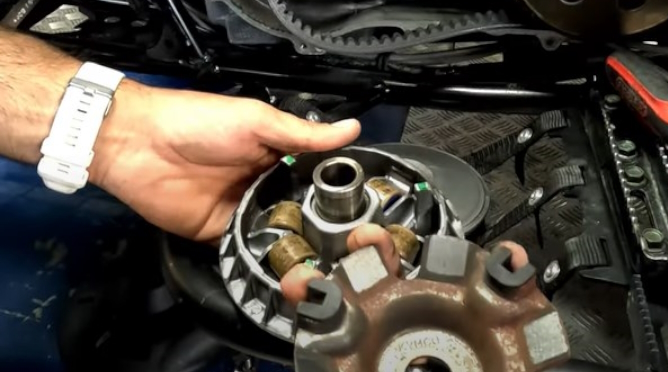
11) Push the barrel to extract the flange
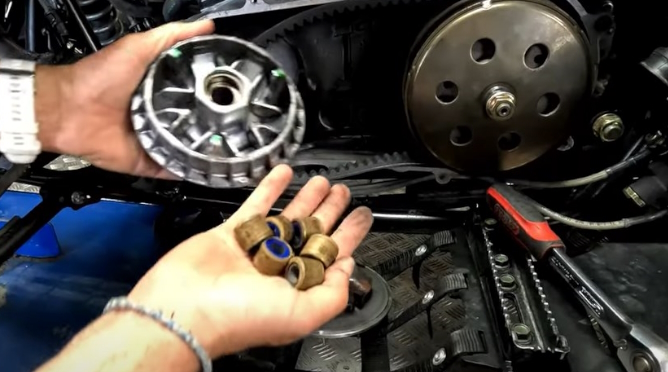
11) Take out the used rollers
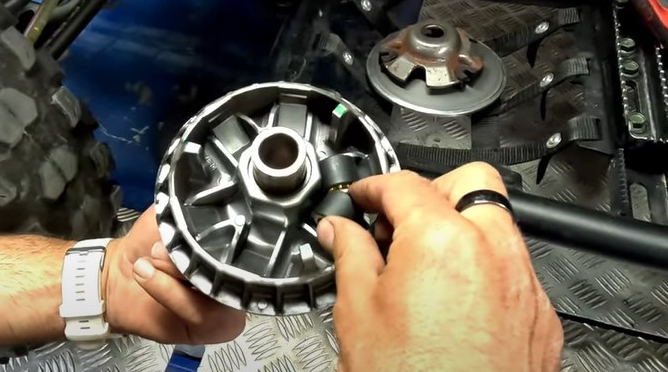
11) Insert the new rollers. Some rollers have a direction of assembly
11) Reinstall the flange on the movable cheek
11) Reinstall the movable cheek
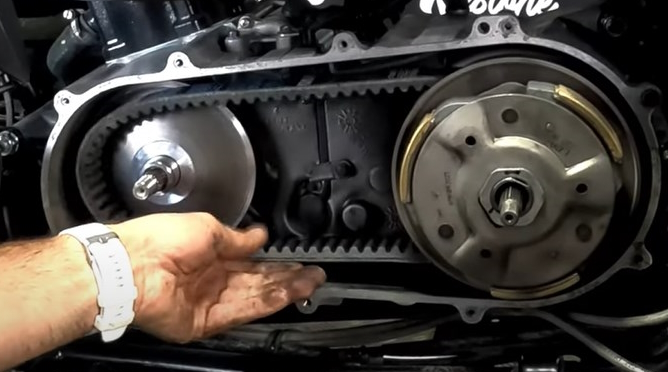
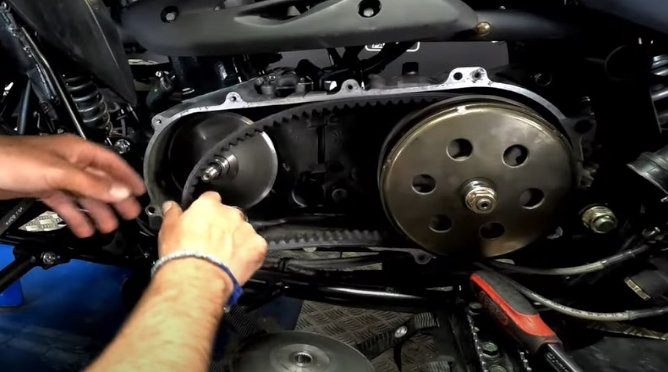
11) Reposition the belt

11) Reinstall the fixed cheek
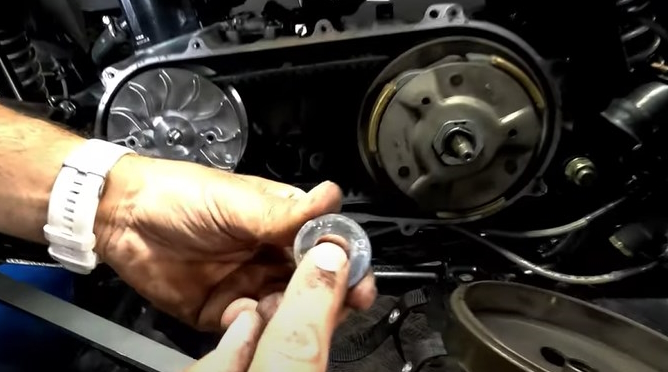
11) Replace the ring, be careful to leave the "OUTSIDE" part visible
11) Reinstall the variator nut
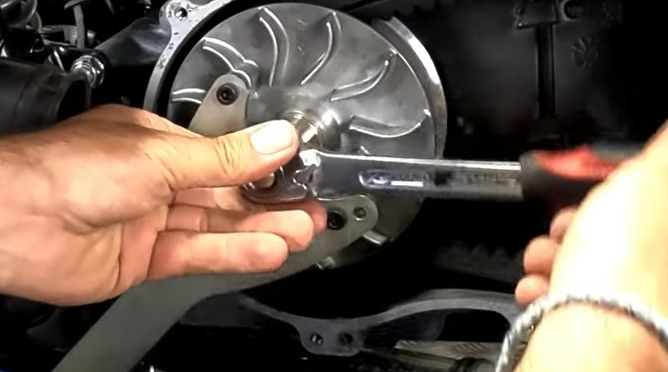
11) Using the key, block the variator
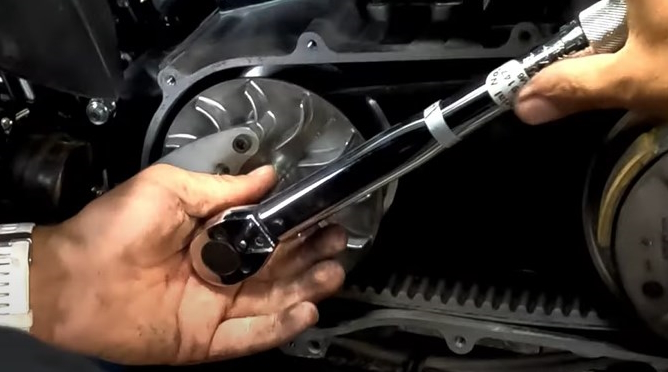
11) Tighten the nut with the torque wrench to 50 Nm
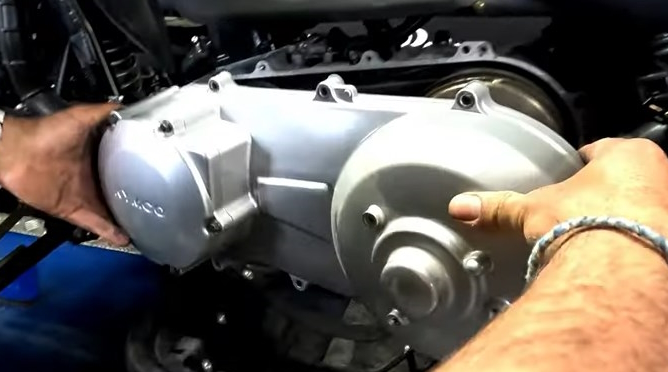
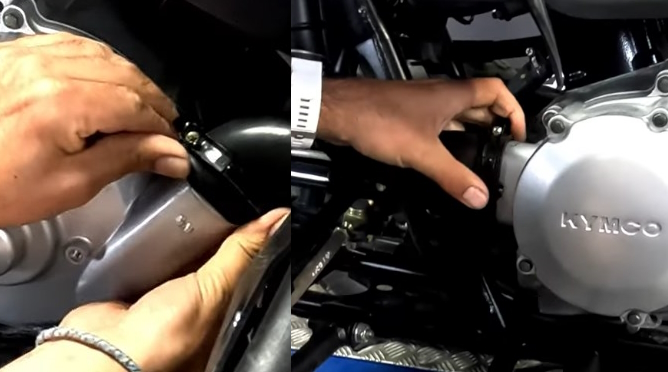
11) Replace the transmission case. Remember to check the condition of the crankcase gasket, replace it if necessary
11) Replace transmission cover screws
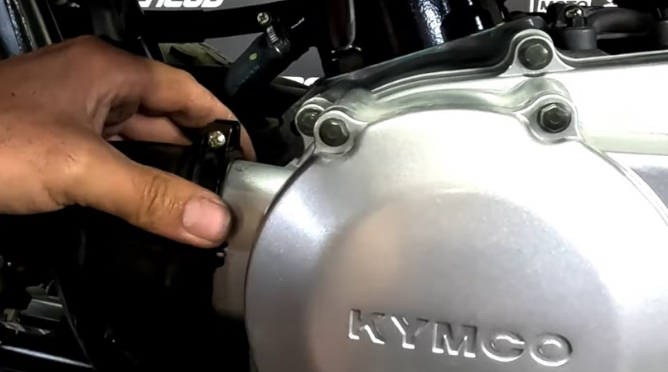
11) Replace the air intake hose and tighten the hose clamp
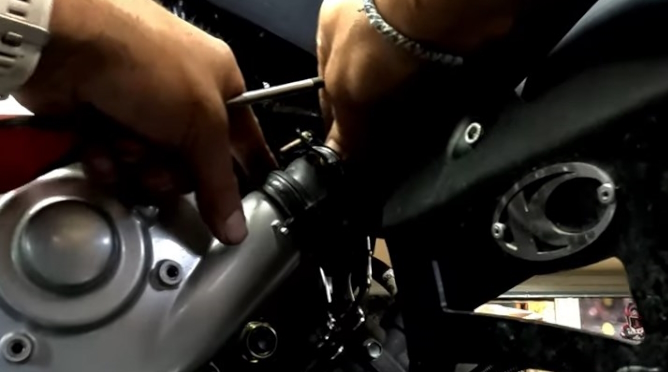
11) Do the same with the air outlet hose
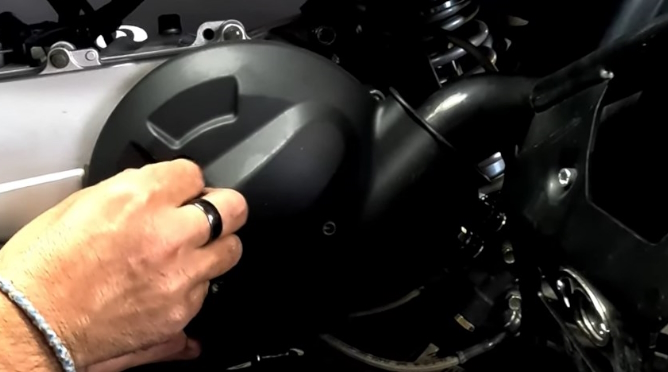
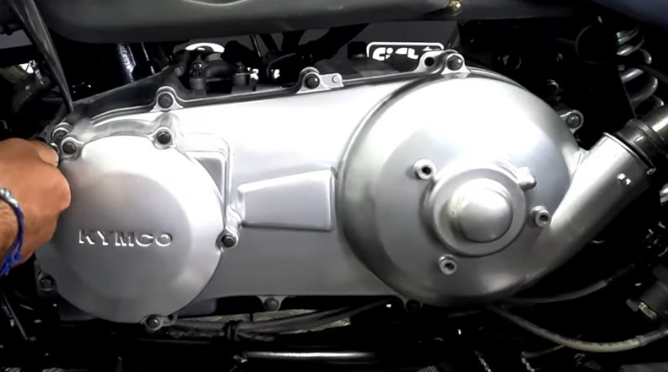
11) Finish by installing the crankcase protection
VIDEO: REPLACING THE SCABSTS OF A QUAD VARIATOR


HERE 100% OF THE PARTS INDICATED IN STOCK REALLY ARE!


 Cart
Cart
This product has been added to your cart
 Cart
Cart
You have already added this product to the cart or there is not enough in stock.