


General information > Tips and Guides > Tutorials > 50 with box > Electrics > Test your charging circuit
 Tutorial: How to test the charging system
Ce tutorial aims at you help test the charging circuit from your 50 to box thanks to pics and explanations associated. In this example we used a digital multimeter.
Difficulty :
![]()
Temps necessary:
10 minutes
Necessary material:
HOW TO TEST YOUR CHARGING CIRCUIT ON A 50CC MOTORCYCLE
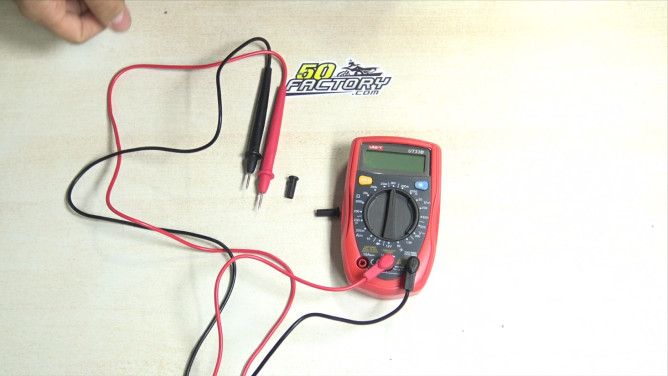
1) Connect the sockets to the multimeter. Just put the black wire (ground) on the COM terminal of your multimeter and the red wire (more) on the Volts terminal.
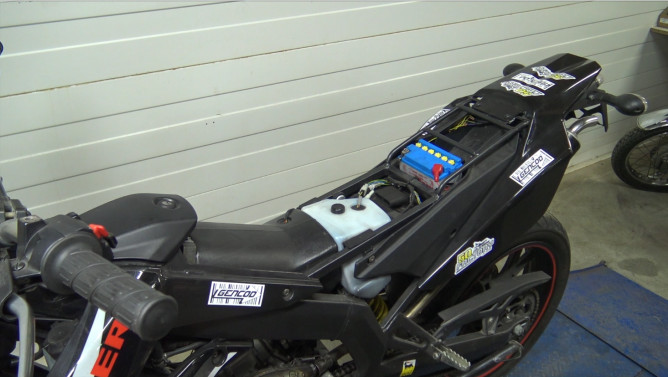
2) Disassemble the saddle (or the reservoir depending on the location of the battery).
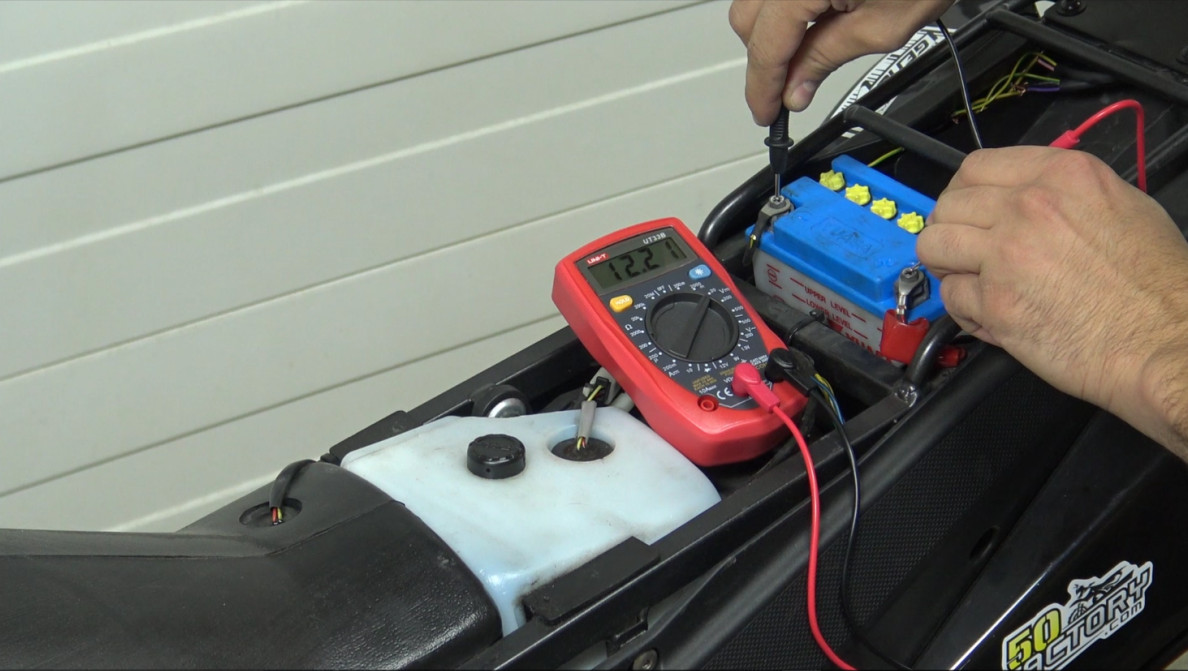
3) Put the multimeter on 20 volts in direct current, take the voltage of your battery (about 12.5 Volts).

4) Start the motorcycle. The voltage across the battery should rise to around 13 Volts at idle.
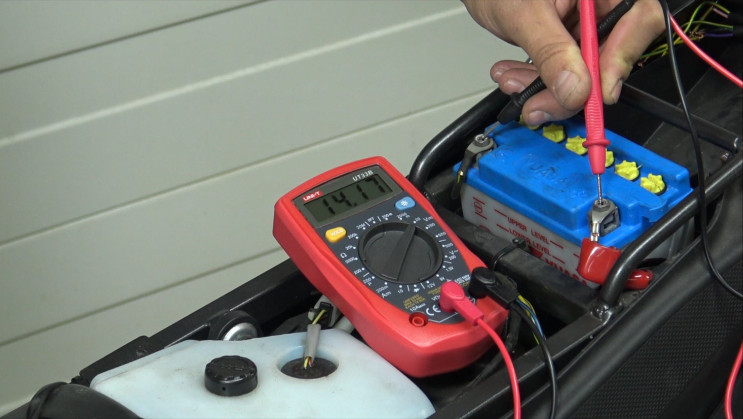
5) The voltage across the battery should not exceed 14.5 Volts when accelerating. If the voltage increases to more than 15 volts, the headlight bulbs may burn out, the regulator is HS!
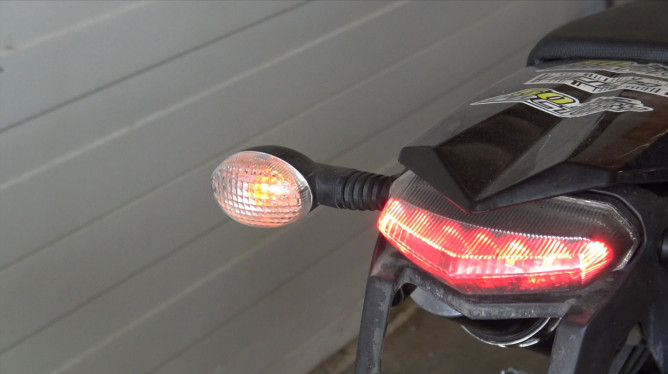
6) Some regulators make central flashing, check that your indicators are working. If the turn signals do not work and the bulb is good and the turn signal well connected, the flashing unit is surely HS!
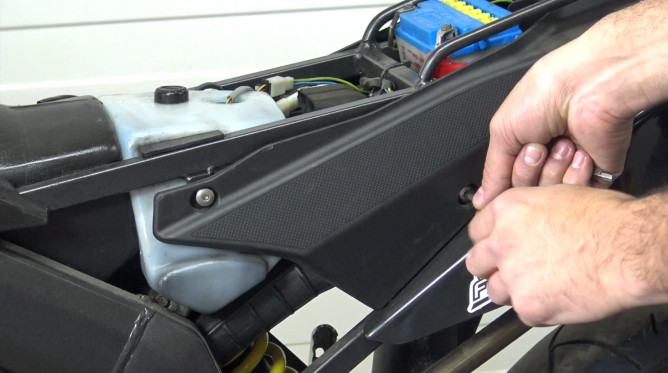
7) Remove the left side cover of your two wheels.
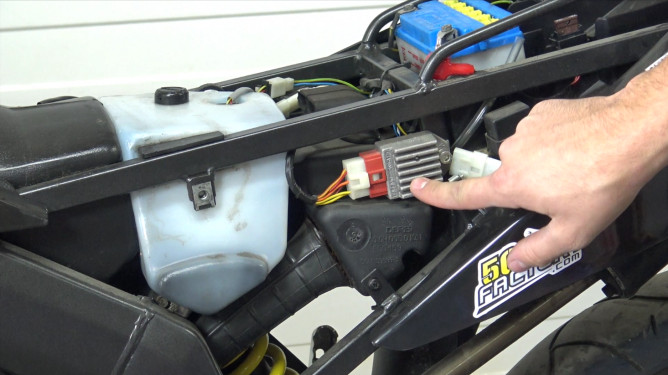
8) On some models, the regulator is located under the tank (or on the right side of the motorcycle).
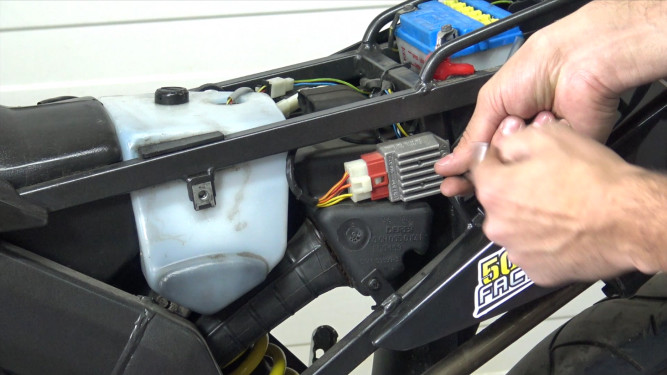
9) Dismantle the regulator / flashing unit.
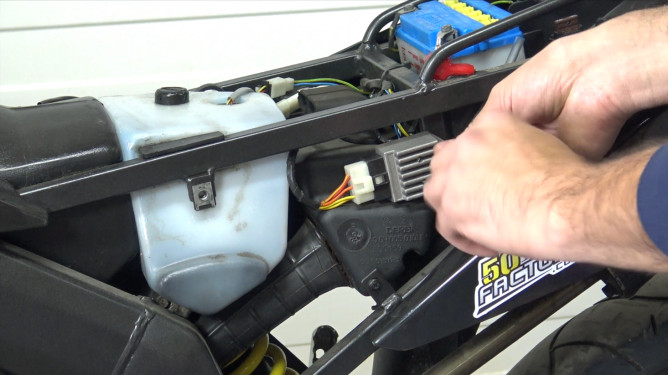
11) Replace the regulator. Test the turn signals and charge your battery.

11) If everything works you can go back up.
The principle for testing the charging circuit of two wheels is the same for all models. Equip yourself a multimeter quality to obtain better results. You will thus be able to know if your charging circuit is functional or if there are electrical parts to change on your 50cc gearbox or your scooter. Find all electrical parts for your vehicle at 50Factory.
VIDEO: TESTING YOUR MOTORCYCLE'S CHARGING CIRCUIT
![]() Cart
Cart

This product has been added to your cart
![]() Cart
Cart
You have already added this product to the cart or there is not enough in stock.