General information > Tips and Guides > Tutorials > Quad ATV > Cycle parts > Change brake pads
 TUTORIAL CHANGING THE QUAD FRONT BRAKE PADS
Ce tutorial aims at you help replace front brake pads on your quad. The example presented here concerns the replacement of brake pads on a Yamaha YFZ 450 R. The process remains the same on other makes and models.
Find brake pads adapted to your machine.
Difficulty :

Temps necessary:
15 minutes
Necessary material :
HOW TO CHANGE YOUR FRONT BRAKE PADS
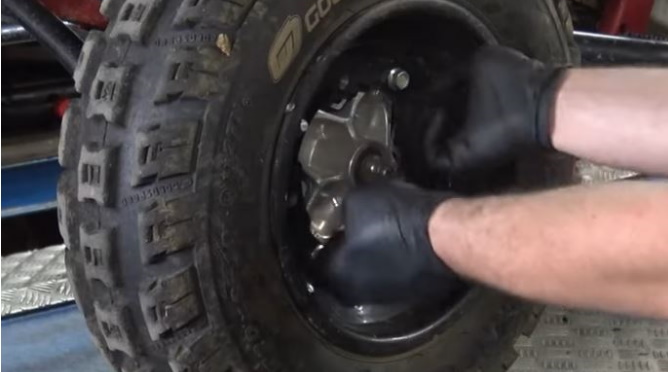
1) Place your quad on a stable support. Unscrew the wheel nuts.
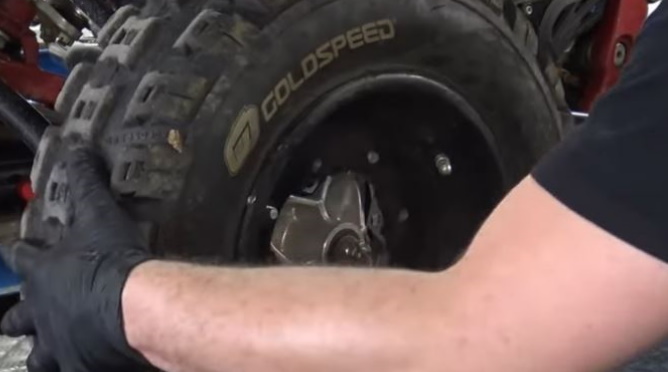
2) Remove it.
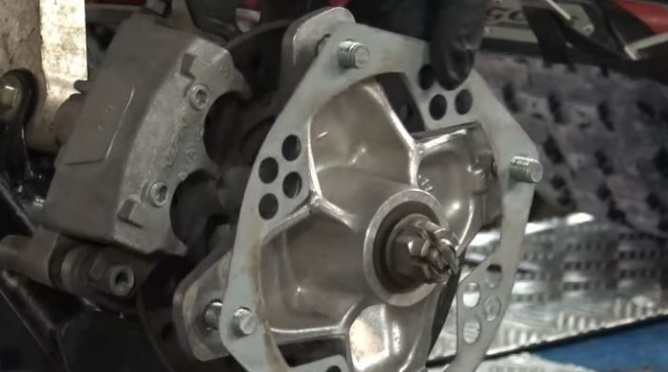
3) Remove the protective shield.
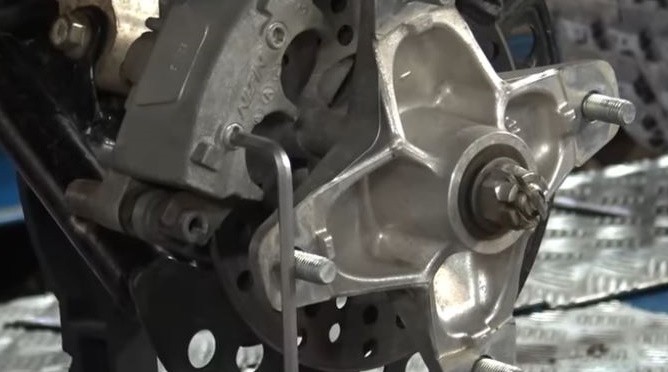
4) Loosen the pad axles using the BTR wrench.
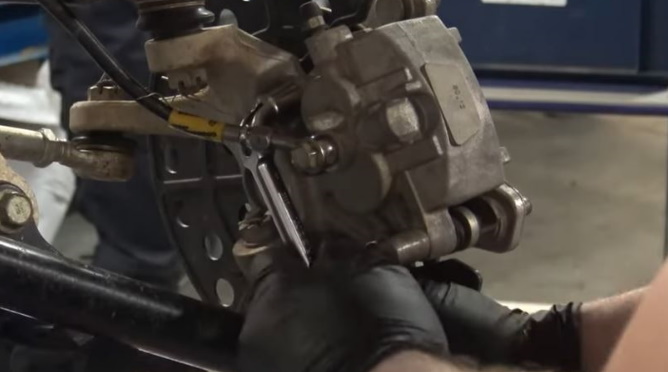
5) Loosen the brake caliper with the pipe wrench to free it from the disc
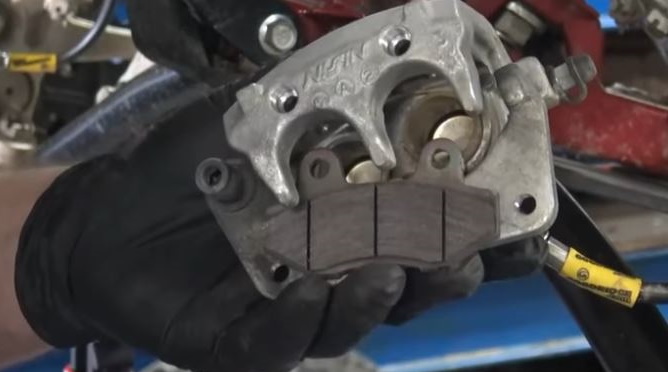
6) Unscrew the pad axles.
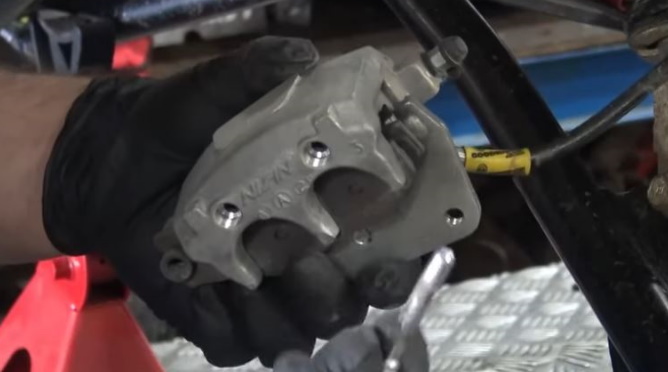
7) Remove the used pads.
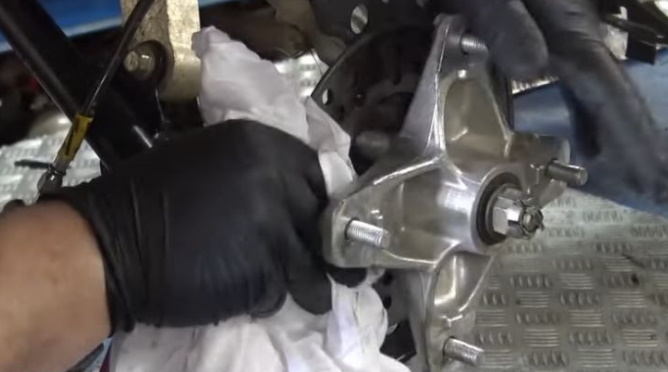
8) Using the brake cleaner, carefully degrease the discs. Use a clean cloth to remove residue.
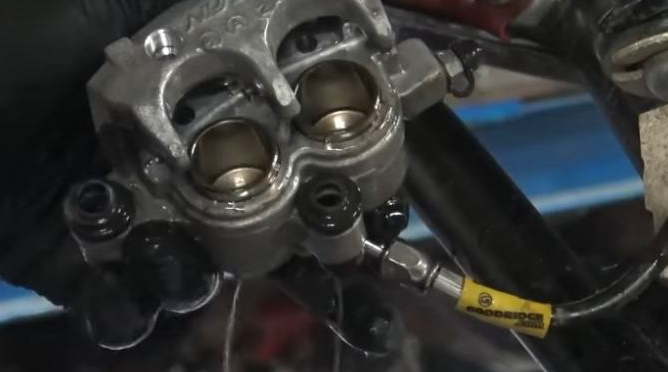
9) Degrease the pistons with brake cleaner.
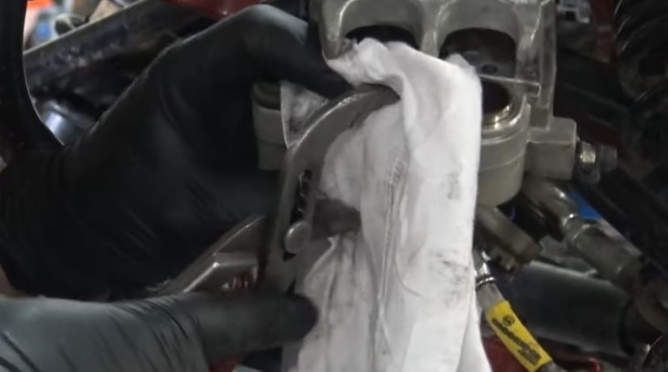
11) Using the channel pliers, push the caliper pistons back.
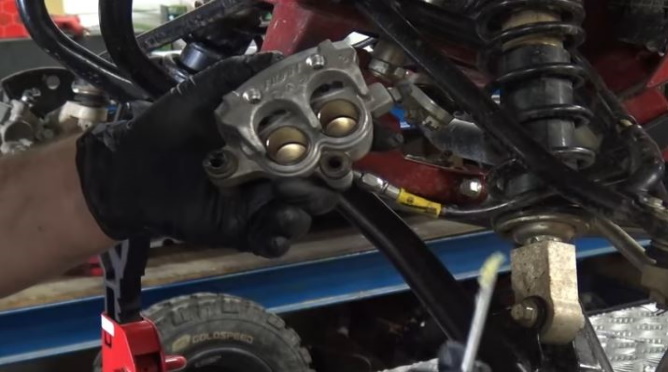
11) Grease the brake caliper bracket pins.
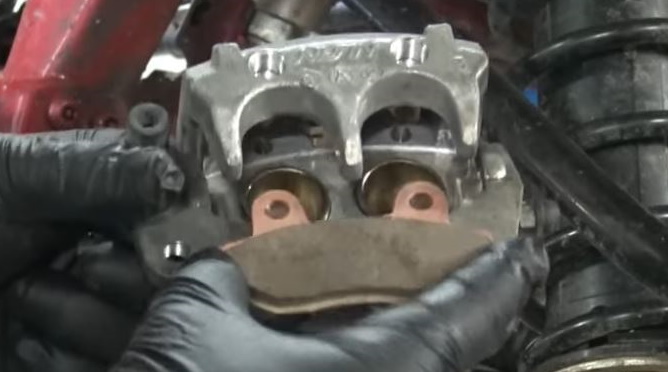
11) Place the new brake pads, axles.
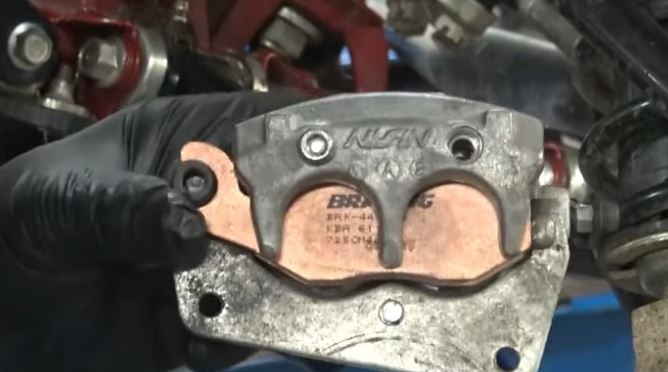
11) Slightly tighten the axles.
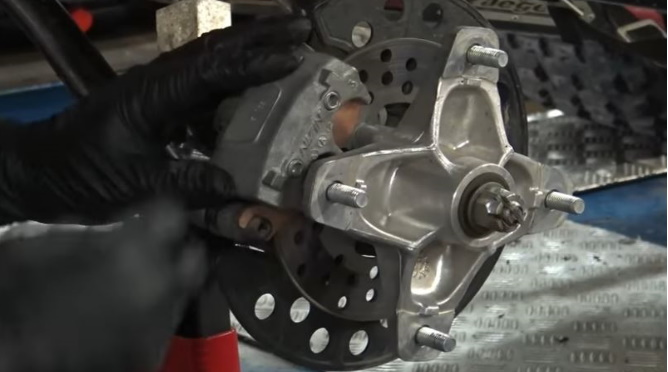
11) Reassemble the caliper on the disc.
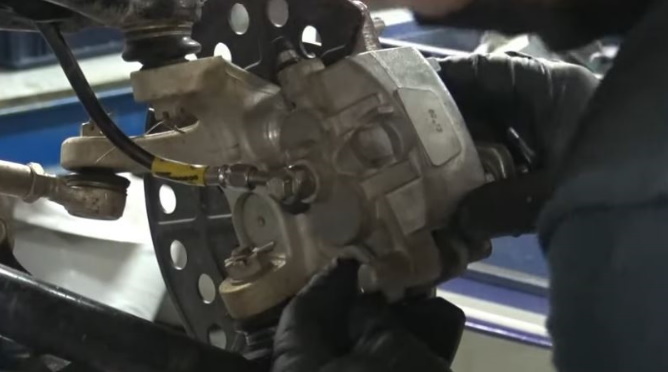
11) Attach the stirrup
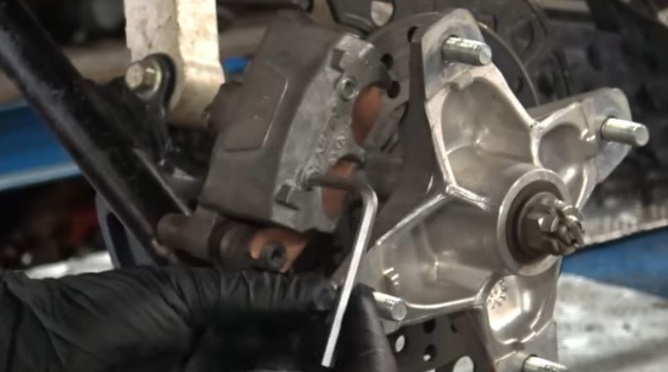
11) Firmly tighten the pad axles.
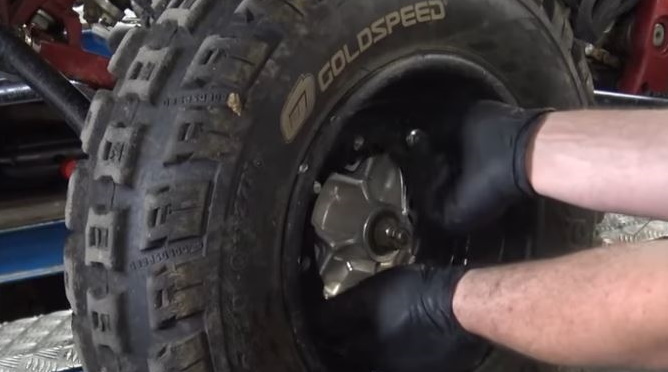
11) Reassemble the wheel and tighten the nuts.
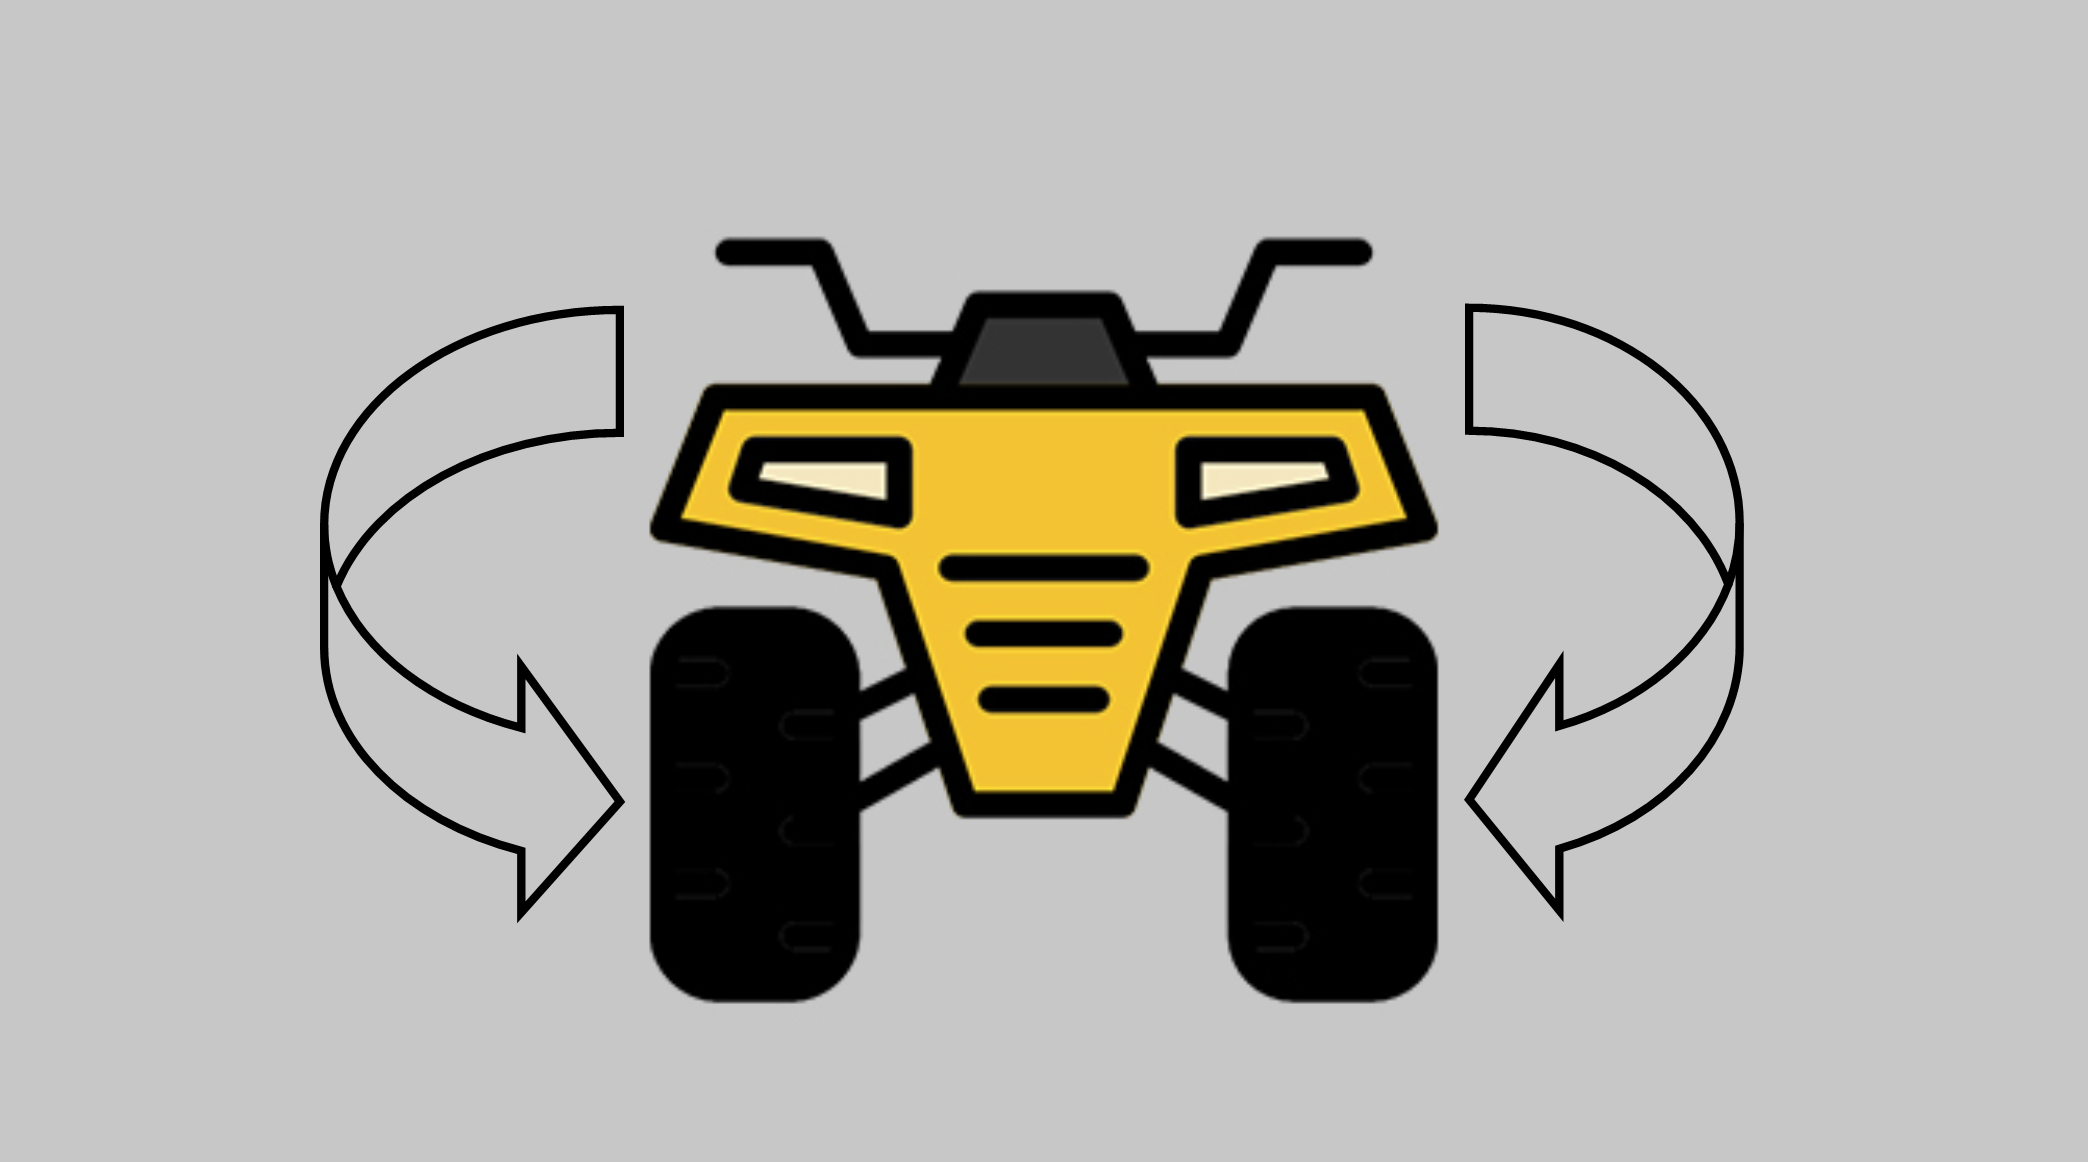
11) Do the same on the other side of your quad.
Wear part, the replacement of the pads is easy to carry out. However, this requires precision and concentration.
For your safety, the brake circuit can be bled at the same time. Find the tutorial on bleeding the master cylinder;
You will find on 50factory.com all the parts that make up the braking circuit of the'Sort out au brake fluid by the wayar les hoses, as well as all parts of the cycle part for your quad.


