General information > Tips and Guides > Tutorials > Quads > Cycle parts > Replace a steering ball joint
 TUTORIAL TO REPLACE A STEERING BALL JOINT
Ce tutorial aims at you help replace a steering ball joint of your quad. The example shown here is for a quad Kymco Maxxer 300.
Difficulty :

Temps necessary:
35 minutes
Necessary material:
- 1 key of 17
- 1 key of 21
- 1 candle
- 1 socket of 17
- 1 socket of 19
- 1 ratchet wrench
- 1 lifting jack
- 1 kneecap remover
- 1 water pump pliers
HOW TO REPLACE A STEERING BALL - QUAD ?
La steering ball joint has the role of ensuring the rigidity of the direction according to the conduct.
A damaged steering ball joint can lead to a loss of control of the vehicle, which is why its replacement is essential as soon as signs of wear or faults appear. Additionally, ball joint wear can lead to additional damage to equipment, including tires and steering. Also, tire wear can be premature and irregular, while it is increasingly difficult to maintain a straight line while driving.

1) Using the lifting jack, raise the quad

2) Secure the lift using the jack stand

3) Loosen the wheel and drop it

4) Unbend and remove the pin from the hub using the slip-joint pliers

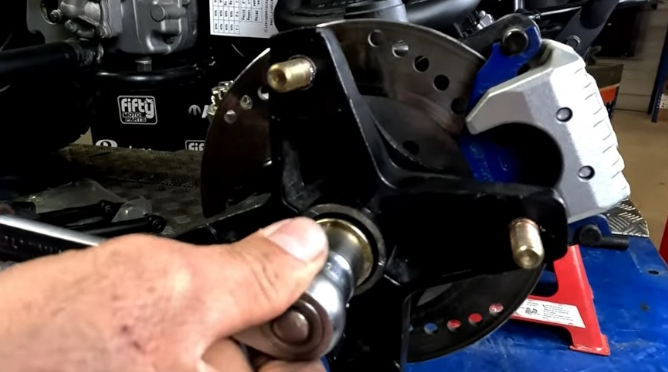
5) Loosen and remove castle nut

6) Remove the 2 screws from the brake caliper

7) Take out the disc with the hub

8) Unbend and remove the pin using the channel pliers

9) Loosen and remove castle nut

11) Loosen the lock nut of the steering ball joint

11) Using the ball joint puller, remove the screw from the steering ball joint

11) Tighten the ball joint puller with a wrench

11) Take out the steering ball joint

11) By unscrewing the ball joint, count the number of half-turns made until it is released

11) When installing the new ball joint, count the same number of half turns as you tighten the ball joint

11) Bring the lock nut flush

11) Replace the ball joint in the axis

11) Replace and tighten the castle nut

11) Before fully tightening the castle nut, tighten the steering ball joint lock nut

11) Finish tightening the castle nut

11) When tightening, be careful to leave the pin hole visible

11) Install a new cotter pin, bend it around the castle nut

11) After refitting the disc and hub, reinstall the brake caliper and replace the 2 screws

11) Tighten the 2 brake caliper nuts

11) Block the wheels with the brake latch

11) Tighten castle nut

11) Place a new pin on the hub and bend it

11) Reposition the wheel and put the nuts back on. Tighten them

11) Raise the quad using the jack to lower the jack

11) Remove the jack stand and lower the quad
Tie rod ends are articulating joints that allow the rotation and movement of the tie rods. They are mounted on each end of the tie rods and allow for smooth, controlled movement when steering the quad. Tie rod ends should be lubricated regularly to ensure proper operation and long life. They can be supplied with grease nipples to facilitate maintenance.


