Informations General > Tips and Guides > Tutorials > Quads > Motor parts > Replace the transmission belt
 TUTORIAL TO REPLACE THE TRANSMISSION BELT OF A QUAD
Ce tutorial aims at you help replace the drive belt of your quad.
Find all our tips for choose your belt wisely.
Difficulty :

Temps necessary:
20 minutes
HOW TO REPLACE THE DRIVE BELT - QUAD ?
The variator belt is an essential element of the transmission of the quad.
It transmits engine power to the rear wheels.
A worn belt will lead to a power transmission fault which manifests itself par loss of power, jolts and abnormal noises.
If the belt breaks, the vehicle breaks down, irreparable damage may be caused to the engine.
If a belt's lifespan is between 20 and 30 miles, it's important to check it regularly. On the other hand, if the quad is not used for a while, the belt can become brittle by drying out.
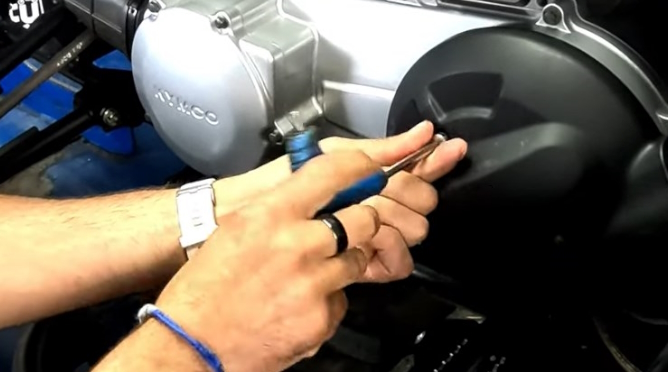
1) Remove the crankcase guard
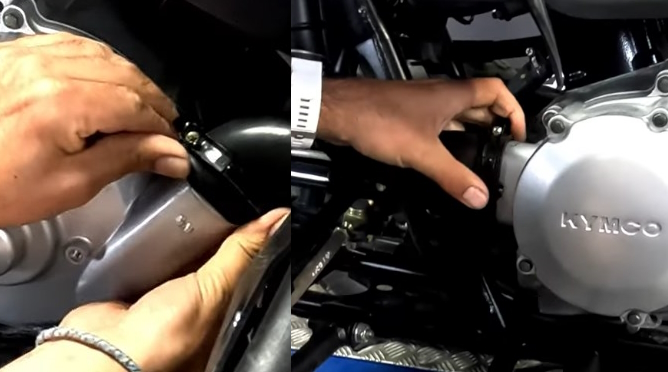
2) Remove the air inlet and outlet hoses
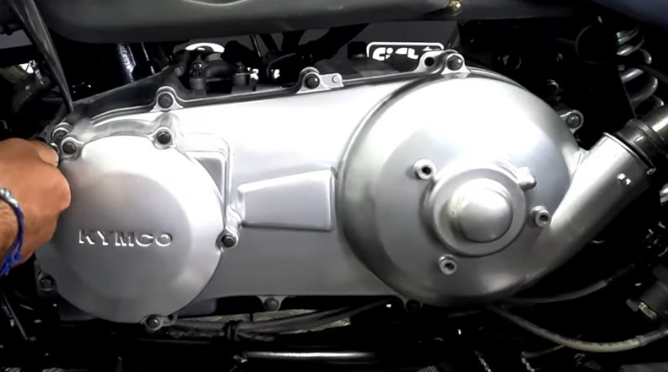
3) Loosen all the screws of the transmission housing
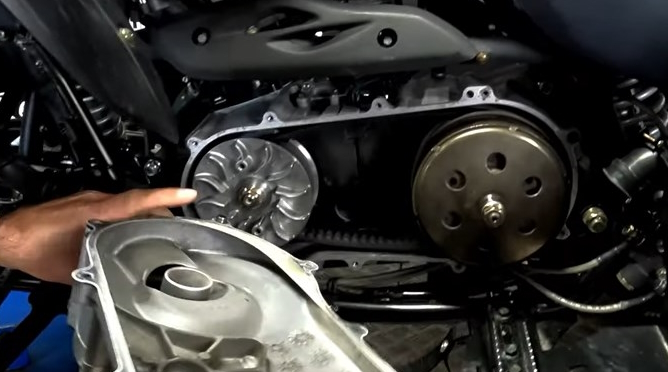
4) Remove the transmission cover
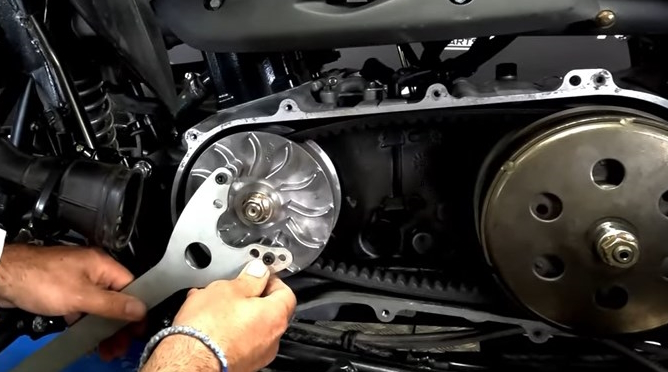
5) Using the dimmer key, block the dimmer
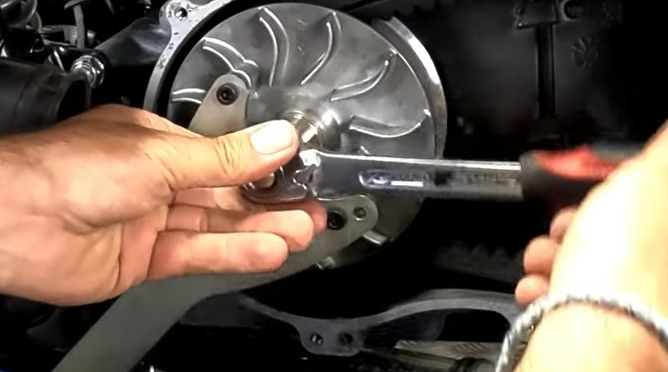
6) Loosen the clutch bell nut
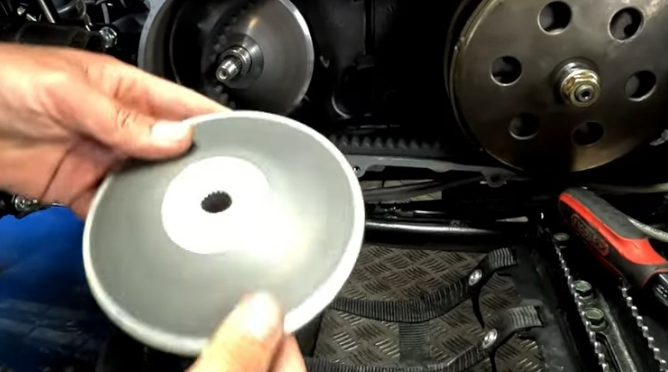
7) Remove the fixed clutch cheek

8) With the variator key, block the clutch

9) Loosen and remove the clutch housing nut

11) Remove the clutch bell then the clutch

11) Remove the used belt

11) Position the new belt on the clutch and make it go as far as possible into its housing

11) Put the clutch back on its shaft

11) Reinstall the fixed cheek

11) Replace the ring. Be careful to leave the "OUTSIDE" part visible

11) Replace the variator nut

11) Block the dimmer with the dimmer key
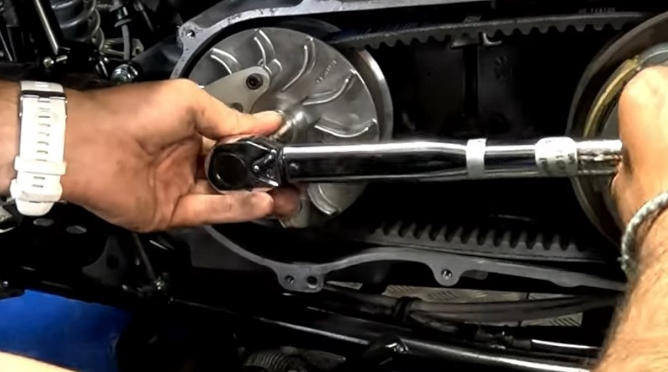
11) Tighten the nut with the torque wrench to 50 Nm

11) Clean the clutch housing and replace it on the clutch

11) Block the variator with the wrench and tighten the nut with the torque wrench to 50 Nm
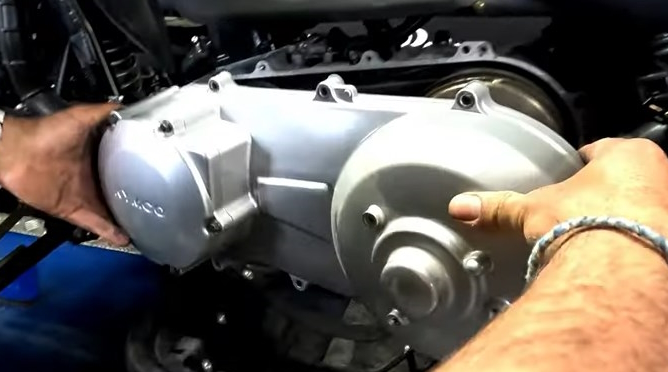
11) Place the transmission housing. Remember to check the condition of the casing gasket, replace it if necessary
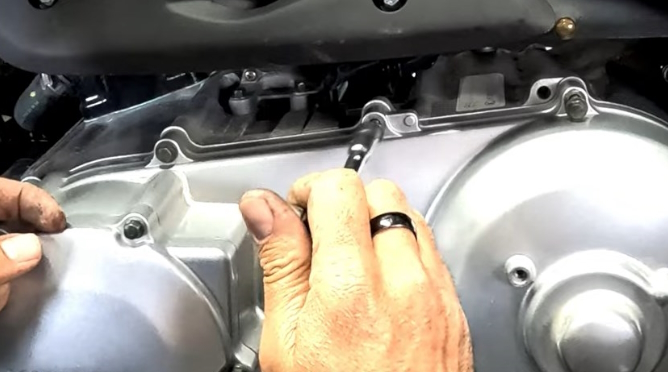
11) Replace transmission cover screws
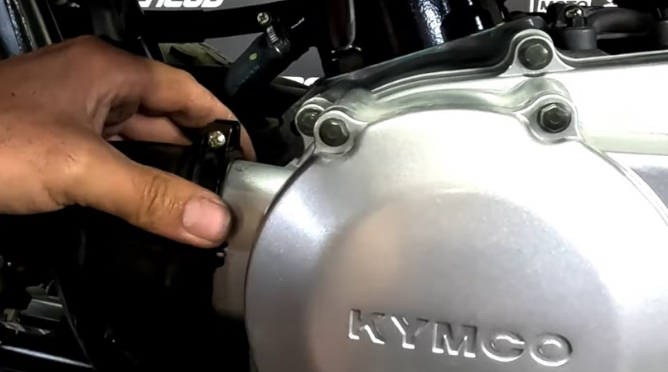
11) Replace the air intake hose and tighten the hose clamp
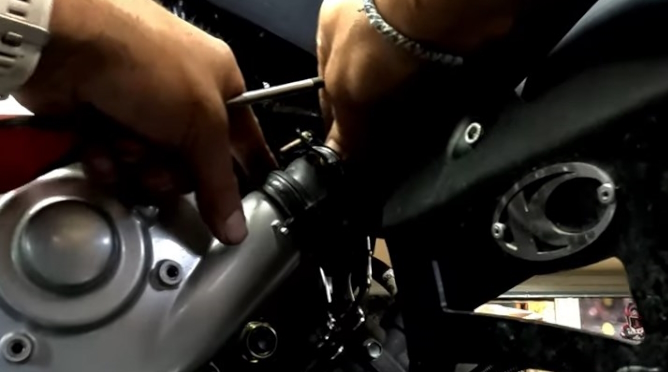
11) Do the same with the air outlet hose
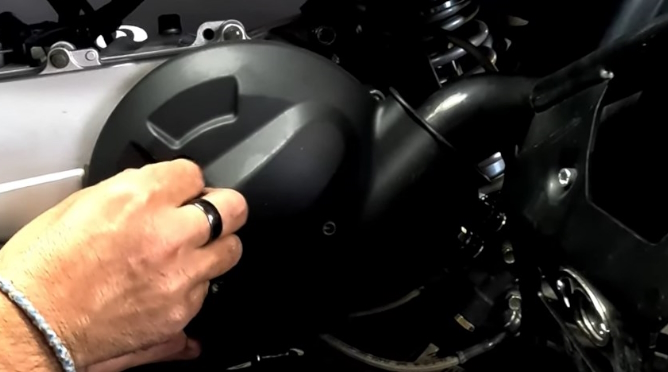
11) Finish by installing the sump guard.
Note that a new belt needs break-in. This break-in is essential for adjusting the angle of attack of the belt at the clutch. Once this break-in is done, the contact of the belt to the pulleys is optimal and ready to undergo the maximum torque of the engine.
A minimum of 50 km break-in is required, driving with smooth accelerations varying the speed so that the belt runs over all the surfaces of the pulleys.
Find our full range of belts here


