Informations General > Tips and Guides > Tutorials > Bikes
> Transmission > Replacement of the derailleur hanger
 TUTORIAL REPLACE THE PATTE DERAILLEUR
Ce tutorial aims to help you replace derailleur hanger on your bike, equipped with a disc brake.
Difficulty :

Temps necessary:
5 minutes
Necessary material :
HOW TO REPLACE THE PATTE DERAILLEUR?
Fairly easy operation to carry out.
Remember to consult our guide on derailleur hangers.
The derailleur hanger is a component of the bicycle that screws into one end of the frame to join the derailleur.
Its function is very basic and at the same time very important: it serves to retain the transmission and prevent it from breaking in the event of an impact. Thanks to this small part, you will prevent the frame of your bike or the gears from suffering considerable and irreparable damage.
Typically, derailleur hangers are made from cold-forged aluminum, offer no resistance and can bend or break very easily with a little shock.
There are a multitude of derailleur hangers. Bicycle brands develop their own dropout models and sometimes produce as many types of dropouts as there are bicycle models in their catalogs.
Its usefulness is to break under duress in order to protect the frame from a much more catastrophic breakage. The derailleur hanger is to “bike mechanics” what the fuse is to electricity.

1) After installing your bike on the work stand, rotate the eccentric to release the tension.

2) Unscrew the road axle.

3) Support the wheel by pushing it down to unhook it.

4) Remove the chain by pulling it to release the wheel. In the event that the rear wheel does not come out easily, you will need to move the rear derailleur. This is spring-mounted, it is easy to pivot it backwards so that it does not hold the wheel. You need to tilt the derailleur backwards so that the upper roller does not block the cassette.

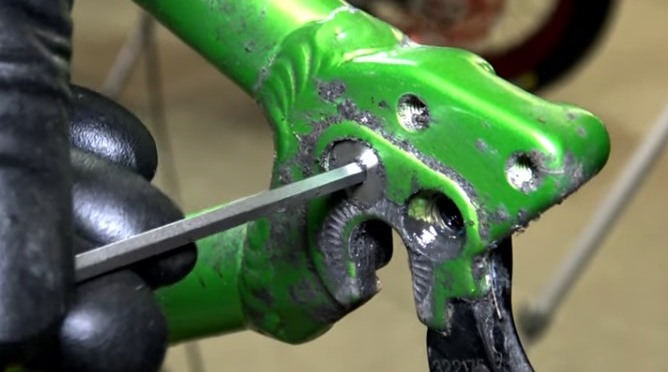
5) With the Allen key, unscrew the BTR screw that connects the rear derailleur to the dropout.

6) Unscrew the two BTR screws on the back of the frame side bracket.

7) Remove the two BTR screws

8) Clean the screw passages properly

9) Insert a BTR screw and install the derailleur hanger

11) Tighten the two BTR screws

11) Tighten the derailleur screw on the derailleur hanger.

11) Pull the chain to insert the wheel

11) Rotate the derailleur to insert the crown.

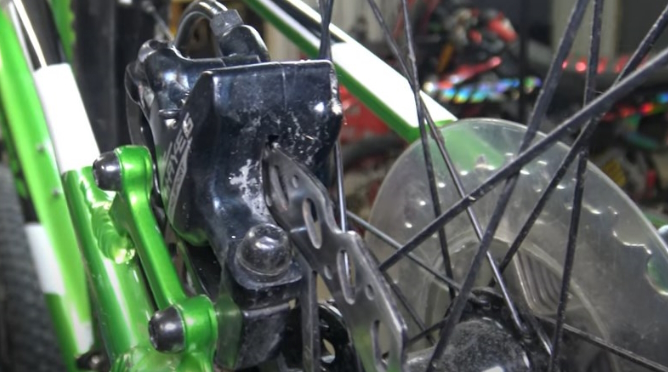
11) Place the rotor in the caliper between the brake pads. Pay attention to the alignment of the disc with the brake caliper. The wheel must be straight.

11) Tighten the wheel axle

11) Rotate the eccentric to power on

11) Tighten the axle until the lever is under tension in the middle of its travel and pivot it.
After refitting the rear wheel, it is recommended to spin the wheel by pedaling and changing gears to check that everything is working properly.


