


General information > Tips and Guides > Tutorials > Scooter > Electrics > Replace the ignition stator
 TUTORIAL REPLACE THE IGNITION STATOR
Ce tutorial aims at you help replace the ignition stator of your scooter. The example presented concerns an MBK Booster but the procedure remains essentially identical for other vehicles.
Difficulty :

Temps necessary:
30 minutes
HOW TO REPLACE THE IGNITION STATOR
The ignition stator is essential for the production of electrical power and if it is not functioning properly it can lead to battery or ignition failure, which can make the scooter unusable. (To learn more about the stator, click You can consult it by clicking here.)
The stator is present at the bottom of the engine. It produces the electricity that will start your scooter. A stator is made up of several elements including the poles. There are stators made up of 5, 6, 8 or 12… poles.
There are several signs that may indicate that the scooter stator is failing and needs to be replaced. The following symptoms may be observed:
- The battery is constantly low or discharges quickly,
- The scooter has difficulty starting or does not start at all,
- The headlights are dim or flickering.

1) For our example, the scooter does not start. To be certain that it is indeed the stator, test it using a multimeter.

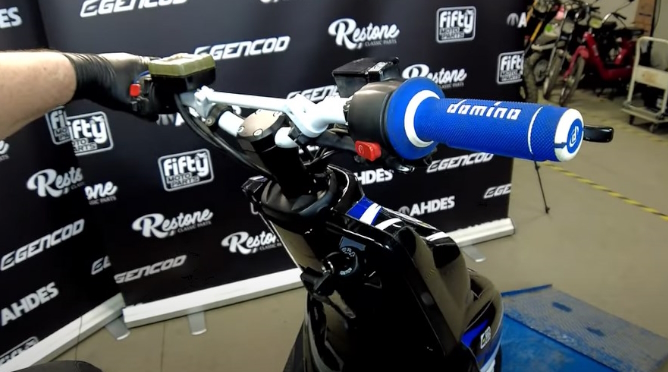
2) Start par remove the engine hatch to access the spark plug.
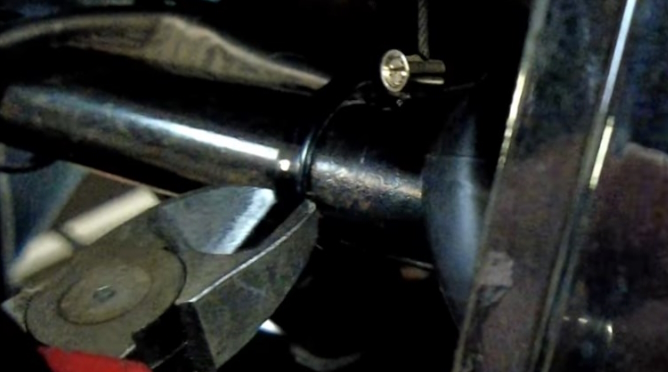
3) Remove the suppressor, then loosen and remove the spark plug.
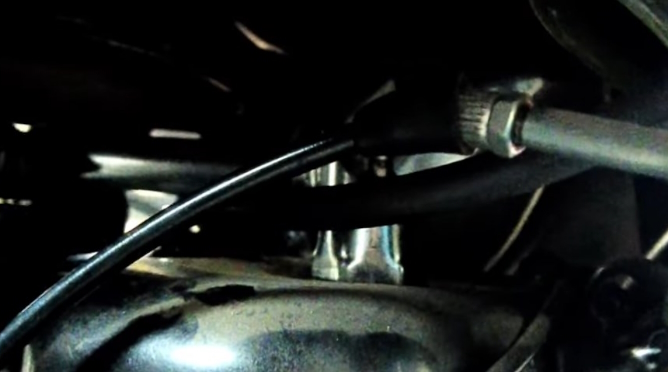
4) Connect the spark plug to the suppressor.

5) Place the ground electrode of the spark plug on the metal part of the scooter. Test the ignition. No spark occurs, stator is defective.
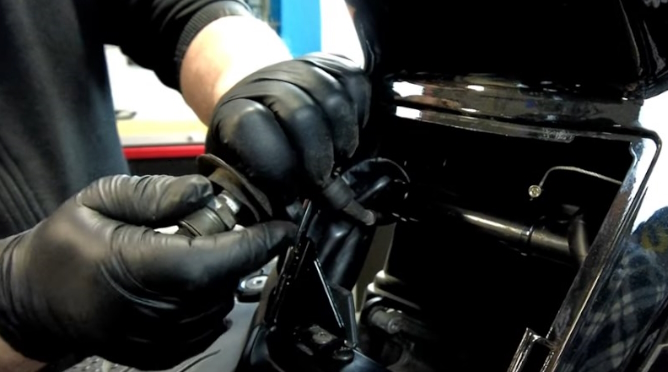
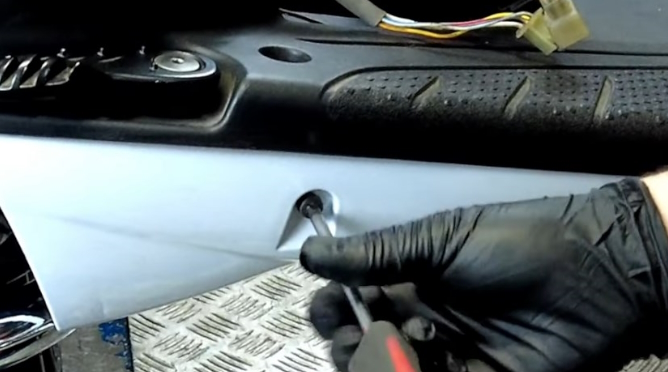
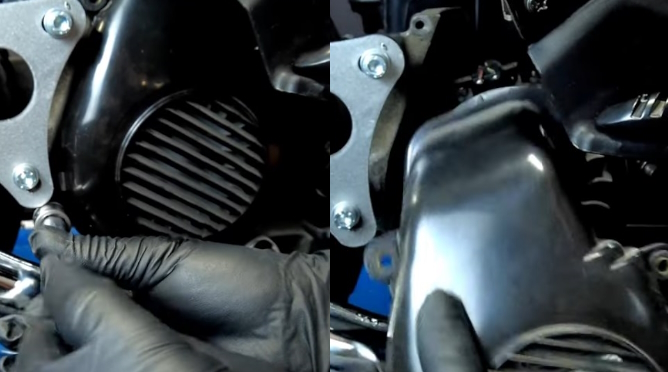
6) Unscrew the two battery cover screws.
7) Remove the cover and take the battery out of its slot.
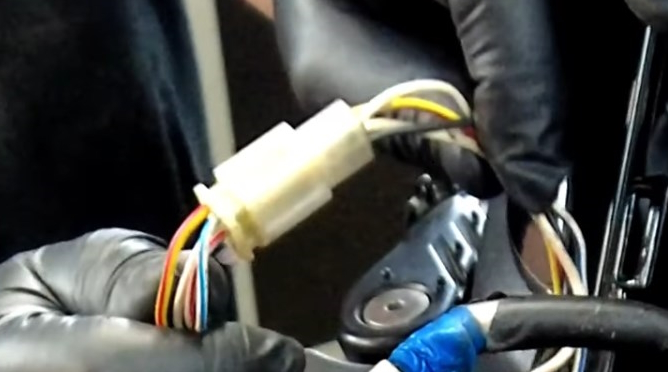
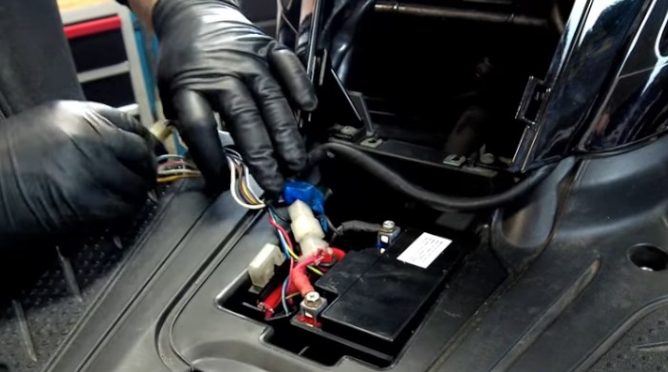
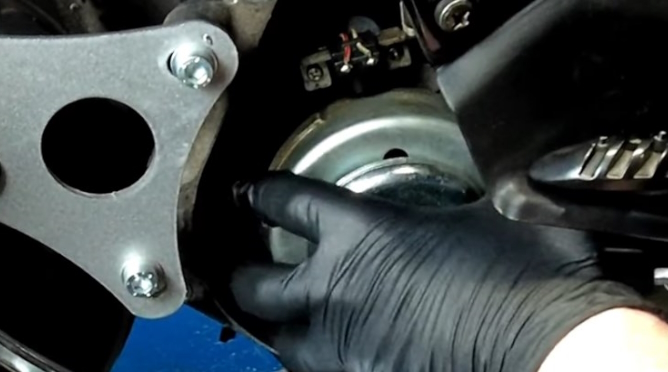
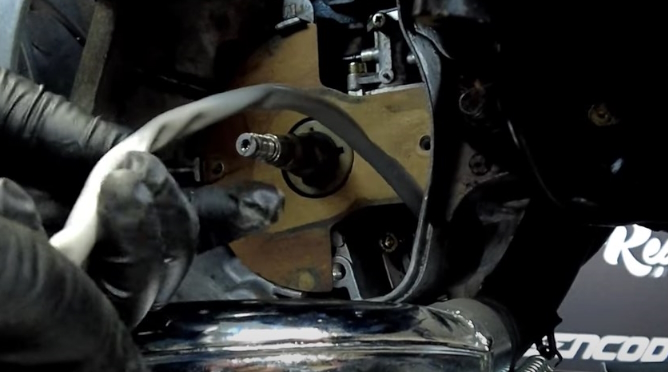
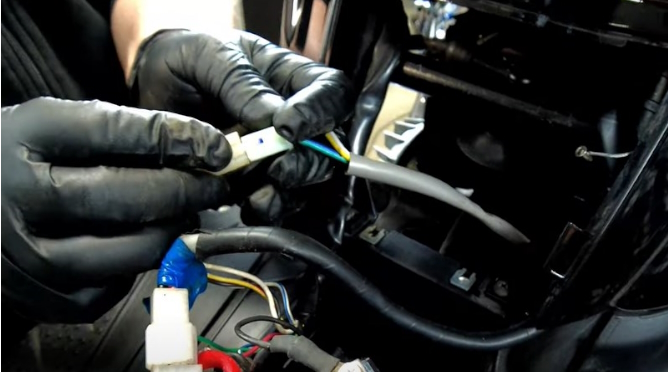
8) Here is the ignition stator connector.

9) Disconnect the plug.
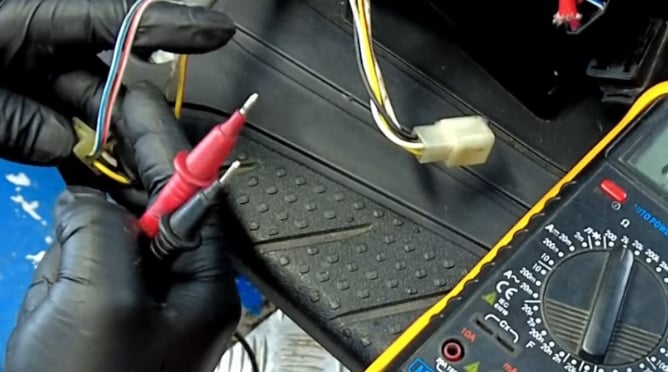
11) Position the multimeter at 2k-Ohms then test the red and white wire then the blue and white of the ignition sensor.
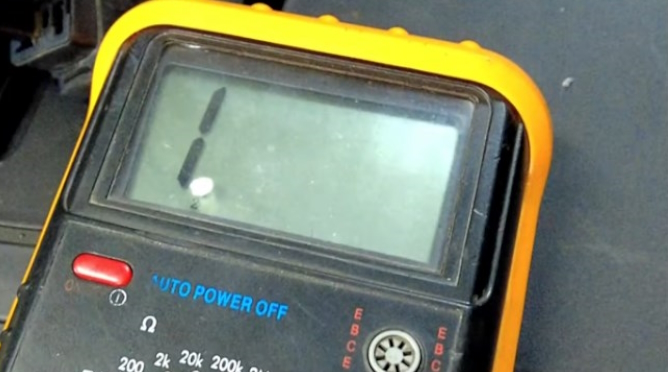
11) No value appears, which means that the stator needs to be replaced.
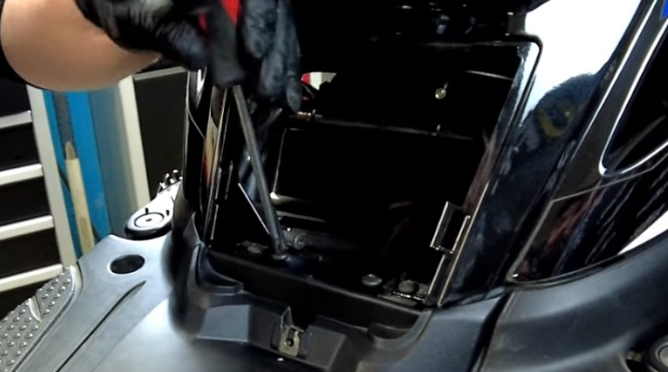
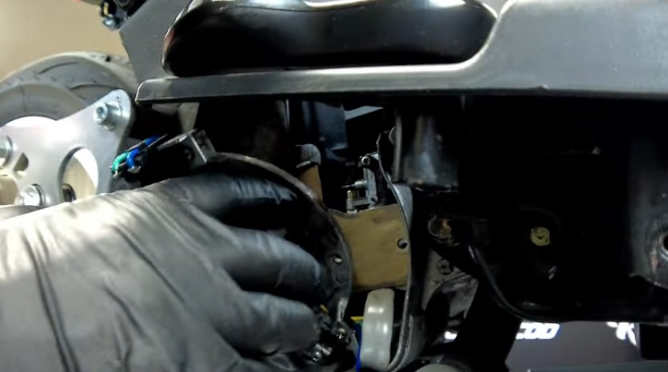
11) Remove the fairings to access the ignition cover.
11) Remove the ignition cover.
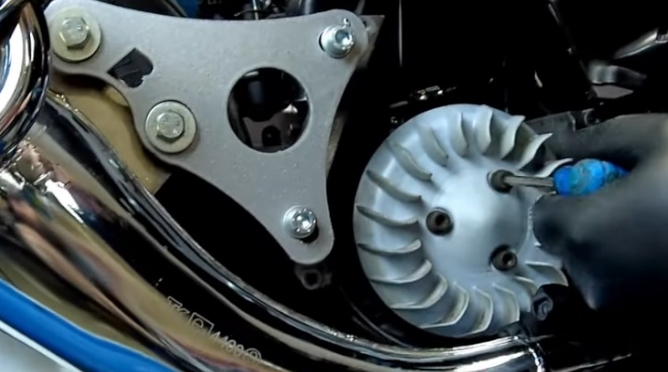
11) Loosen and remove the cooling turbine screws.

11) Install the piston lock in place of the spark plug.
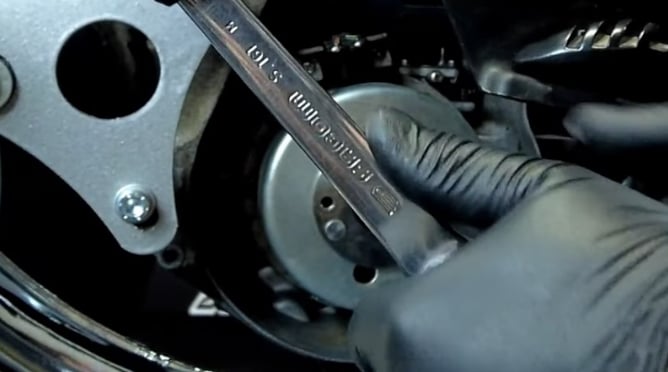
11) Loosen the crankshaft nut, remove it and the washer.
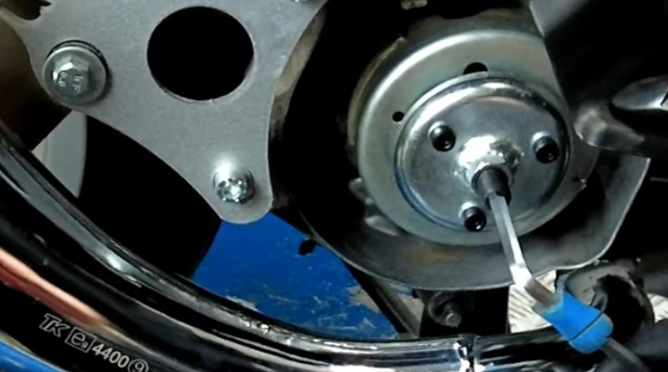
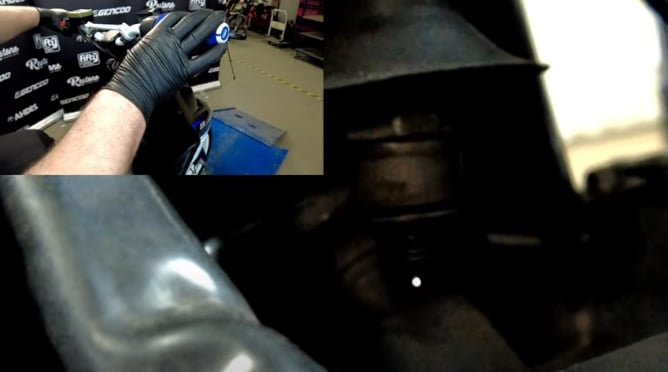
11) Attach the flywheel puller to the location of the ignition nut. Screw the central nut of your steering wheel puller.
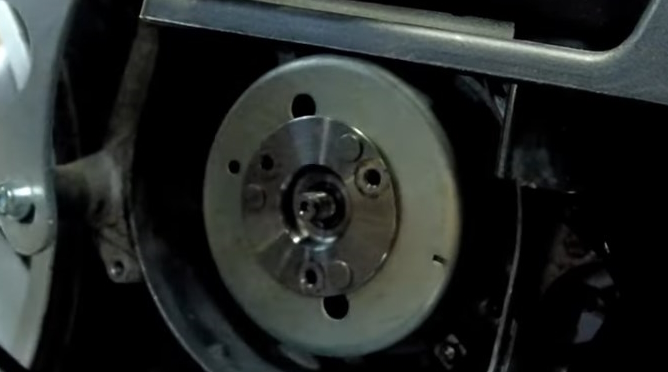
11) Remove the ignition rotor.
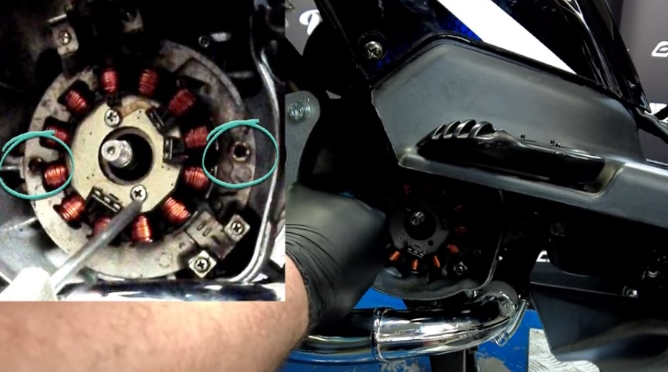
11) Remove the two screws holding the stator to the plate.
11) Remove the screw from the rear shroud at the battery.
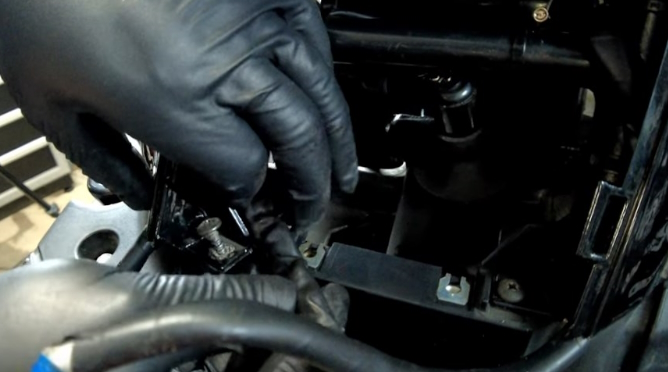
11) Remove the stator harness from its housing.
11) Cut the zip ties to release the harness.
11) Install the new ignition stator harness. Don't forget to secure it with the zip ties.
11) Position the new ignition stator.
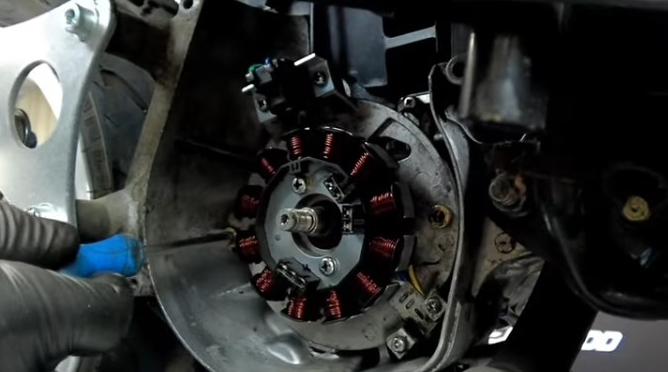
11) Fix it on the plate using two screws.
11) After removing the flywheel puller, replace the ignition rotor.
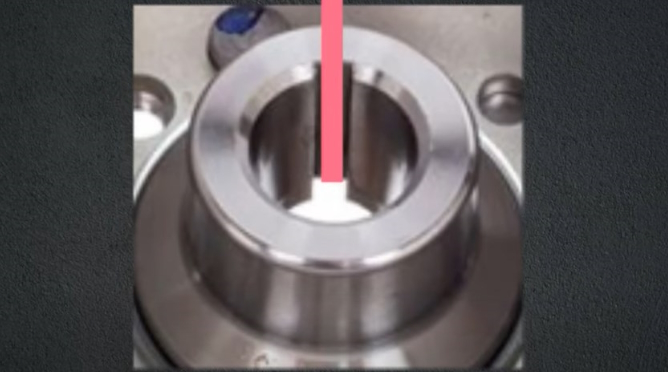
11) Be careful to respect the location of the key. For this installation, make sure to align the rotor mark with that of the stator.
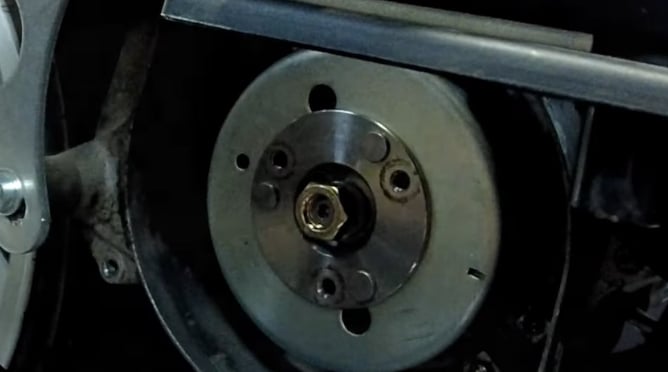
11) Present the washer and nut then tighten the nut.
11) Replace the cooling turbine and tighten the screws.

11) Remove the piston lock.
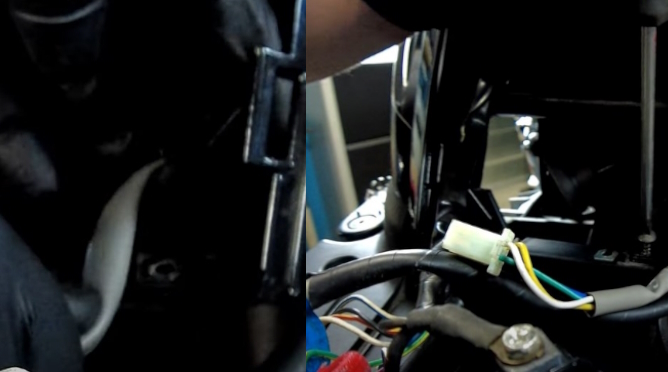
11) Position and connect the ignition stator harness.
11) Check for the presence of a spark with the grounded spark plug. A spark is produced, the stator is working.

11) Reposition the spark plug and tighten it. Replace the suppressor.
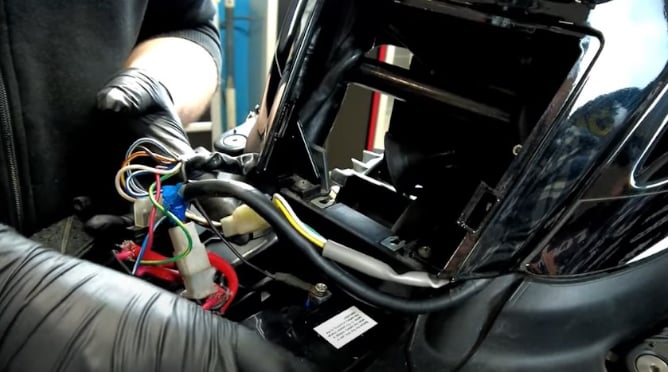
11) Slide the harness into its housing, then tighten the screws on the rear fairing shell.
11) Replace the battery.

11) Then the battery cover.

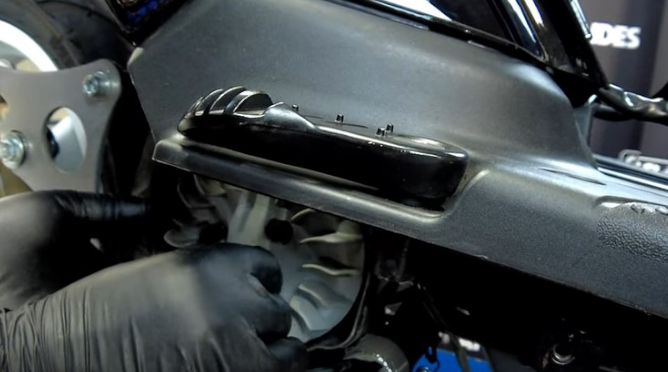
11) Replace the engine hatch, the ignition cover and the fairings removed during the intervention.
11) Your scooter starts.
VIDEO: REPLACING THE IGNITION STATOR - SCOOTER
![]() Cart
Cart

This product has been added to your cart
![]() Cart
Cart
You have already added this product to the cart or there is not enough in stock.