Informations General > Tips and Guides > Tutorials > Bikes
> Transmission > Rear derailleur adjustment
 TUTORIAL ADJUSTING THE REAR DERAILLEUR
Ce tutorial aims to help you adjust the rear derailleur on your bike.
Difficulty :

Temps necessary:
10 minutes
Necessary material :
HOW TO ADJUST THE REAR DERAILLEUR?
Fairly easy operation to carry out.
Improper adjustment of the rear derailleur can prematurely wear the chain and sprockets. This can also cause the chain to derail. It is recommended to check the rear derailleur adjustment approximately once par month.
For more information on rear derailleurs, do not hesitate to consult our guide "Everything you need to know about the rear derailleur of a bicycle"
To adjust the derailleur, we will use the set screw. The latter have the acronyms "H" for "High Speed" and "L" for "Low Speed". The adjustment screws allow you to increase or decrease the low stop and the high stop.
The adjustment of the lower stop influences the high speeds (small gears). To adjust the high speeds, you must use the screw with the symbol "H".
The adjustment of the upper stop influences the low speeds (large gears). To adjust the low speeds, you must therefore use the screw with the symbol "L".

1) In order to adjust the rear derailleur, place the bike on a workshop stand.
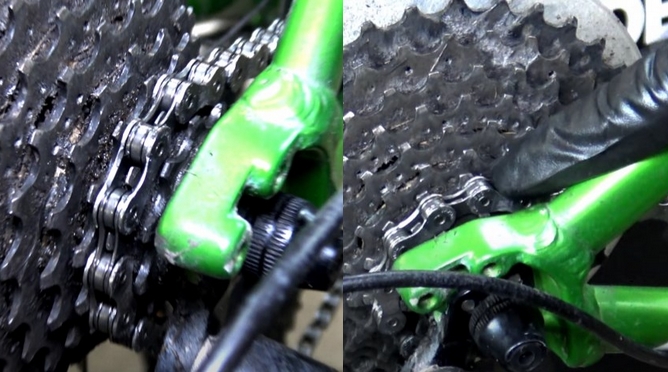
2) In this example, the derailleur does not accompany the chain to the smallest sprocket. It must therefore be adjusted.
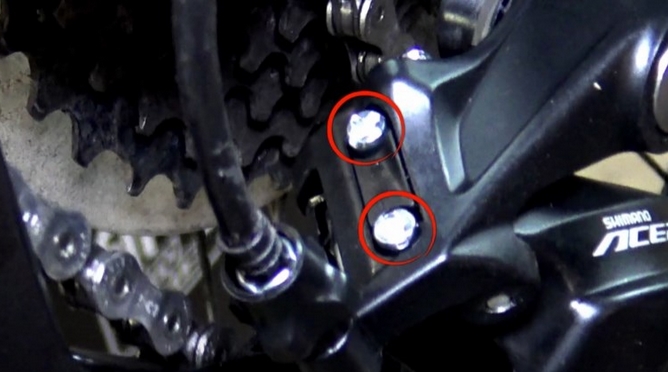
3) To do this, you must use the adjustment screws.
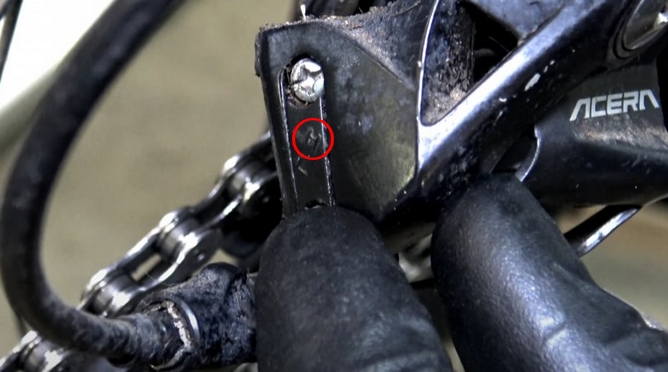
4) The problem concerns high speed, so we will adjust with the “H” screw.
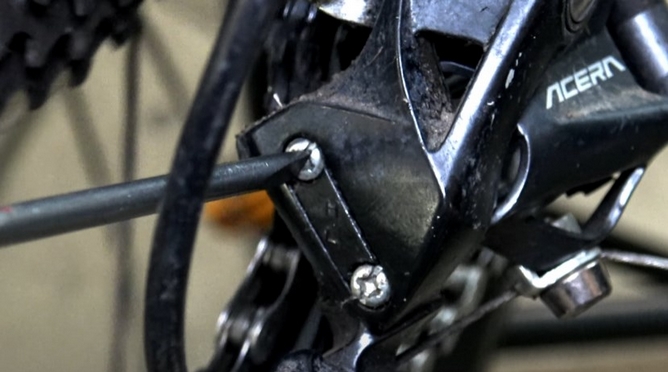
5) Adjusting the screw moves the derailleur. You must tighten it to shift the derailleur to the left and loosen it to shift it to the right.
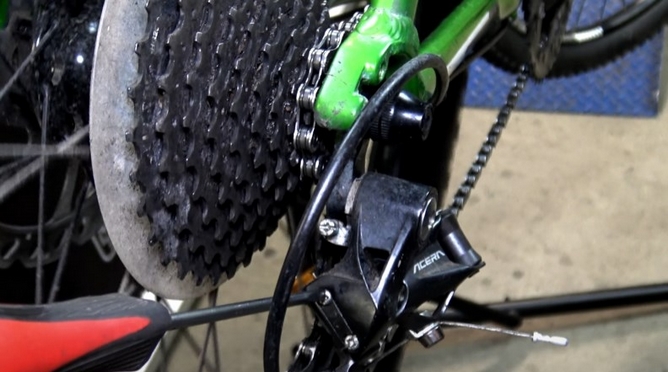
6) In our example, we can see that after adjustment, the chain goes to the smallest sprocket. We can move on to the test of the largest pinion.
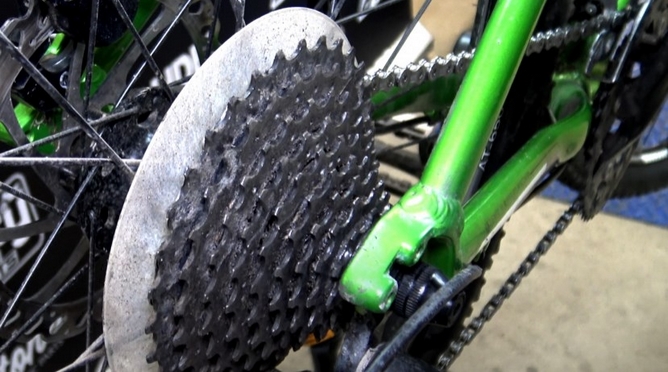
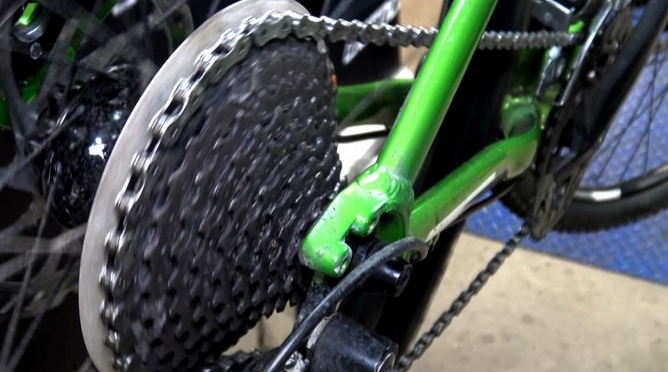
7) In this example, we see that the chain went too far to the left and derailed. You must therefore tighten the screw “L”.
.jpg)
8) Tighten the screw “L”.
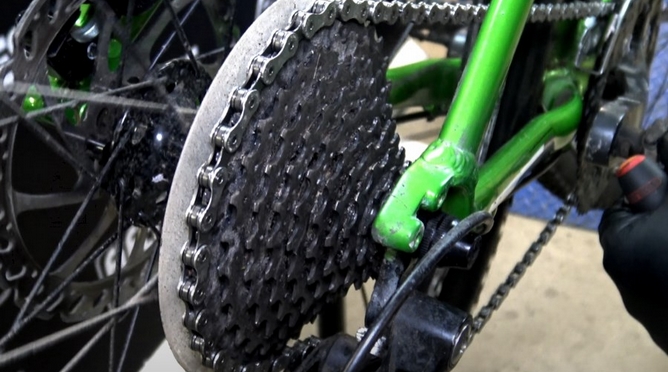
9) Test the gear shift. In this example, the adjustment has been made correctly and the gear change is done without problem.
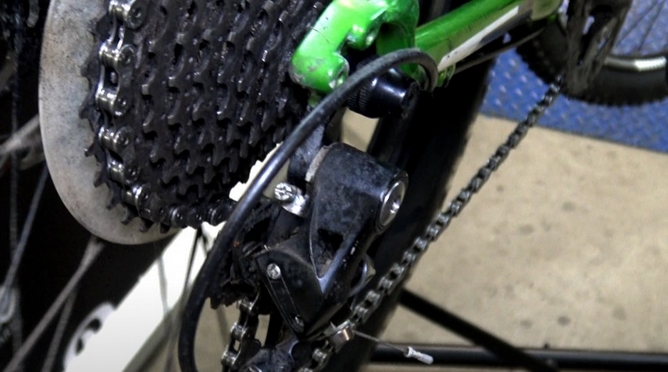
11) In the case where the screw is too tight, the gear change can no longer be done as we can see in this example.
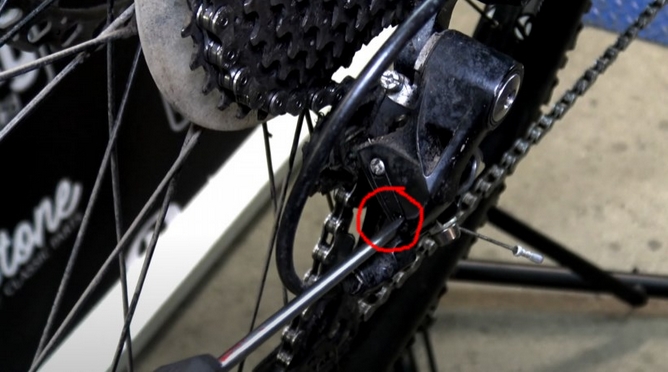
11) In this example, you must therefore loosen the screw “L”.
11) You now know how to adjust your rear derailleur. Do not hesitate to consult our tutorials on bicycle transmissions in the event of a problem with your bike.


