


Informations General > Tips and Guides > Tutorials > Bikes
> Transmission > Front derailleur cable replacement
 TUTORIAL REPLACE THE FRONT DERAILLEUR CABLE
Ce tutorial aims to help you replace the front derailleur cable on your bike.
Difficulty :

Temps necessary:
10 minutes
Necessary material :
HOW TO REPLACE THE FRONT DERAILLEUR CABLE?
Fairly easy operation to carry out.
The cables of a bicycle should be replaced regularly (about once par year). Indeed, they are exposed to bad weather and subject to strong mechanical constraints.
A worn or damaged derailleur cable can cause several problems:
- A chain that jumps or gets stuck.
- Difficult or inefficient transmission.
- Premature wear of transmission components.
To ensure the good condition of your cable, check if the cable is not frayed at the fixing nut on the derailleur or at the gear lever .
Several signs should alert you and lead you to replace the cables and speed sheaths.
Un derailleur cable may rust when made of non-stainless steel. It can also fray or partially break, mainly in three places:
At the cable end, often when it has disappeared: in this case, you can cut the cable again and crimp a new end if there is sufficient length remaining and still intact afterward the tightening screw. Otherwise it will have to be replaced.
At the level of the cable clamp screw: this quickly leads to operating problems of the derailleur then a complete breakage of the cable, which must therefore be replaced as quickly as possible.
At the cable head: this is hidden in the derailleur control mechanism. It is therefore a bad gear shift which can alert you, especially if it appears suddenly. A visual check requires releasing the cable to remove it from the lever. It is better to act before the cable breaks at this location, itar it is sometimes difficult to remove the cable head and the filaments stuck in the lever!
Unlike brake cables, there is only one type of derailleur cable, the differences mainly concern the conduit passages at the level of the horizontal tube for mountain bikes and at the level of the diagonal tube for road bikes.

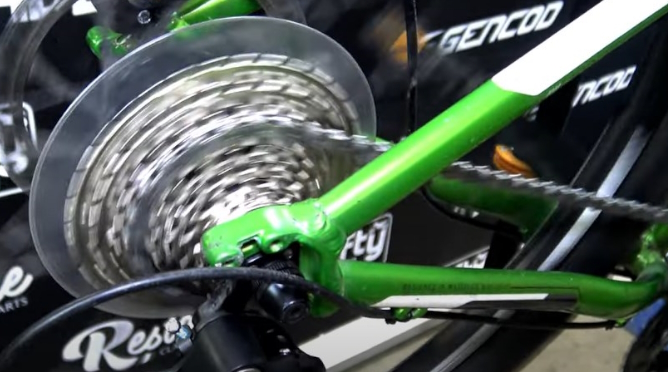
1) Before proceeding with disassembly, shift to the smallest sprocket in order to relax the derailleur.

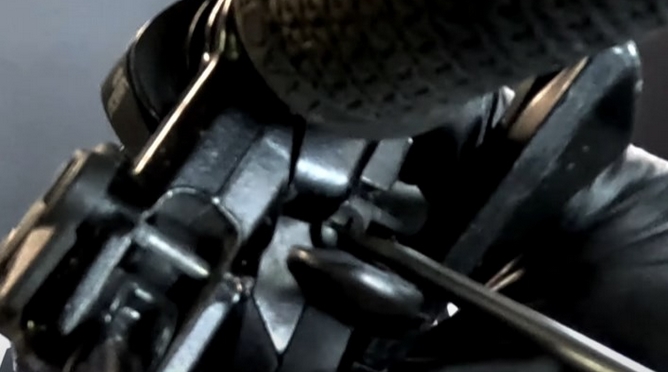
2) Using the BTR wrench, loosen the front derailleur cable retaining screw.

3) Cut the end of the cable.

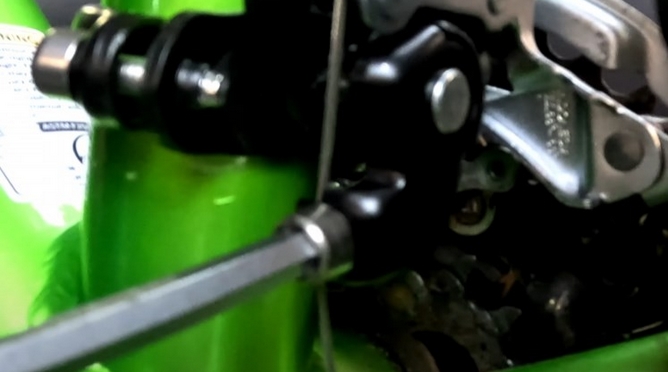
4) On the example bike, the head of the derailleur cable is placed behind a screw in the gear selector.
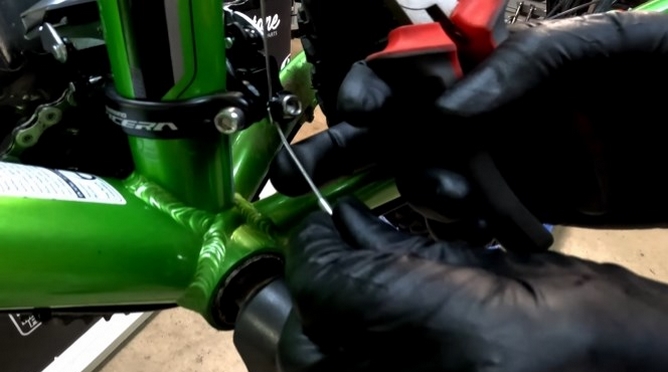
5) Using the screwdriver, remove the screw.

6) Remove the derailleur cable housing at the lever.
.jpg)
7) Push on the cable to release the cable head.

8) Then, remove the cable.

9) Install the new cable in the reverse order.

11) Replace the sheath.

11) Push the cable so that it fully enters the housing and comes out the other end. (you can manipulate the sheath a little to get the cable out)

11) Pull on the cable until it is fully seated.

11) Replace the lever retaining screw.

11) Place the sheath on the frame, above the front wheel.

11) Pass the cable through the derailleur retaining screw.
11) Tighten the derailleur cable retaining screw.

11) Remember to keep around 3 centimeters of cable to prevent future interventions.

11) Cut off the excess cable.
11) Place the tip at the end of the cable.

11) After applying a little grease to the tip, using pliers, tighten the tip to close it.
11) Remember to adjust the derailleur and check that the gears shift correctly.
VIDEO: REPLACING THE FRONT DERAILLEUR CABLE
![]() Cart
Cart

This product has been added to your cart
![]() Cart
Cart
You have already added this product to the cart or there is not enough in stock.