


General information > Tips and Guides > Tutorials > 50 with box > Cycle parts > Change your channel kit (AM6 ou DERBI)
 TUTORIAL CHANGING YOUR CHAIN KIT (AM6 ou DERBI)
Ce tutorial aims at you help change the chain kit of your boxed 50cc thanks to pics and explanations associated. In this example, this is a typical motorcycle kit AM6 et Derbi Senda but the installation principle is similar on most of the metabots. Don't forget to order the right one chain kit for your bike.
Difficulty :
![]()
Temps necessary:
45 minutes
HOW TO CHANGE YOUR CHAIN KIT
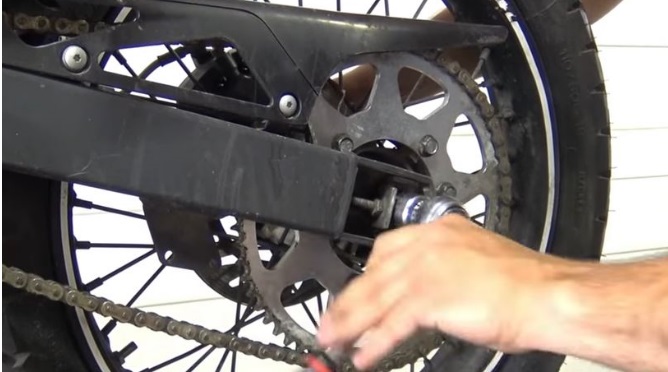
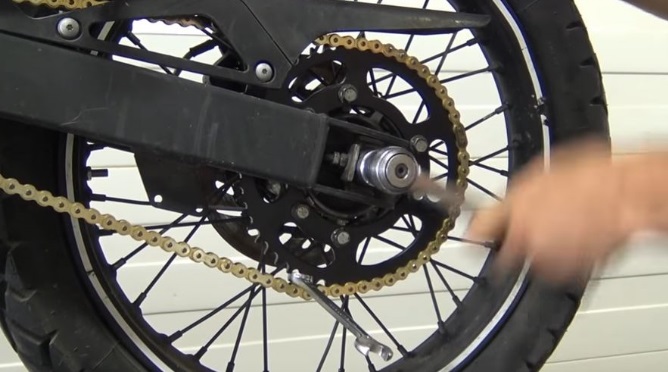
1) Loosen the rear wheel, relax the chain tensioners and remove the brake caliper
2) Remove the wheel
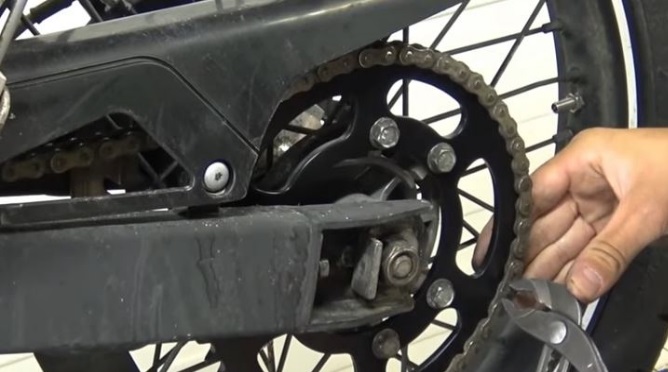
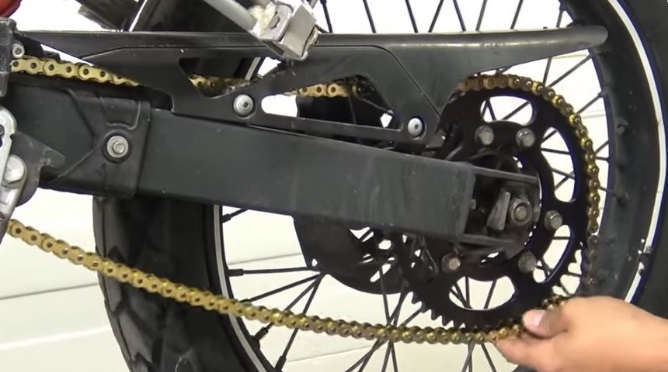
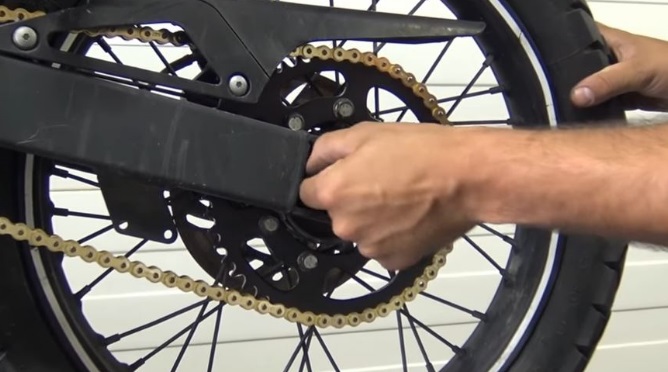
3) Remove the crown chain.
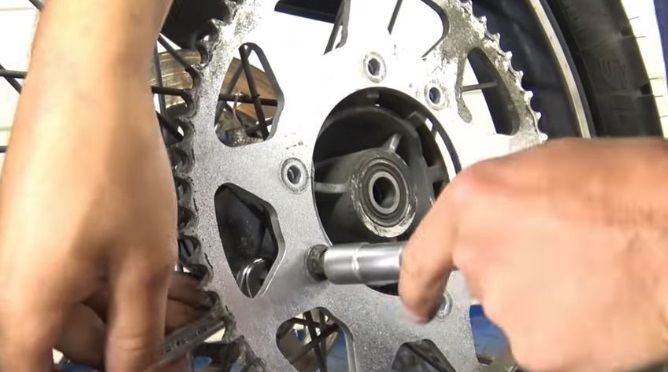
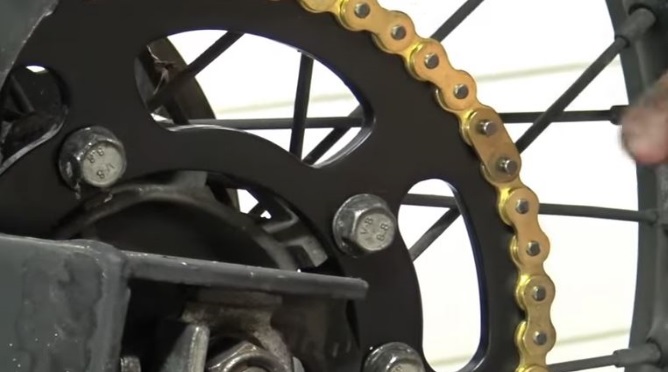
4) Remove the crown fixing nuts
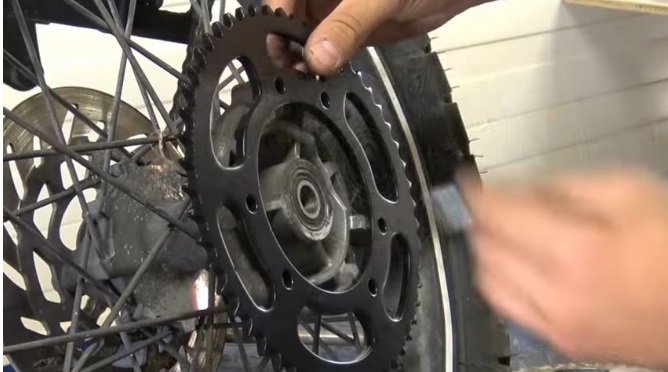
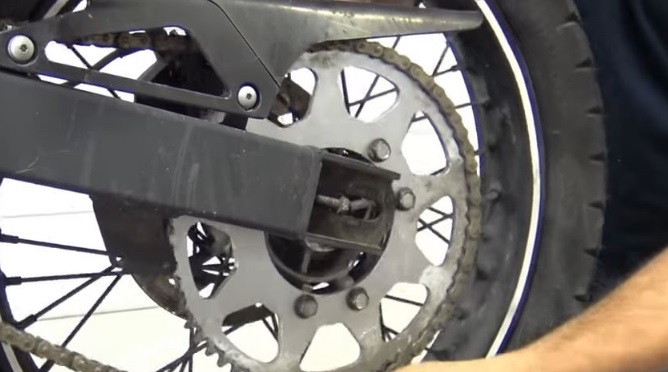
5) Replace the crown
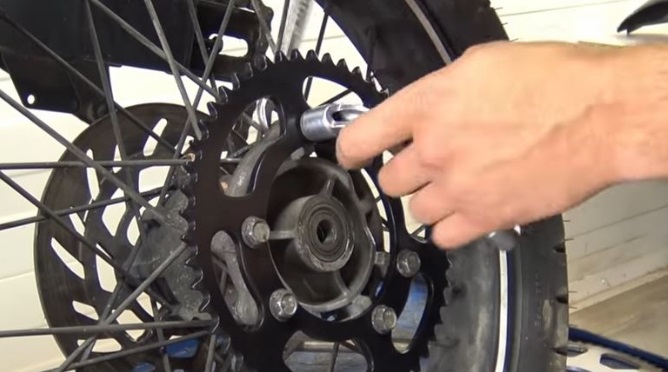
6) Replace the retaining nuts. To avoid loosening the nuts, put a drop of thread lock on each nut, then retighten.

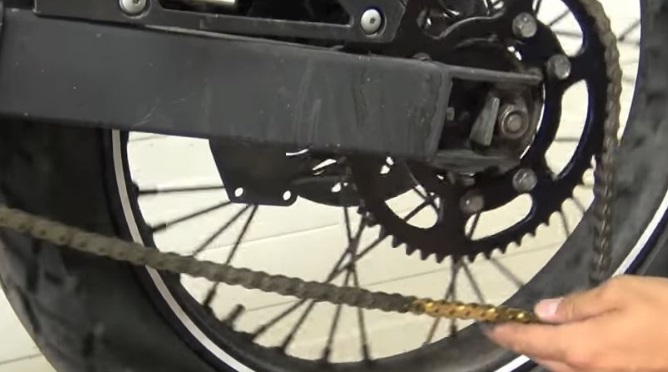
7) Wind up the wheel, replace the chain on the crown,
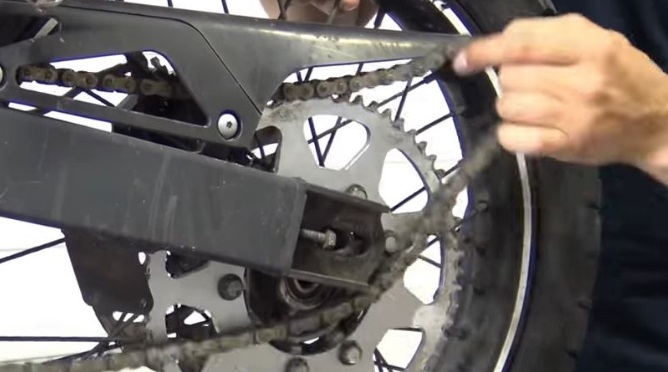
8) Loosen the chain tensioners completely
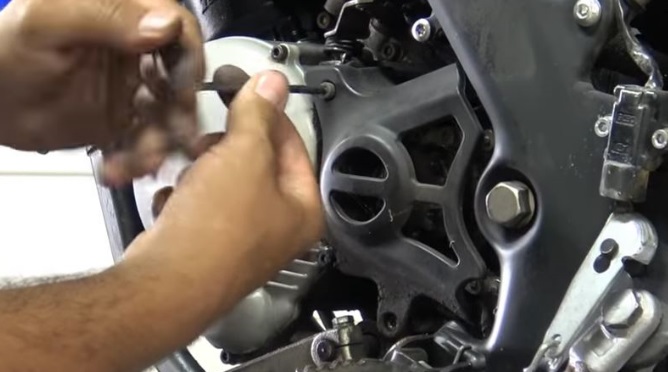
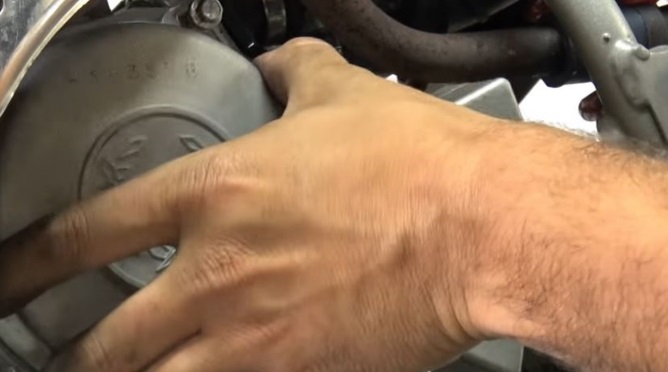
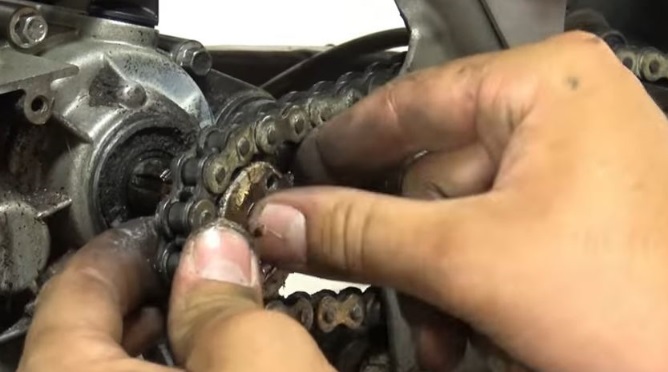
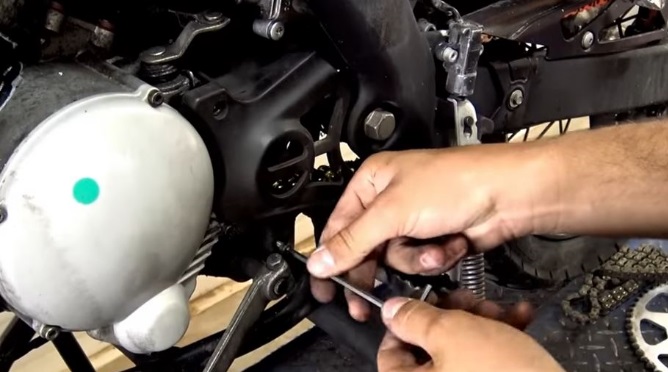
9) For engine AM6, remove the sprocket cover
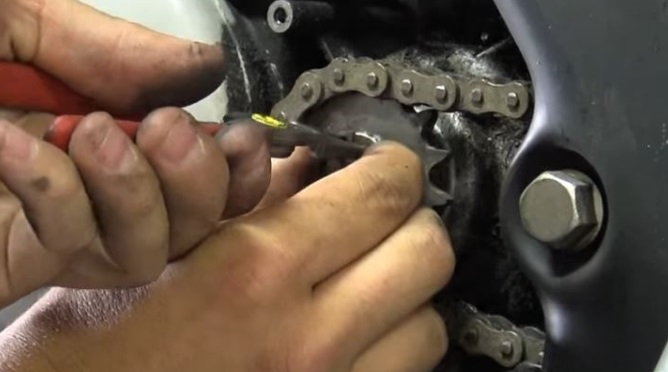
11) Remove the circlip from the front sprocket
11) Remove the sprocket
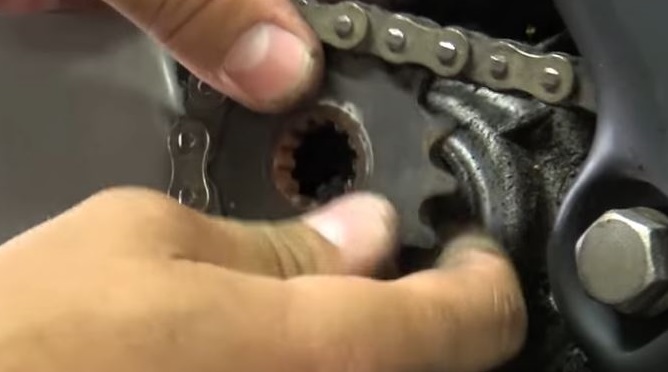
11) Place the new sprocket
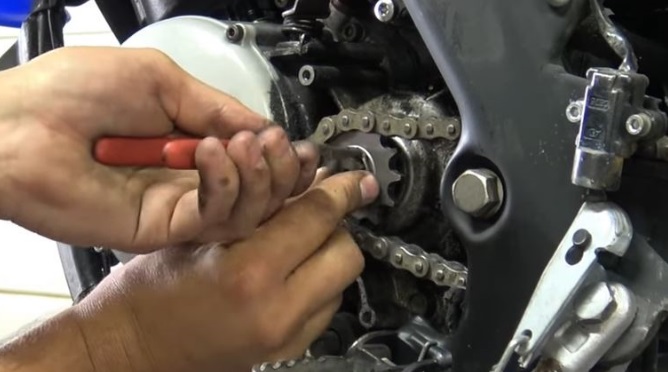
11) Replace the circlip.
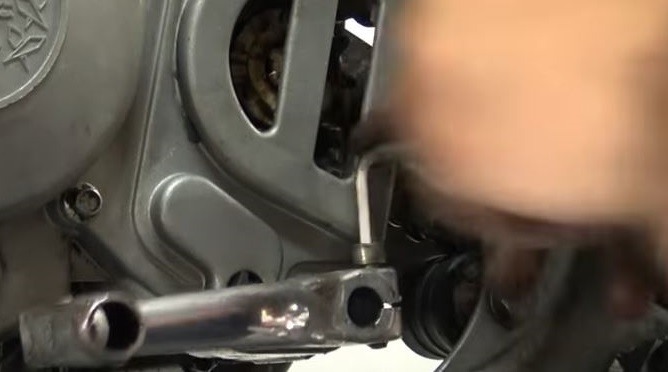
9) In order to DERBI, remove the speed selector.
11) Remove the pinion cover.
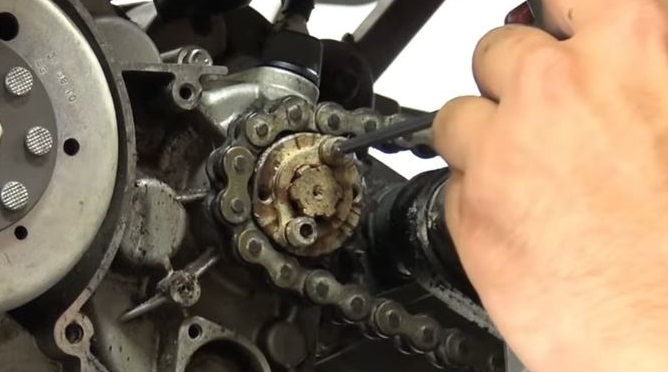
11) Remove the two screws from the pinion and then the retaining plate.
11) Replace the pinion. Replace the retaining plate
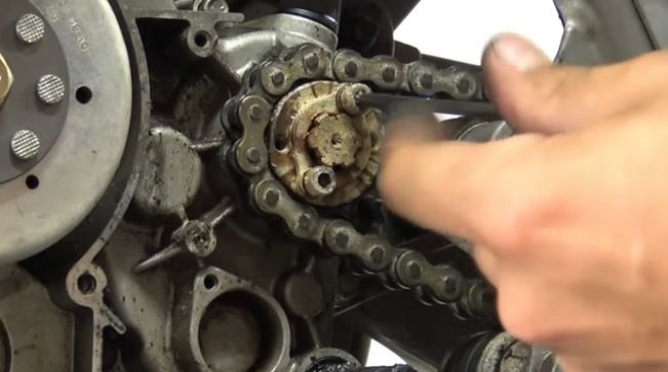
11) Replace the two screws on the sprocket and replace the chain.
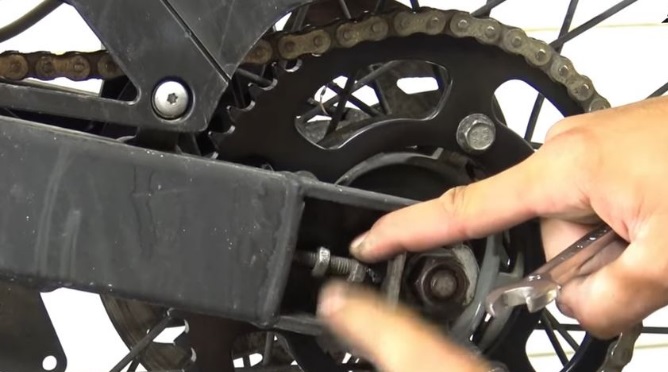
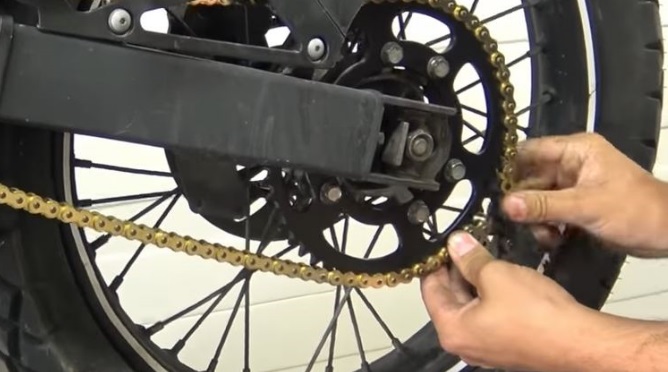
11) Remove the quick coupler and remove the link
11) Connect the new chain to the link
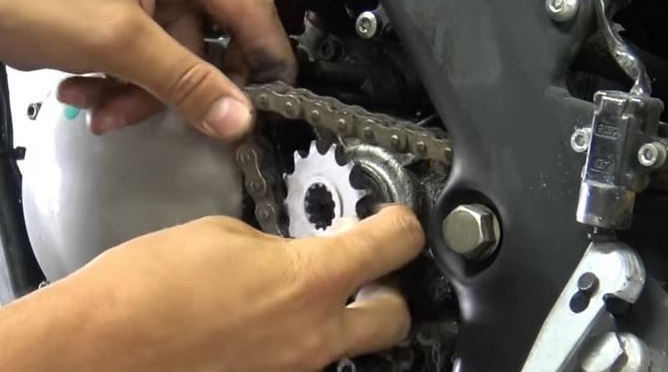
11) Spin the wheel that drives the chain around the pinion and crown.
11) Remove the old chain
11) Close the chain with the quick coupler.
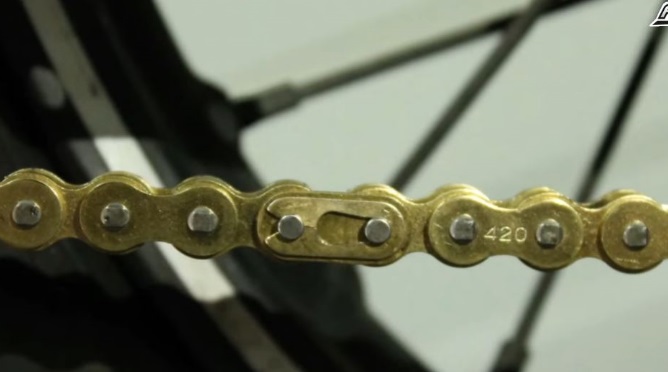
11) The quick coupler must be positioned in the opposite direction of rolling
11) Tension the chain by tightening the tensioners
11) Tighten the wheel. To avoid unwinding the tension when tightening, slip a key between the chain and the crown.
11) Refit the sprocket cover. For the Derbi, forget to reassemble the speed selector.
Replace the brake caliper. Remember to operate the brake pedal to put the circuit under pressure.
Remember to grease the chain carefully
Installing a new chain kit on your box is fairly straightforward but takes time and patience. This replacement is part of the routine maintenance of your machine.
Composed of a pinion, a crown wheel and a chain, the chain kit wears out over the miles and leads to a loss of power. To determine when to change your motorcycle chain kit, a check on these elements should be carried out frequently.
You will find at 50factory.com them chain kits for your two-wheelers as well as all transmission parts what you need and accessories to make your two wheels unique and original!
VIDEO: CHANGING YOUR CHAIN KIT ON AM6 ET DERBI
![]() Cart
Cart

This product has been added to your cart
![]() Cart
Cart
You have already added this product to the cart or there is not enough in stock.