


 CRANKSHAFT REPLACEMENT ON AM6 Minarelli Motor
Ce tutorial aims at you help change the crankshaft of a type engine AM6 minarelli on your box 50cc thanks to pics and explanations associated. This tutorial is quite complicated, you have to be patient and rigorous! It is in two parts: Disassembly then assembly.
Installing a new crankshaft is the most complicated procedure to perform on your gearbox 50cc. It will therefore be necessary to be experienced enough to realize this! It will take you time and patience. Find out on 50factory.com all of our crankshafts for your gearbox 50cc with engine AM6 Minarelli. You can help videos below to perfectly replace your crankshaft.
Difficulty :
![]()
Temps necessary:
1 hour 30
1 part: Disassembly of a crankshaft on engine AM6 minarelli
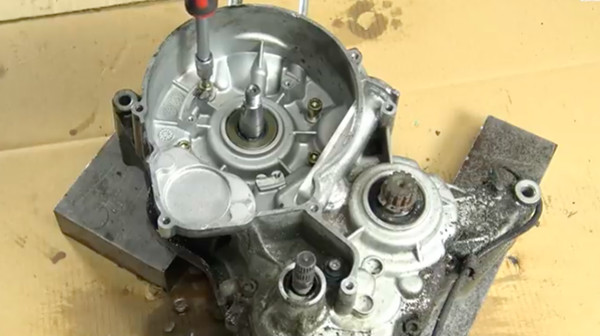
HOW TO REMOVE YOUR CRANKSHAFT AM6 MINARELLI

1) Start par take your motor out of the frame and drain it. For this, consult this tutorial.
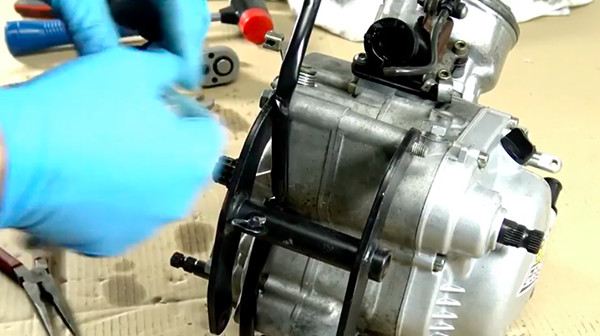
2) Remove the two motor brackets (depending on the models).
3) Remove the ignition cover.
4) Remove the candle.
5) Place the piston lock instead.
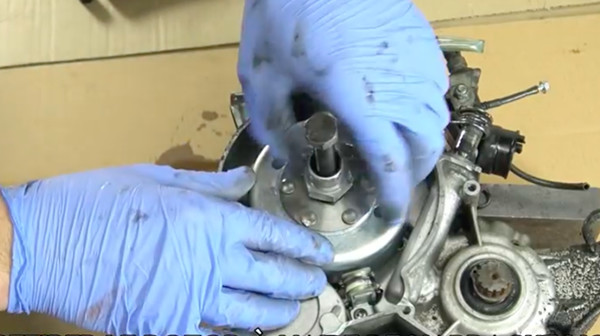
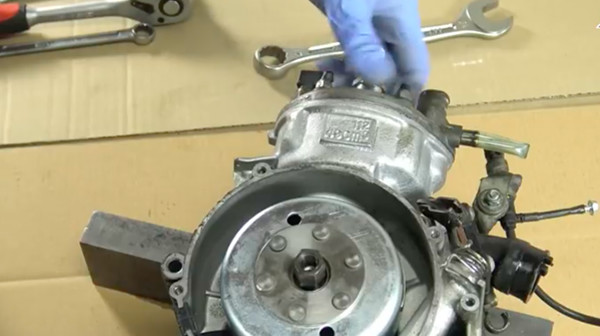
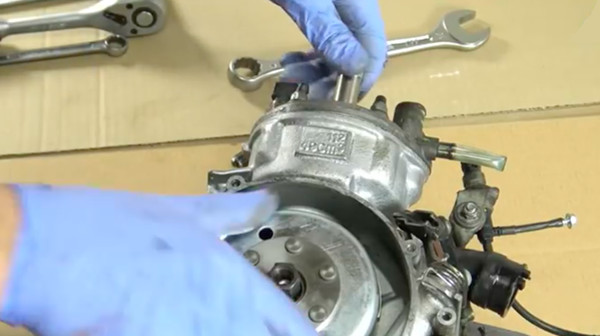
6) Remove the ignition rotor with the flywheel and a wrench or ratchet.
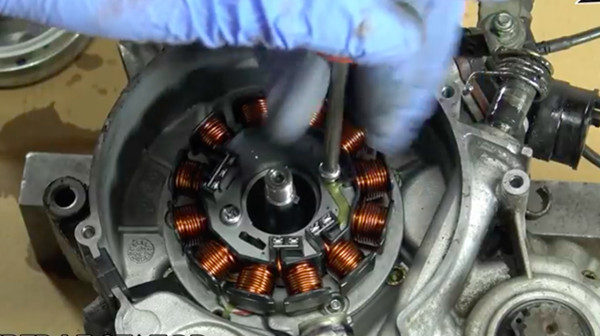
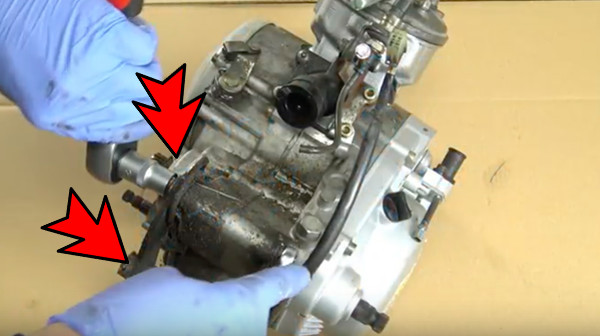
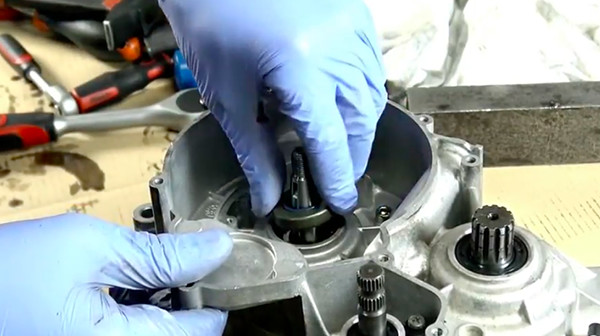
7) Remove the ignition stator (3 screw).
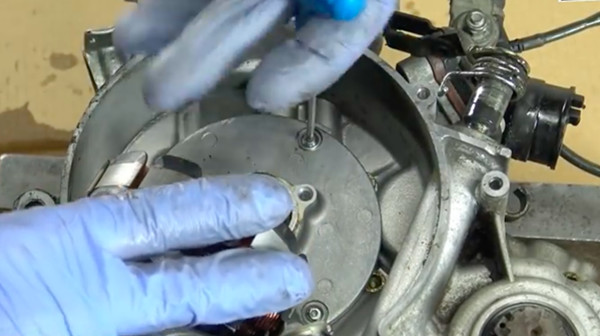
8) To do this you must unscrew the 3 screws from the plate located below.
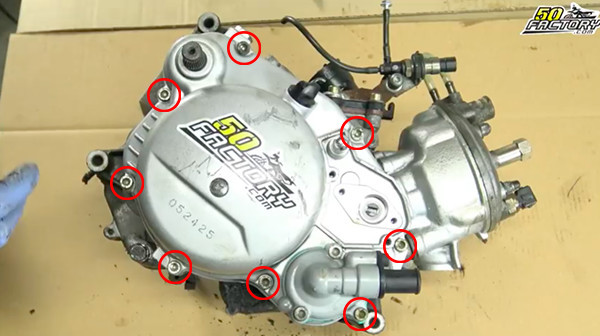
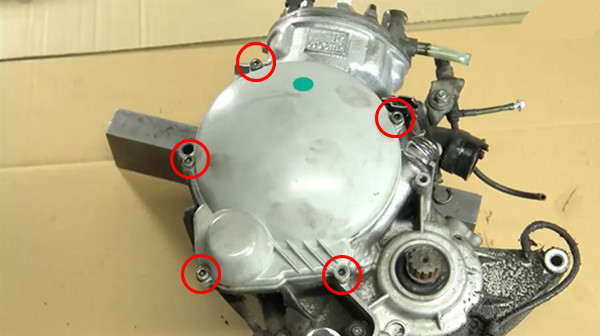
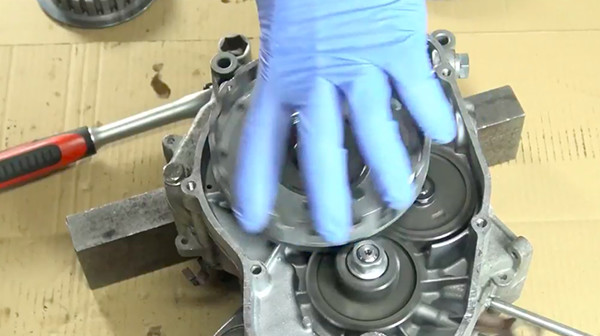
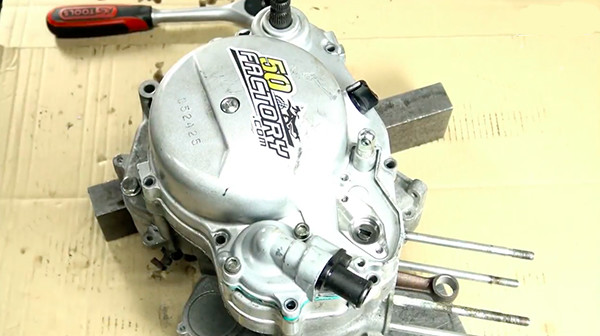
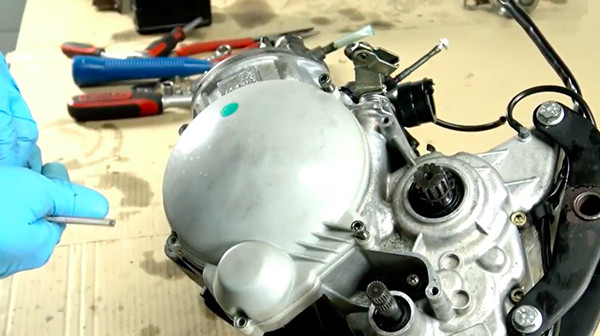
9) Remove the clutch cover (8 screws). Use a mallet to get it out.
11) Remove the sprockets and kick spring.

11) Remove the clutch gasket.
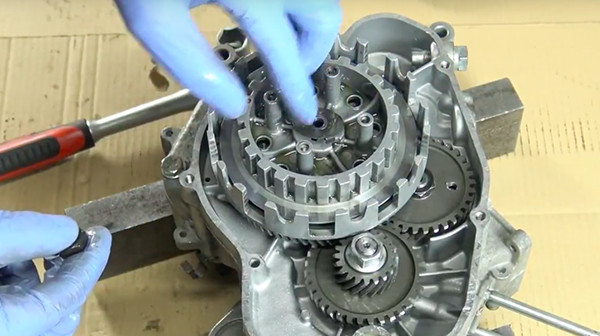
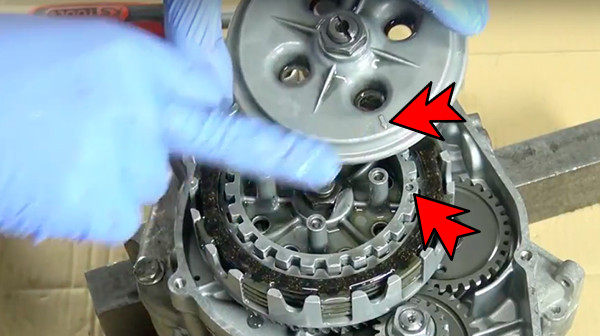
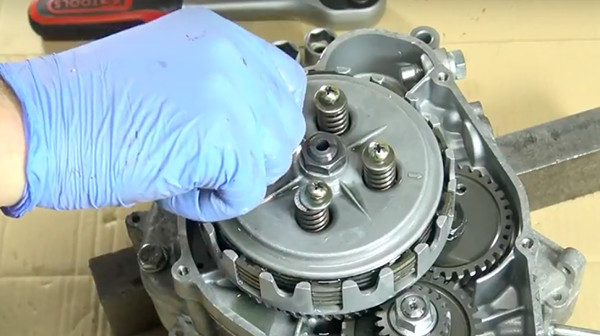
11) Remove the pressure plate (4 screws and 4 springs).

11) Remove all clutch disks.
11) Also remove the clutch push rod.
11) Unfold the bell nut retainer washer.
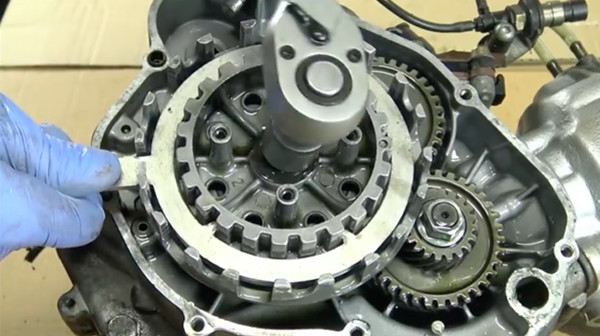
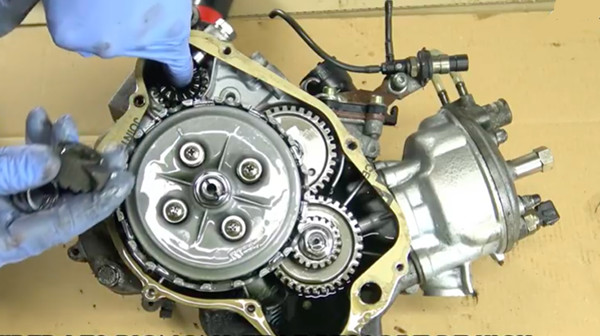
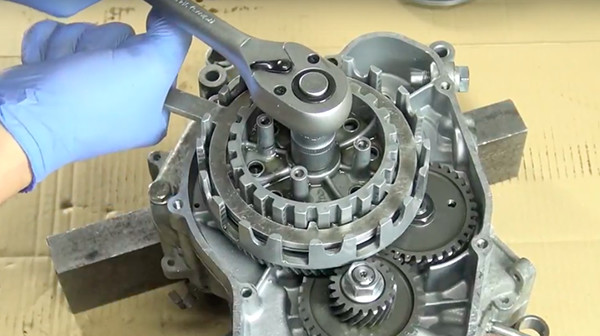
11) Using the clutch key, remove the bell nut and then the clutch boss.
11) Remove the clutch bell. Watch out for the pucks below.
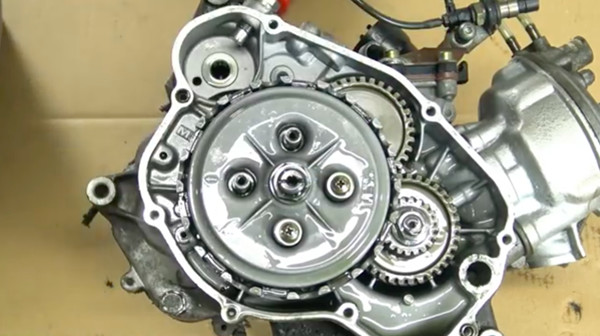
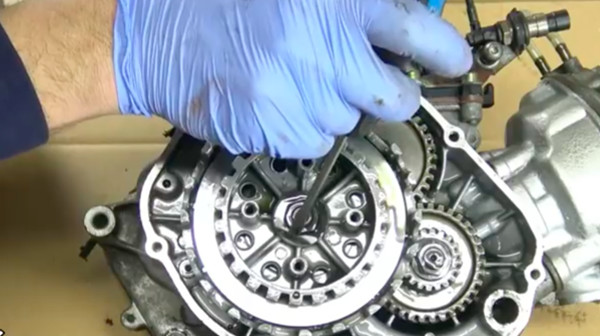
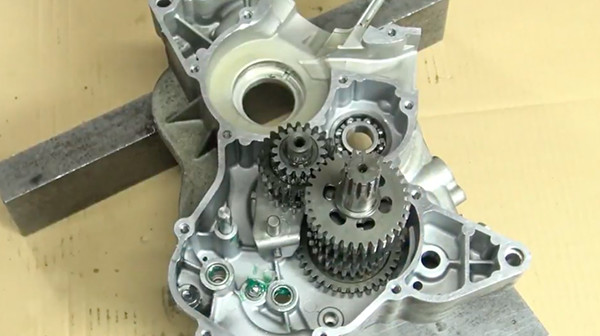
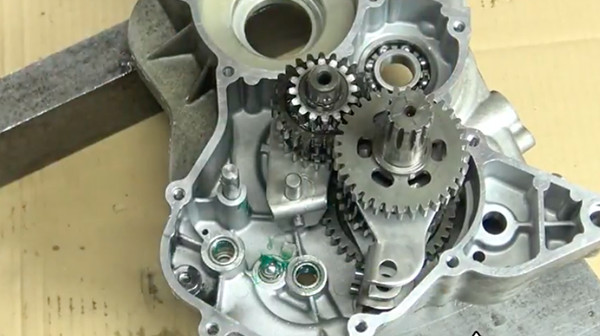
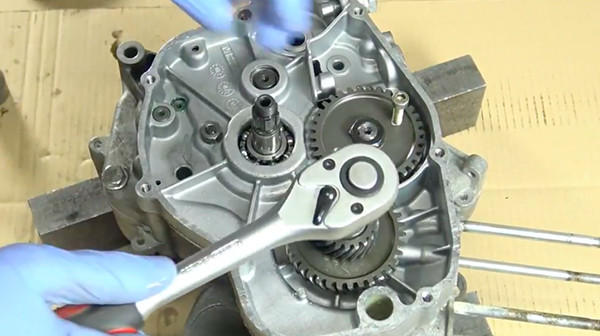
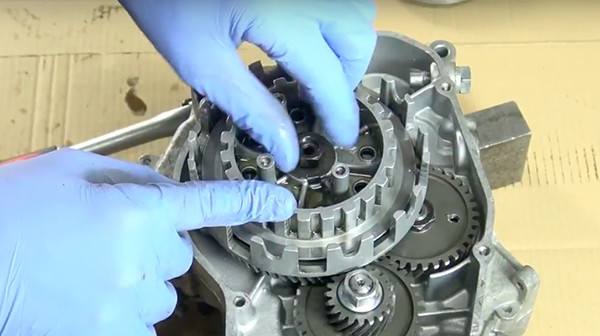
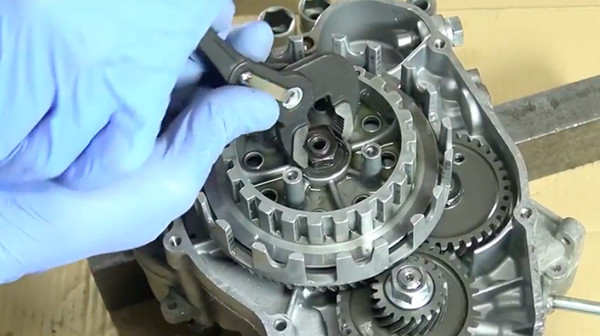
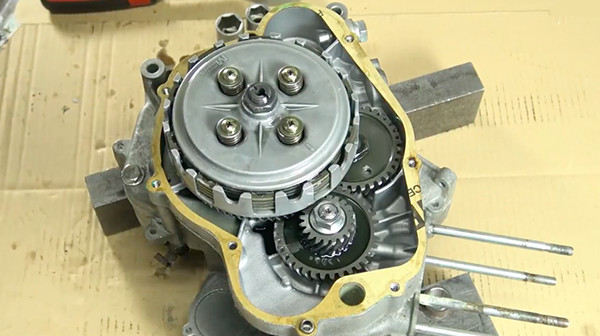
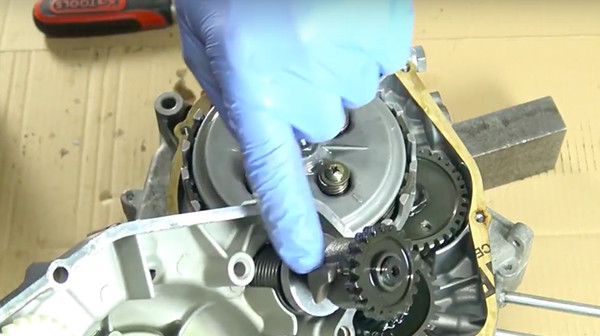
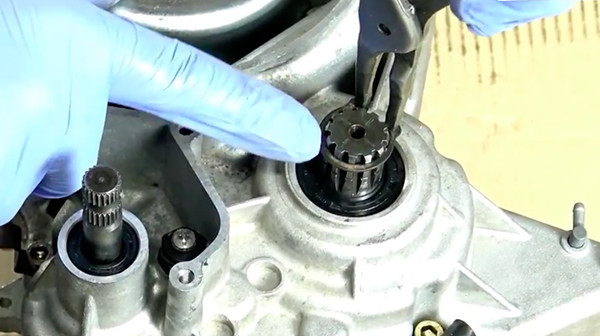
11) Lock the balancer shaft gear with a screw.
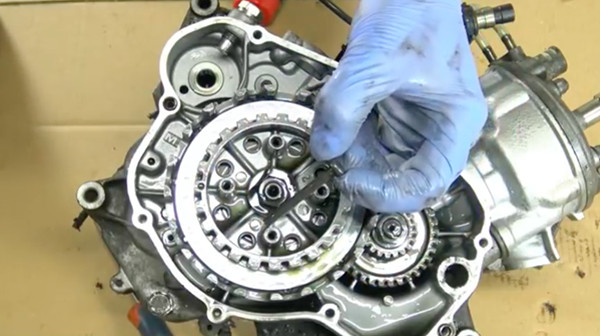
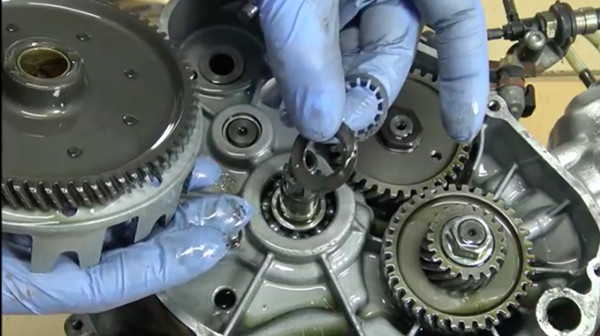
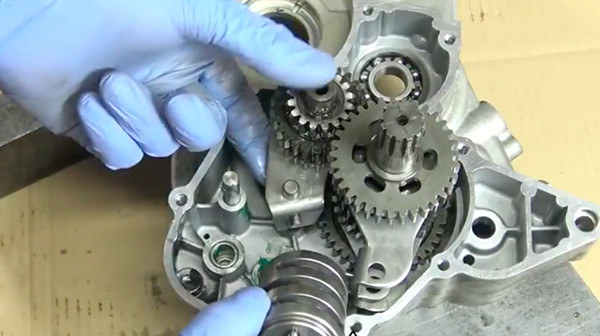
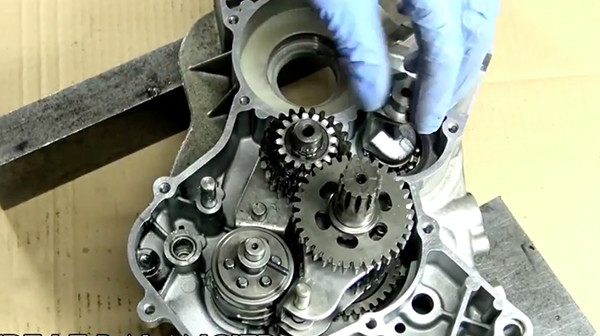
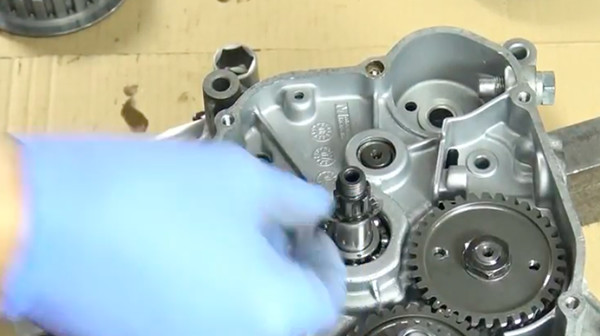
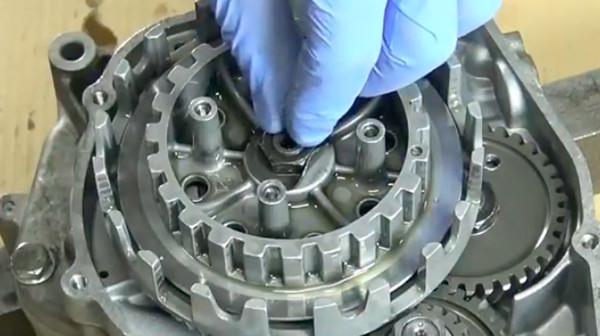
11) Loosen the crankshaft and balance shaft gears. Remove them. Watch out for keys and washers.
11) Drop the ball and the clutch rod.
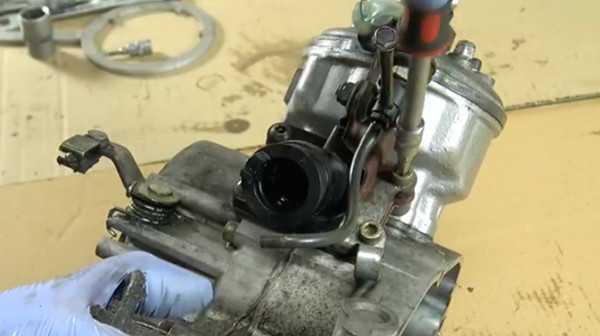
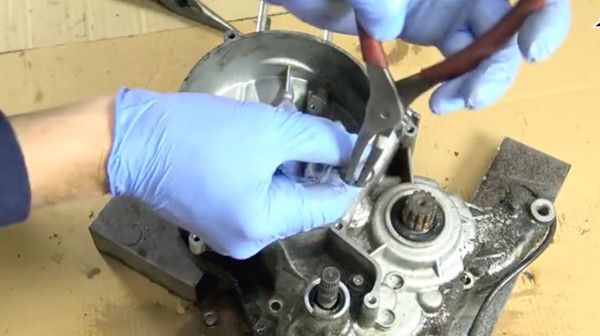
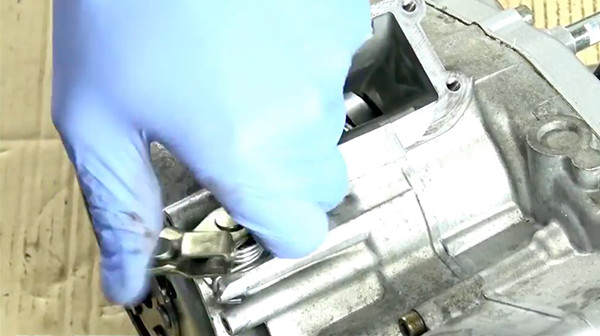
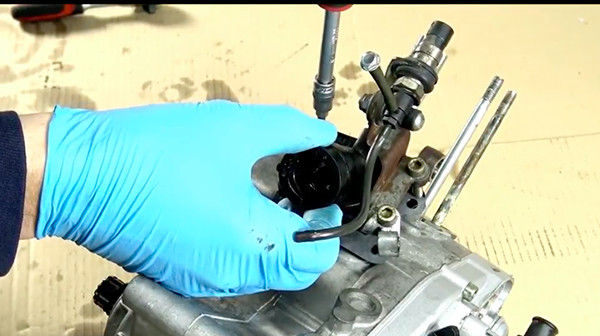
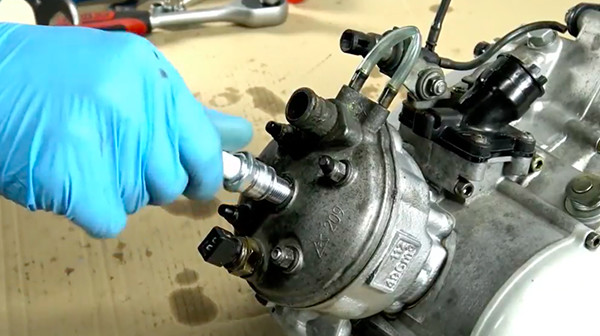
11) Remove the intake pipe and valves (4 screws). Use a flat screwdriver and a hammer to loosen the valves.
11) Remove the piston lock.
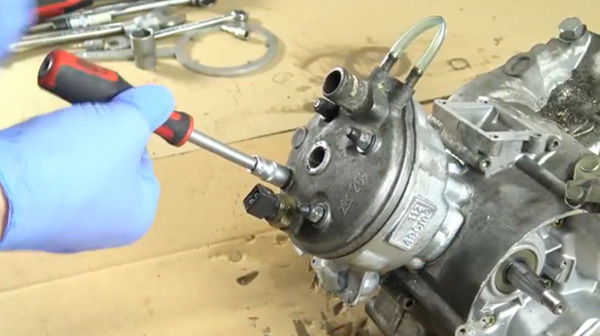
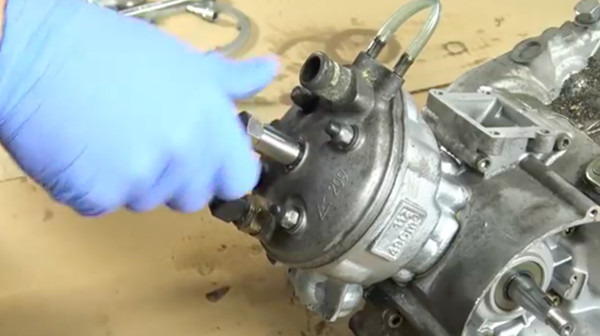
11) Remove the bolt (4 screws).
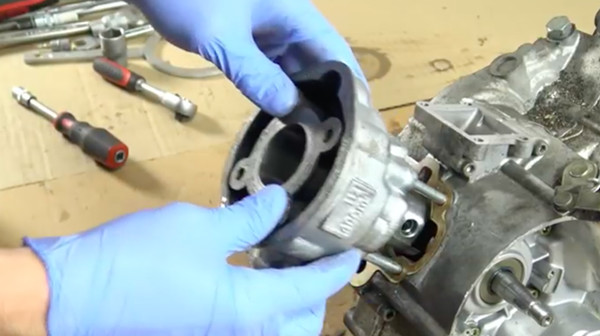
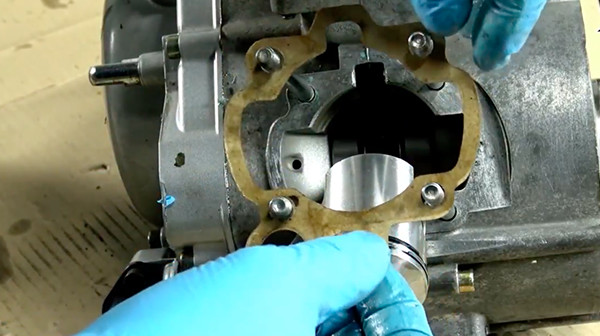
11) Then remove the cylinder.
11) Remove the piston pin clip.
11) Remove the piston pin and piston by tapping with a screwdriver.
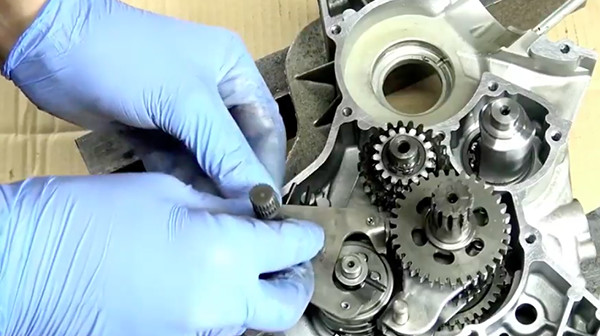
11) Remember to remove the crankshaft needle cage and the base gasket.

11) Remove the clutch link. Watch out for the puck.
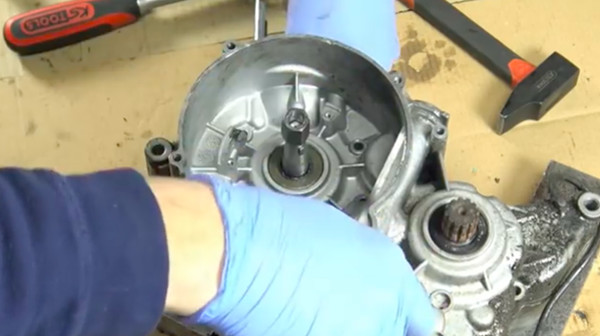
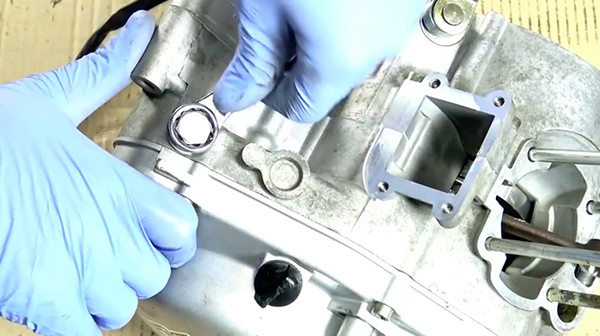
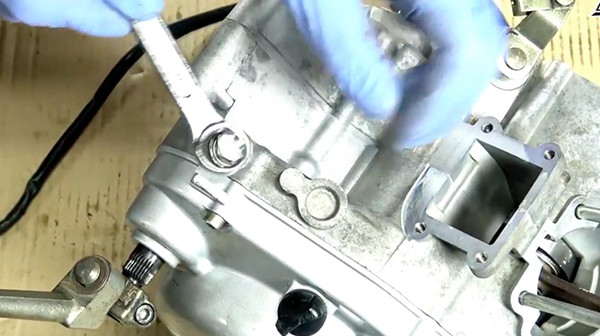
11) Remove the 13 screws from the crankcase (5 inside, the rest all around).
11) Remove the kick shaft circlip.
11) Place the nut on the crankshaft.
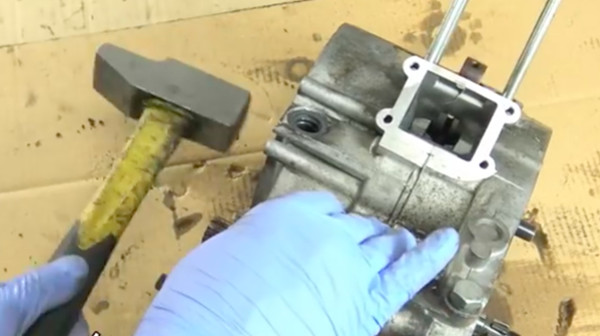
11) Then tap on to bring the casing (it will surely tap in several places).
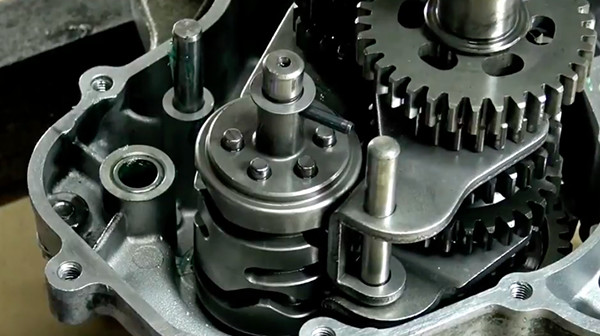
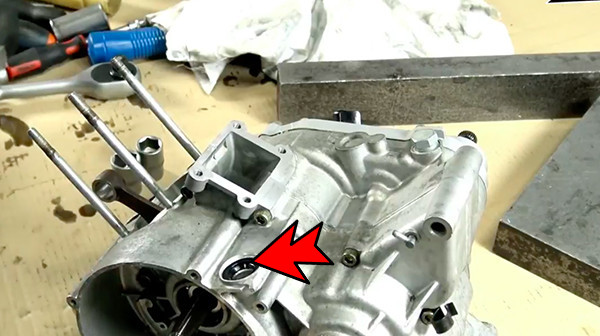
11) Remove the selector shaft. Watch out for the puck.
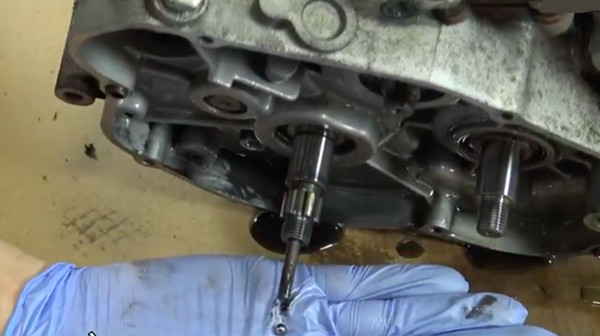
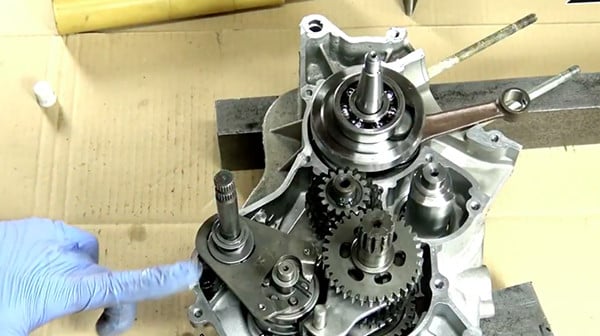
11) Remove the gearbox.
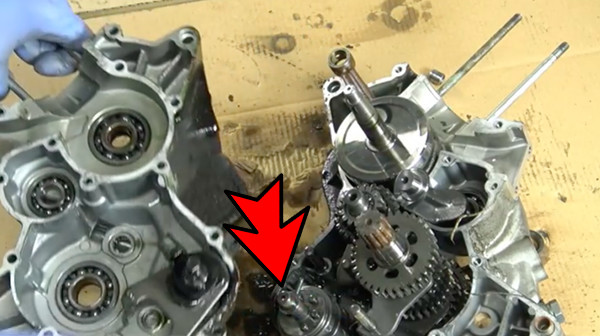
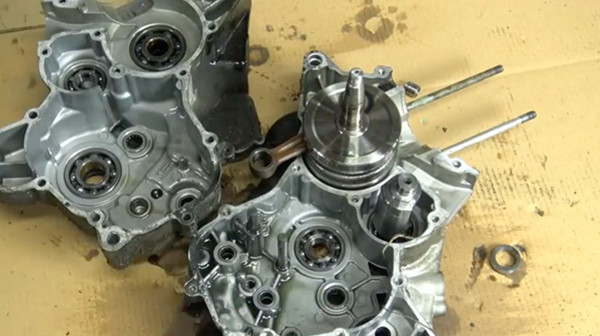
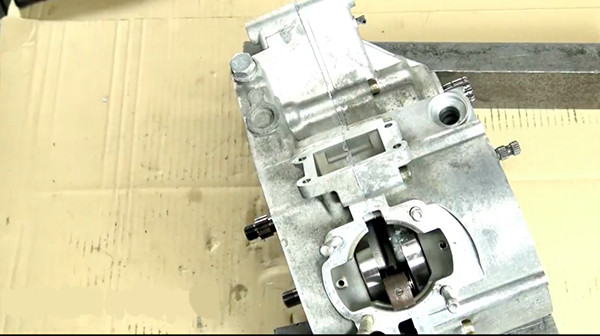
11) Remove the balance and the crankshaft.
11) Also remove the ball and the mainspring.
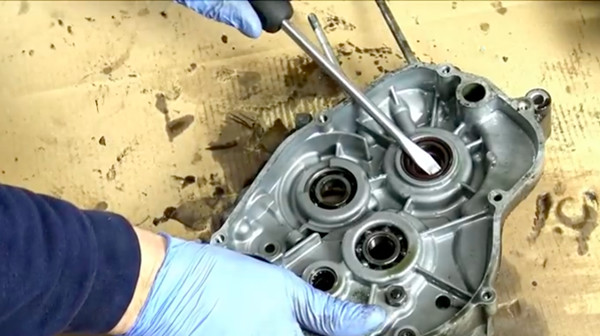
11) Finally, remove the oil seals and crankshaft bearings (on the left and right crankcases).
2 part: Reassembly of a new crankshaft on engine AM6 minarelli
HOW TO REASSEMBLE YOUR CRANKSHAFT AM6 MINARELLI
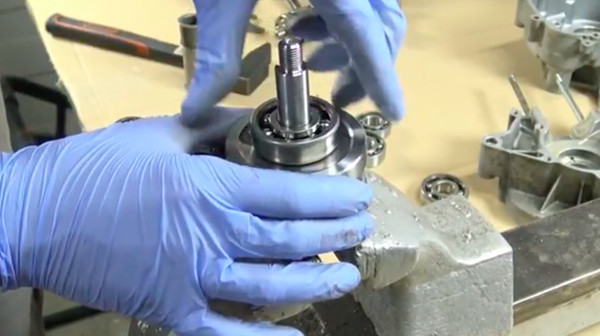
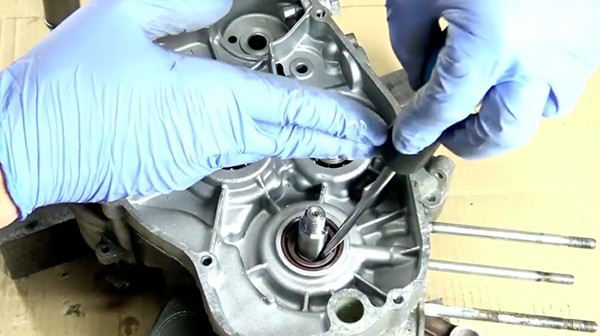
1) Put the new crankshaft bearings. Push in the goods with a hammer.
2) Tip: Put a wrench in the crankshaft when you tap on it to prevent the masses from getting closer.
3) Put some grease on the barrel.

4) Replace the spring and the ball of the cylinder.
5) Replace the gear shafts.
6) Reposition the transmission forks correctly.
7) Replace the gearbox cylinder.
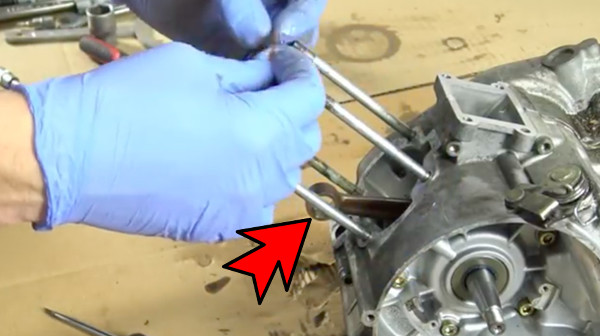
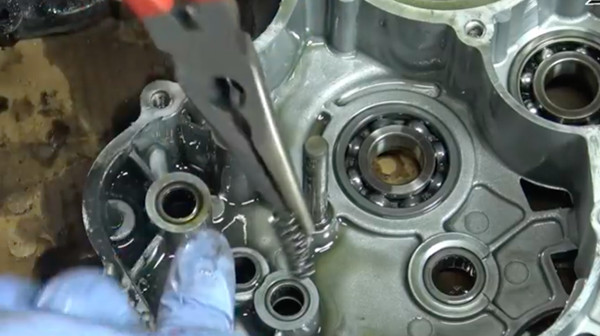
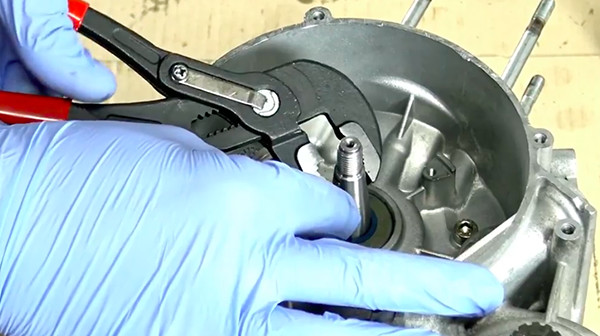
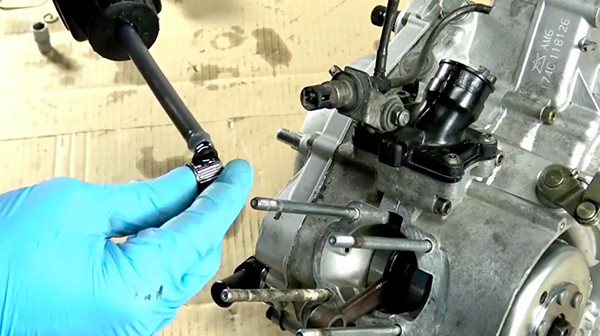
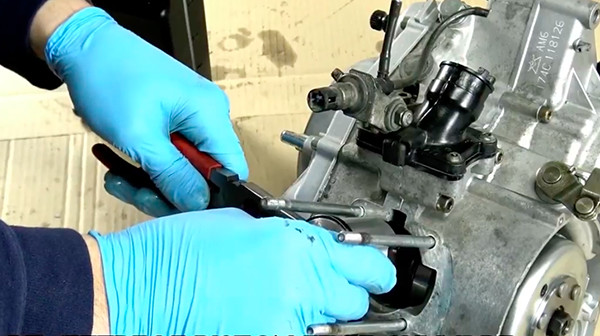
8) Replace the fork pins. Tip: For the bottom fork, raise it with pliers and press down with your finger.
9) Put back the balance.
11) Position the selector shaft. Don't forget the washers at each end.

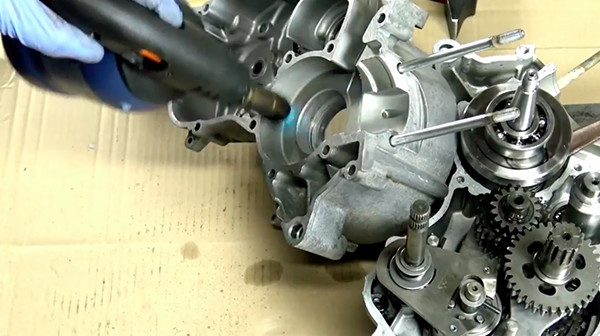
11) Heat the housing with a blowtorch or a stripper.

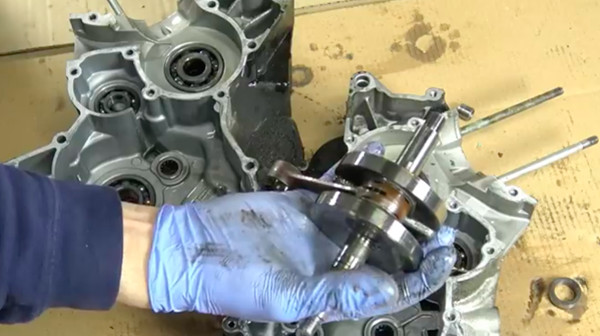
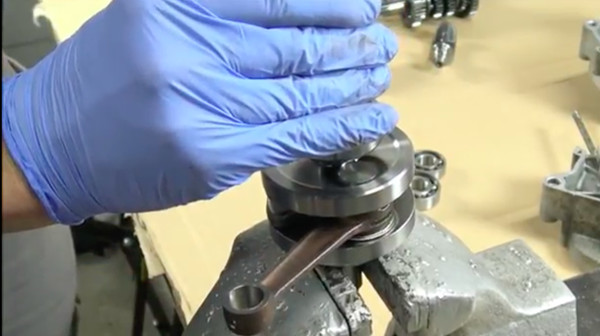
11) When the sump is warm, place the new crankshaft.
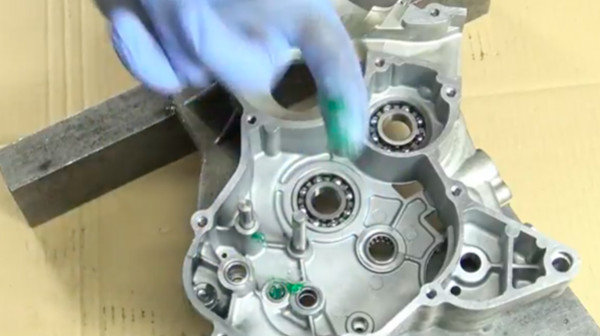
11) Apply joint compound throughout the sump.
11) Heat the other housing with a blowtorch or a scraper.
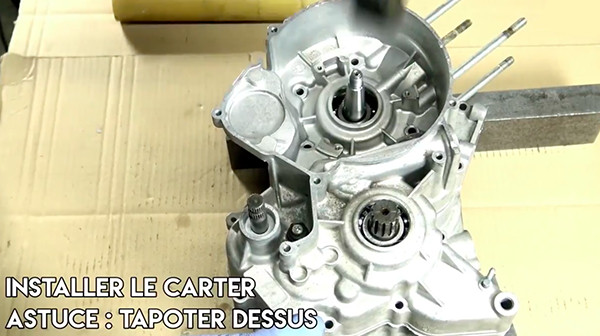
11) Install the housing. Tip: tap on the mallet.
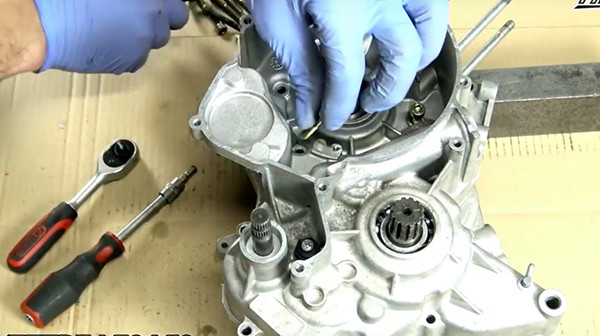
11) Put the 13 screws on the crankcase (5 on the inside, the rest all around). Tighten well.
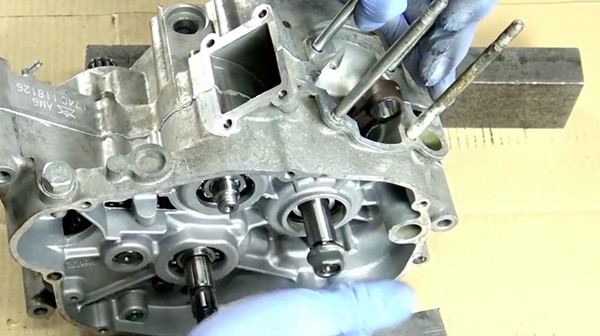
11) Position the crankshaft nut.
11) Tap on the nut to center the crankshaft.
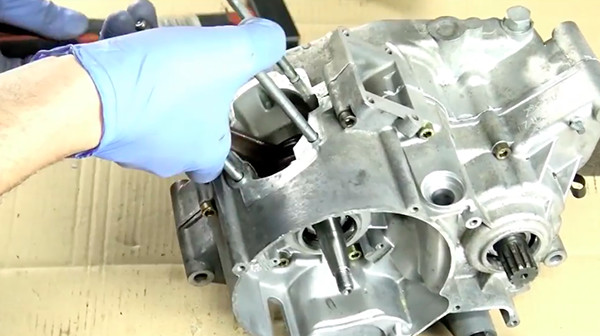
11) Remove the nut and check the correct rotation of the crankshaft.

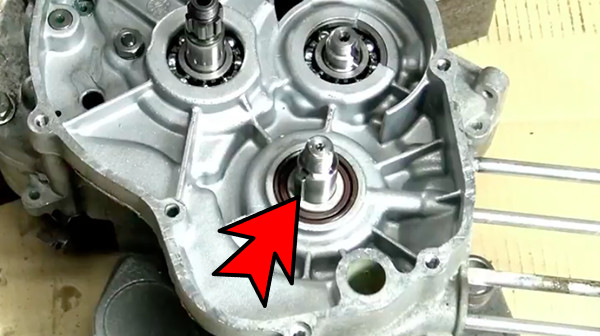
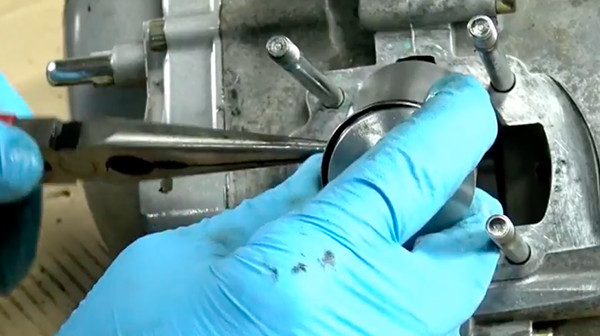
11) Install the crankshaft seal. Push in with an axle and a hammer.
11) Par above, install the crank ring gasket (press it with a flat screwdriver).
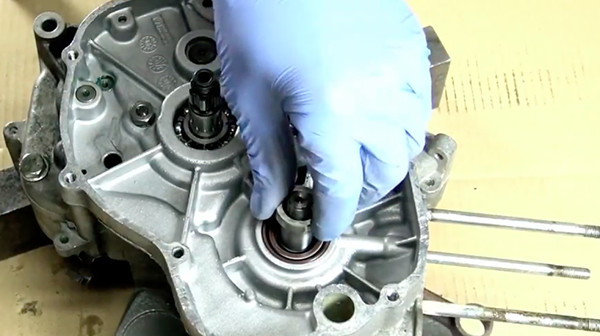
11) Then place the crankshaft.
11) Put the key in the crankshaft.
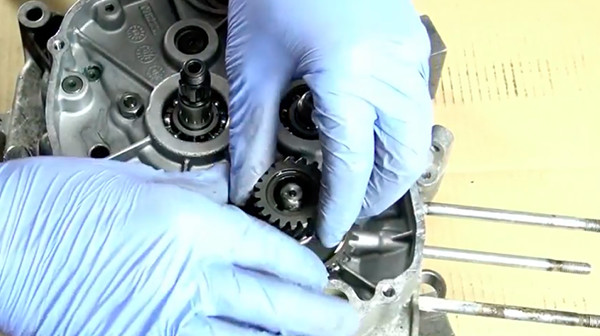
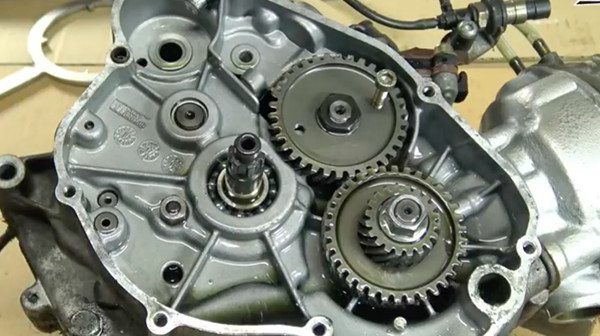
11) Replace the 2 crankshaft sprockets.
11) Replace the balancer pinion (install the front key).
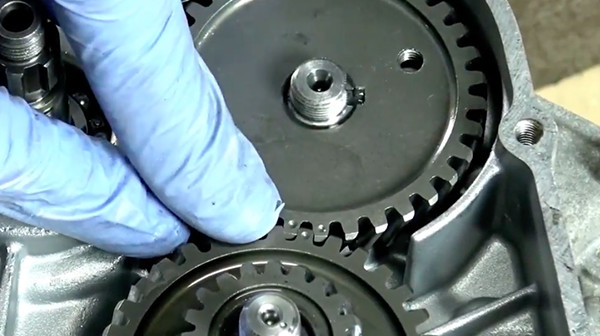
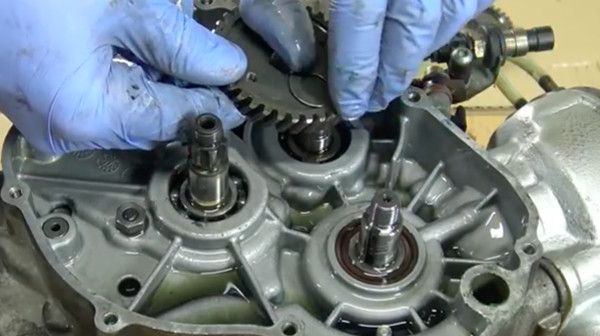
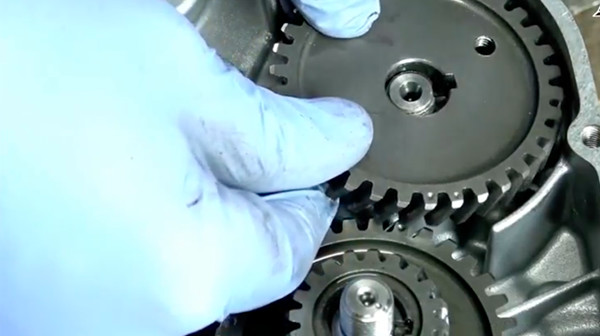
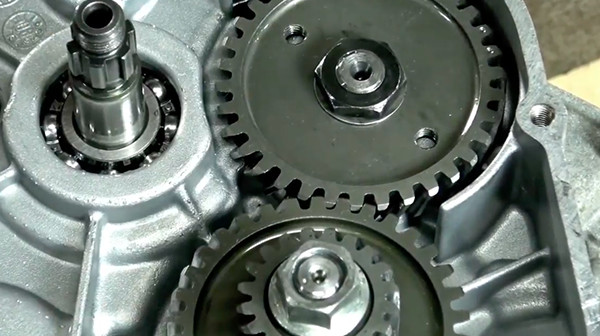
11) Pay attention to the setting of the gears. Locate yourself using the dots on the teeth.
11) Put the nuts back on the gables.

11) Lock the balancer shaft gear with a screw.
11) Tighten the pinions securely to the ratchet, then remove the screw.
11) Replace the clutch bell washers. First the tooth, then the flat.
11) Place the clutch bell.
11) Place the washer, then the clutch nut.
11) Par on top, position the nut retainer washer, then the nut.
11) Tighten the nut using the clutch key.
11) Using pliers, bend the nut retainer washer.
11) Place the rod and clutch ball in the hole. Then the push rod (in this order).

11) Install the clutch discs by putting box oil on each. Start par a garnished, then a dish ... etc.
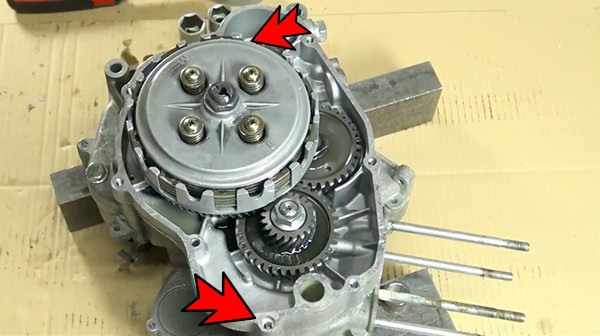
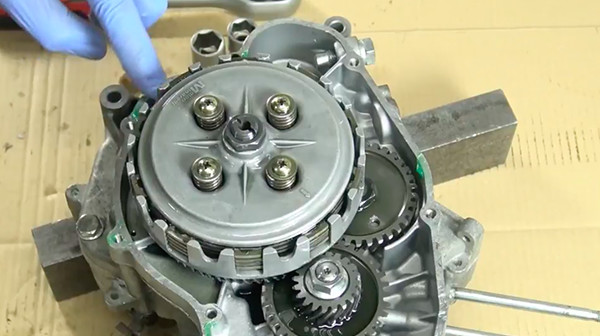
11) Install the presser plate. Attention to the mounting mark (arrow of the plate on the point of the clutch bell).
11) Place the springs, then screw the pressure plate (4 screws and 4 springs).
11) Put the 2 centering pins back. Tapohammer to hammer them.
11) Tip: Put grease on the crankcase gasket.
11) Fit the crankcase gasket.
11) Replace the clutch housing. Be careful when mounting the kick sprockets, the notch must be in front.
11) Tapouse the mallet to press it in, then put the 8 back on the housing.
11) Replace the clutch link pin seal. Push in with an axle and a hammer.
11) Replace the crankshaft seal in the same manner.
11) Replace the crankshaft key.
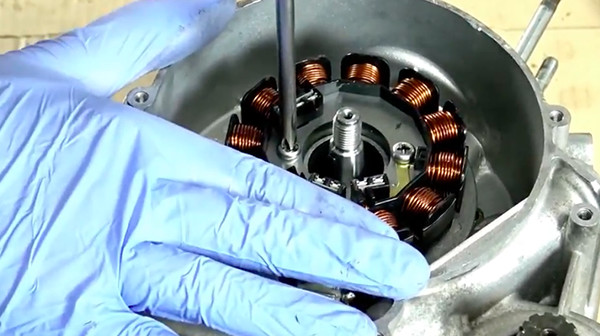
11) Install the ignition stator (3 screw on the plate, then 2 on the stator).
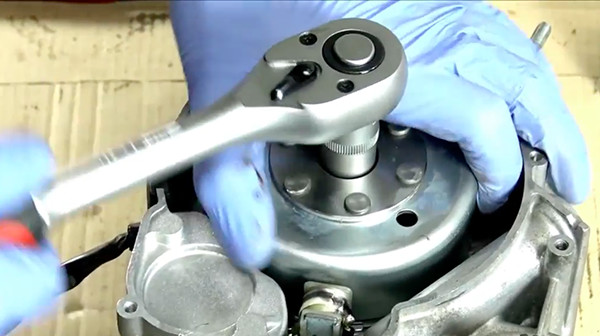
11) Replace the ignition rotor, screw the well to the ratchet.
11) Replace the gearbox pinion clip.
11) Install the clutch link. Watch out for the spring.
11) Loosen the kickstop. Watch out for the puck.
11) Tighten the kick spring and put back the kickstop. Tighten well.
11) Replace the valves, the gasket and the inlet pipe (4 screws).
11) Grease and install the new needle cage into the crankshaft.
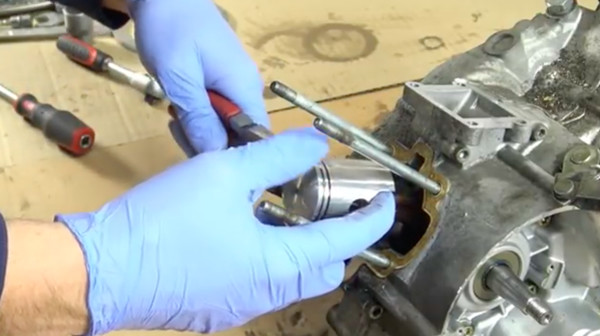
11) Replace the piston with its axis.
11) Then the piston clip.
11) Now place the base gasket.
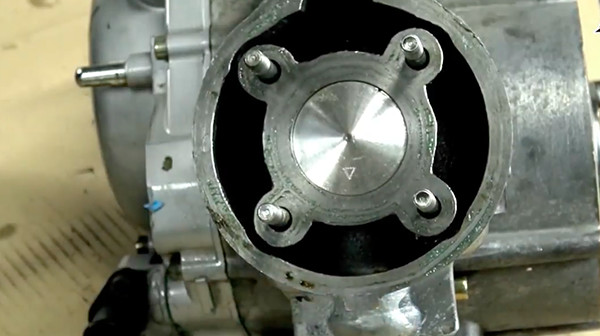
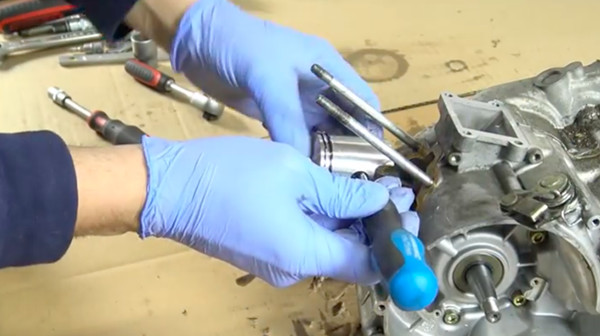
11) Push the cylinder.
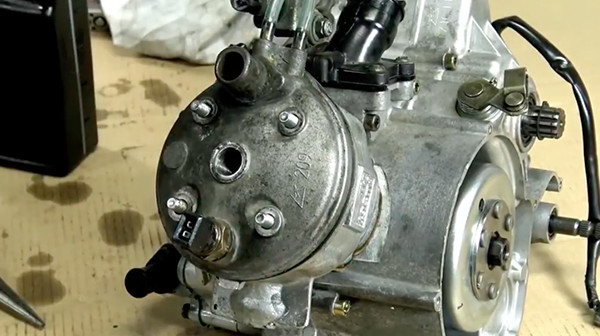
11) Position the breech correctly.
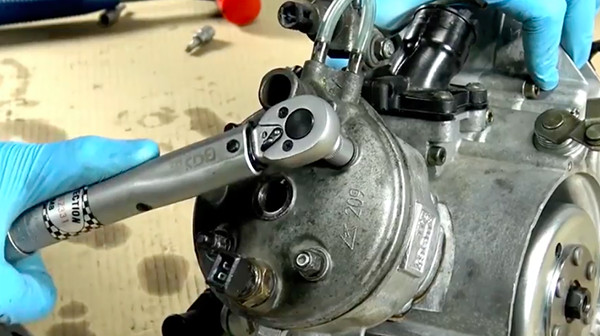
11) Use the torque wrench to tighten the bolt to torque (18NM).
11) Replace the motor mount (depending on the models). Here 2 axes.
11) Replace the ignition cover (5 screws). Tighten well.
11) Install the candle.

11) You can now reset your engine by helping you this tutorial.
VIDEO: 1ST PART- DISASSEMBLING 50CC ENGINE CRANKSHAFT AM6
VIDEO: 2TH PART- REASSEMBLING 50CC ENGINE CRANKSHAFT AM6
![]() Cart
Cart

This product has been added to your cart
![]() Cart
Cart
You have already added this product to the cart or there is not enough in stock.