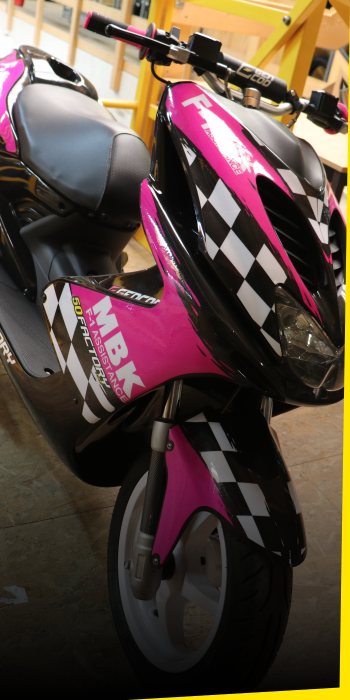
Parts and equipment for motorcycles, quads, scooters and bicycles


How to put your decoration kit properly?
You'll need :
- A decoration kit.
- Patience (count a good 2 hours, plus the rest time of 24 to 72 hours depending on the product).
- Brake cleaner type degreaser.
- Pair of scissors or cutter.
- Hair dryer or heat gun.
- Smoothing wedge or squeegee.
Substrate preparation
Technique for removing stickers:
1) Start par bring a hair dryer.
2) Plug it in, turn it on, and direct its hot blast for two to five minutes directly at the sticker.
3) The sticker should be able to peel off around the edges with the tips of your fingernails or even better, with the tip of a craft knife blade.
4) There is likely some glue left on the fairings. It will be necessary to use solvent (industrial or for nails it does not matter) or gasoline F. Be very careful, it is a question of passing small blows with a cloth on the surface.
Complete degreasing of plastics is an essential step. If this cleaning is not carried out correctly, your decoration kit will not stick permanently to the substrates.
On the other hand, stickers should not be placed on scratched plastic. If your plastic is already a little worn and scratched, then it will need to be sanded lightly to prevent the stickers from forming bubbles. On the other hand, if it is too worn, it is better to replace it completely.
If you are using a new fairing, the plastics are covered with a release wax that you will need to remove. Emphasize the ends. Several cleanings will be necessary. Then dry with a clean cloth.
Graphic kit positioning
Sort the kit parts into right side and left side. Position the sticker on its location to see how you will place it.
In some cases, it may be necessary to trim excess stickers.
Collage
Tip: For easier installation, we advise you to disassemble the parts to be covered.
For best result, put the kit at room temperature (above 20 degrees). Install yourself in a place sheltered from the sun, wind and dust. Always start the final collage par the center of the room. Slowly remove the adhesive from the paper backing while sticking it. Eliminate air bubbles as you go by pressing with a clean, dry cloth or with a smoothing wedge from the center of the room outwards. The support may have reliefs. Take a hair dryer or heat gun, heat the kit to soften it, it will adapt perfectly to the support.
finishes
Once the decoration kit installed, heat it slightly with the hair dryer, applying pressure to the adhesive. Leave to sit for a minimum of 24 hours so that the glue sets on the support.
Air bubbles:
You notice the presence of air bubbles, prick the center with a pin. Keep it in place and heat with the hair dryer. Remove the pin while continuing to heat. The hot air in the bubble will leave on its own, the bubble will disappear.


HERE 100% OF THE PARTS INDICATED IN STOCK REALLY ARE!


 Cart
Cart
This product has been added to your cart
 Cart
Cart
You have already added this product to the cart or there is not enough in stock.