Parts and equipment for motorcycles, quads, scooters and bicycles


General information > Tips and Guides > Tutorials > Quad ATV > Cycle parts > Repair your carburetor (Yamaha Kodiak 450)
 TUTORIAL REPAIR YOUR CARBURETOR
Ce tutorial aims at you help repair the carburetor on your quad. The example shown here is for the quad Yamaha Kodiak 450.
Find all admission pieces adapted to your machine.
Difficulty :

Temps necessary:
60 minutes
Necessary material :
- 1 carburetor repair kit
- 1 valve membrane (ref: E76124C529)
- 1 carburetor membrane (ref: E76124C089)
- Carburetor cleaner
- 1 8 Flat Key
- 2 screwdrivers (1 cruciform et 1 dish)
- 1 needle nose pliers
- 1 blower gun
- 1 brush ou 1 brush
- 1 drain pan
HOW TO REPAIR YOUR CARBURETOR (Quad YAMAHA KODIAK 450)
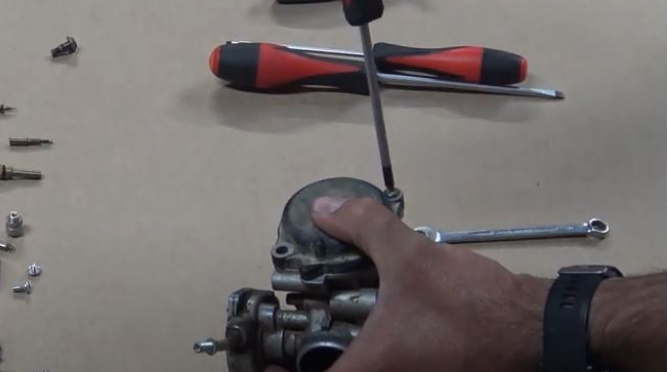
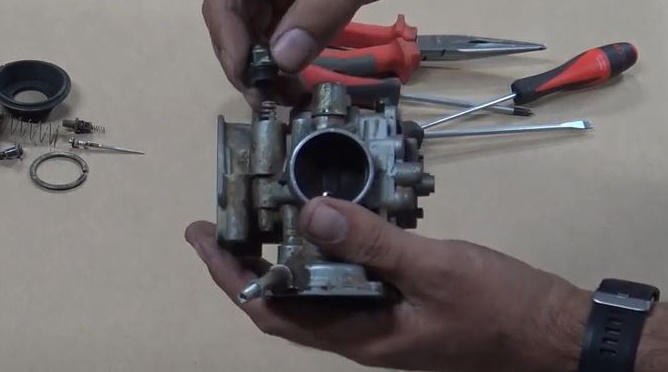
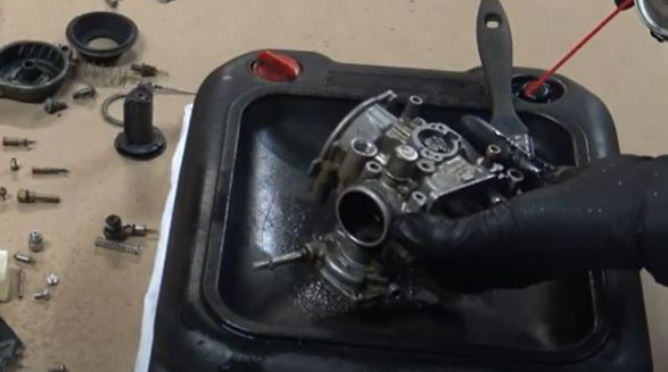
To dismantle your carburetor, you will need to remove the saddle, the side fairings and the tank. Disconnect the gas cable and that of the starter. then you will need to remove the carburetor from the air box sleeve and the intake pipe after loosening their retaining collar.
Consider cleaning the exterior of the carburetor with carburetor cleaner to facilitate the following steps.
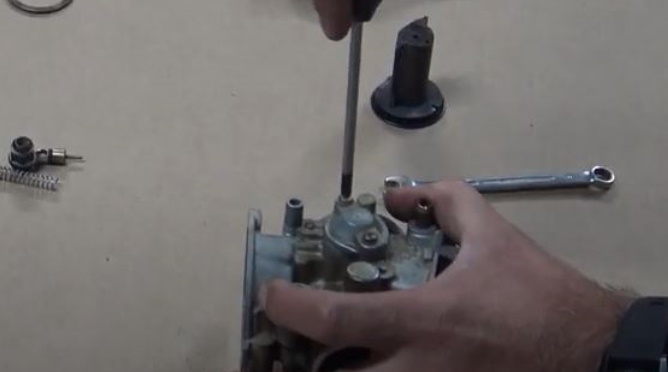
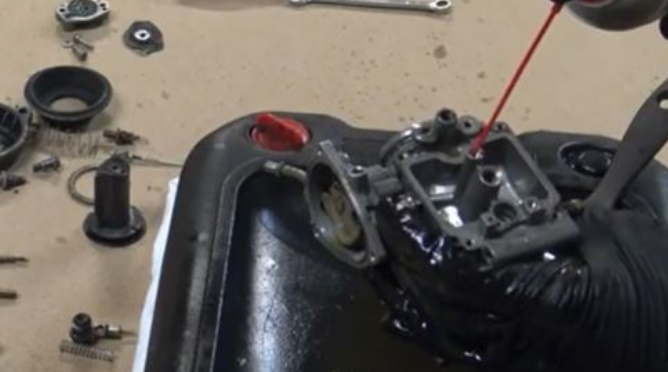
1) Unscrew the 4 screws from the tank.
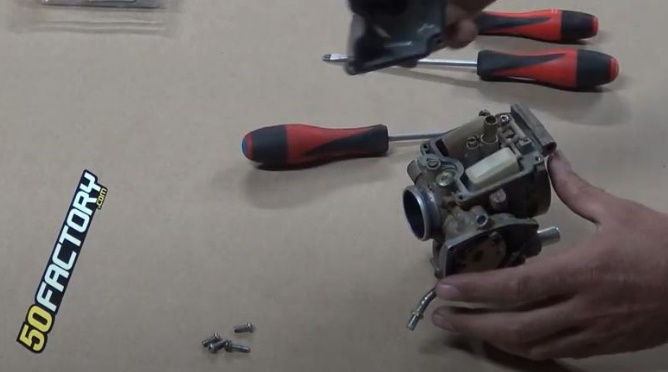
2) Remove it
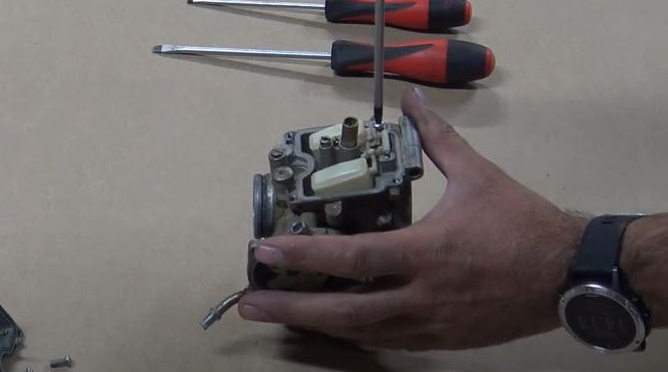
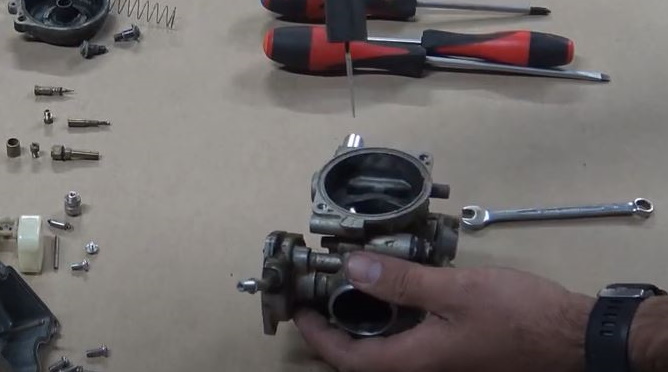
3) Remove the float.
4) Then the needle.
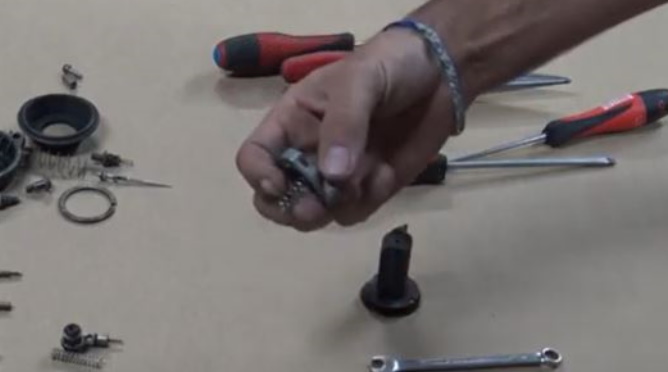
5) Unscrew then remove the needle well using the needle-nose pliers.
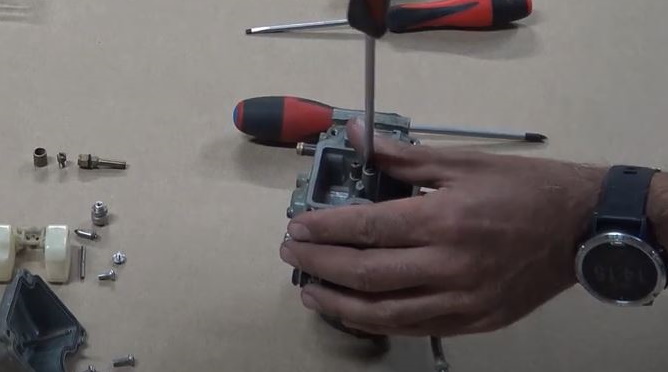
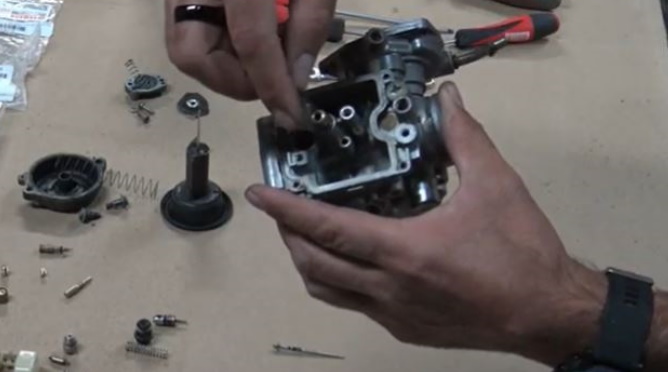
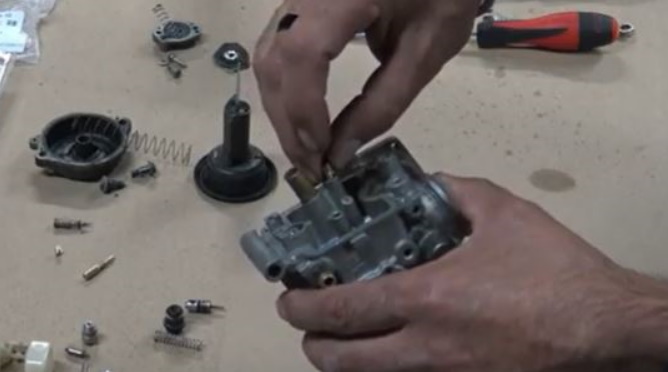
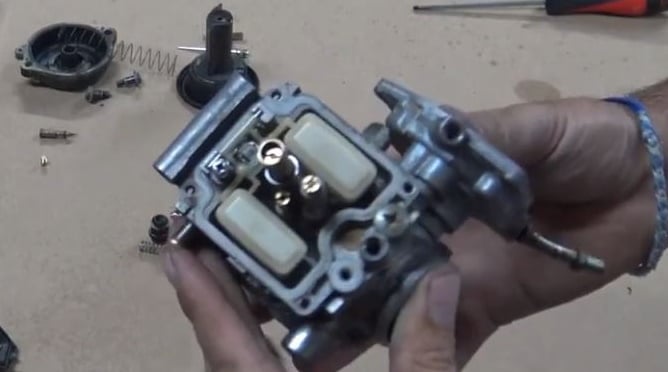
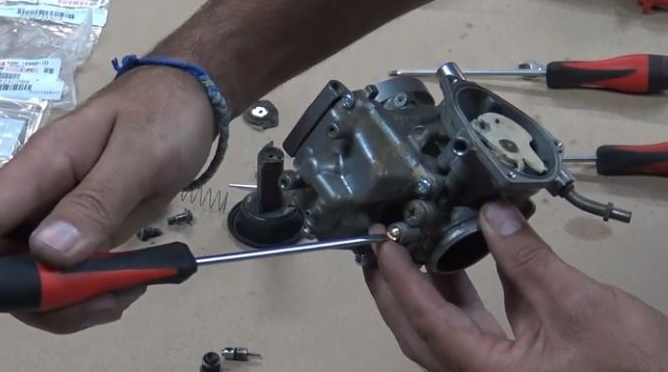
6) Unscrew and remove all the jets (main, secondary and idle) using the flathead screwdriver.
7) Unscrew the richness screw.
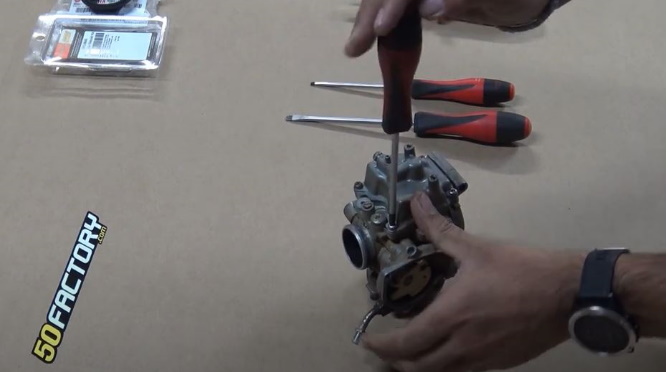
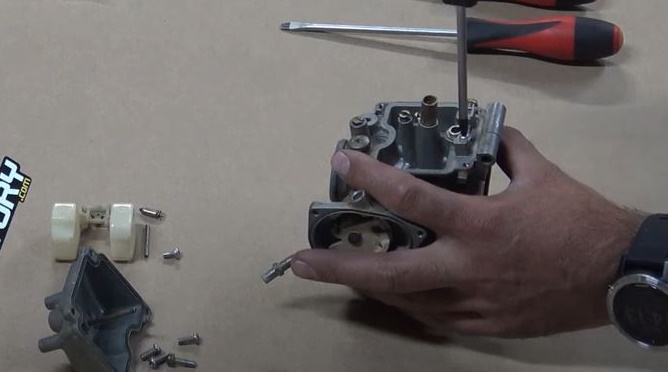
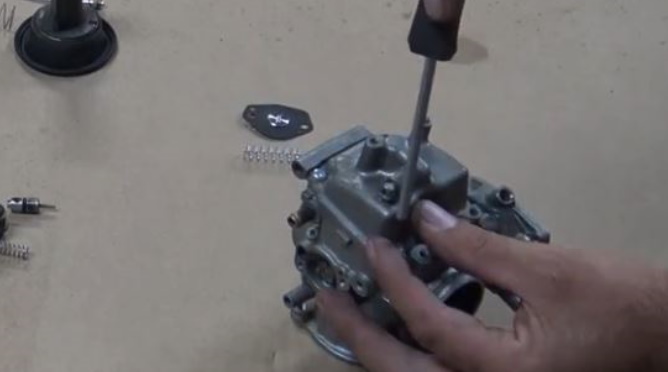
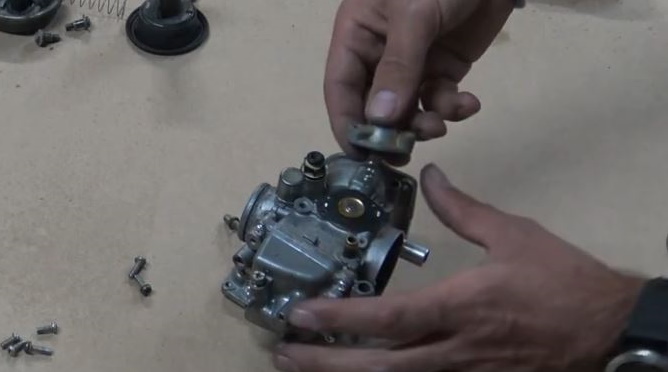
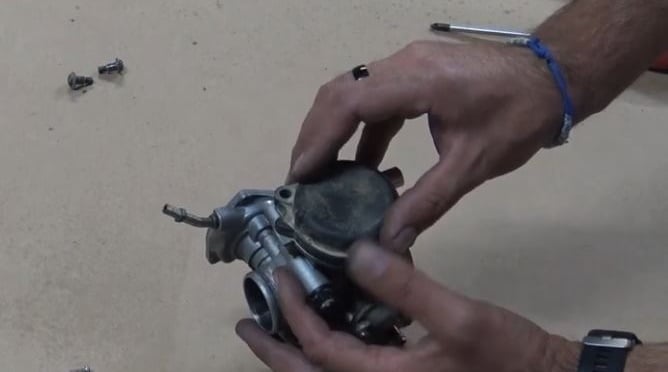
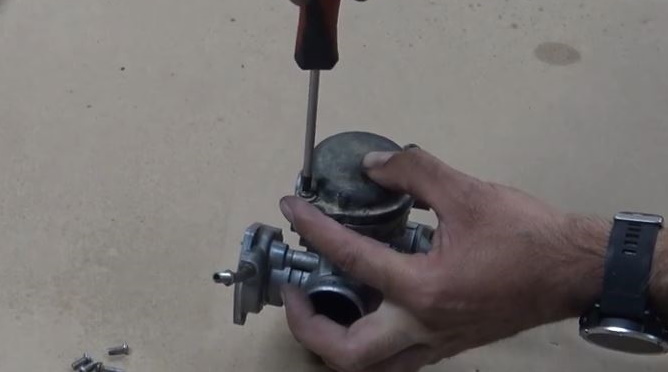
8) Unscrew the valve cover (2 screws).

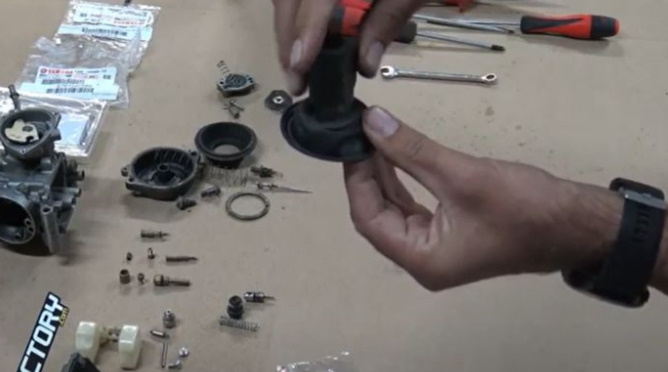
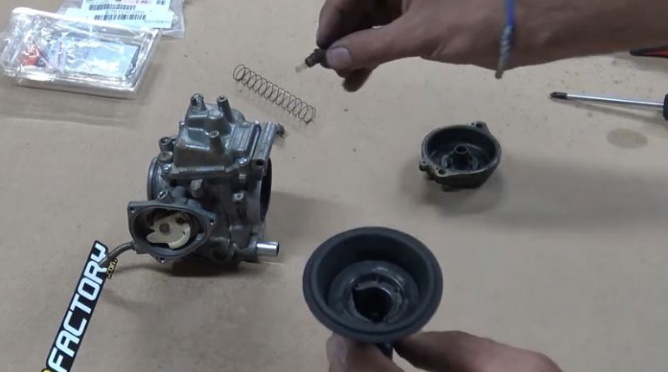
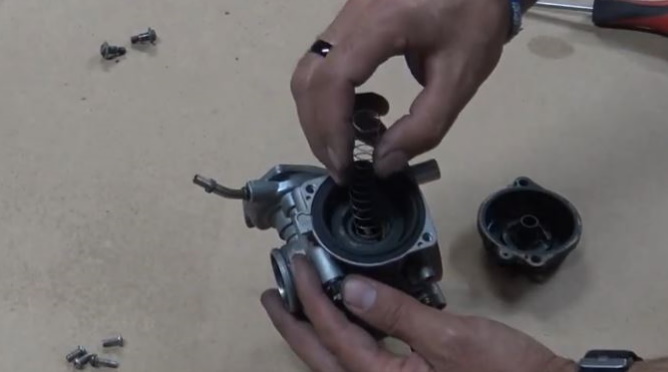
9) Remove the cover (watch out for the spring).
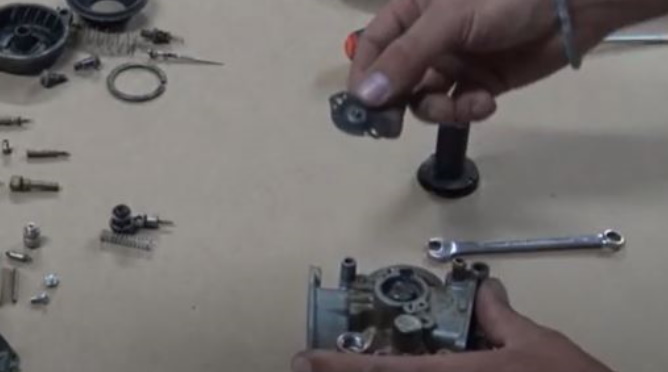
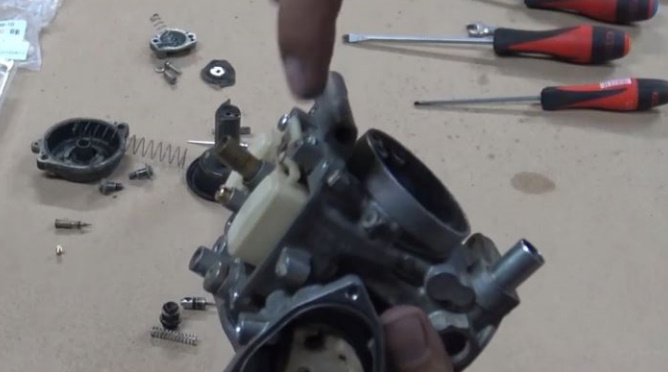
11) Remove the bushel.
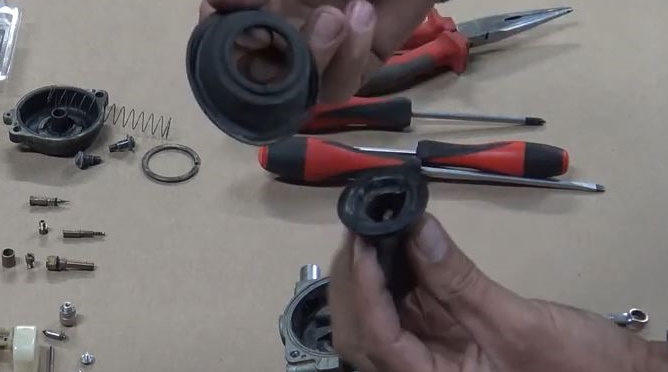
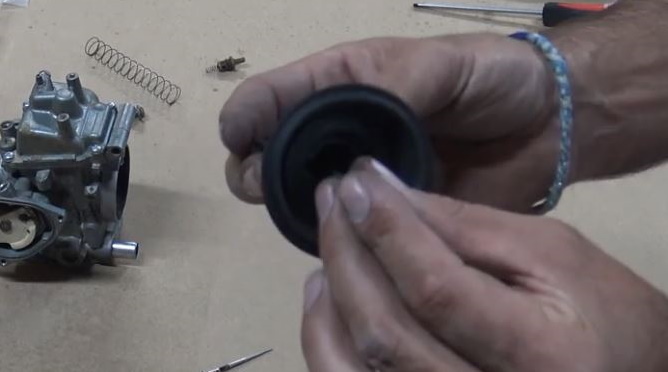
11) Remove the diaphragm (membrane).
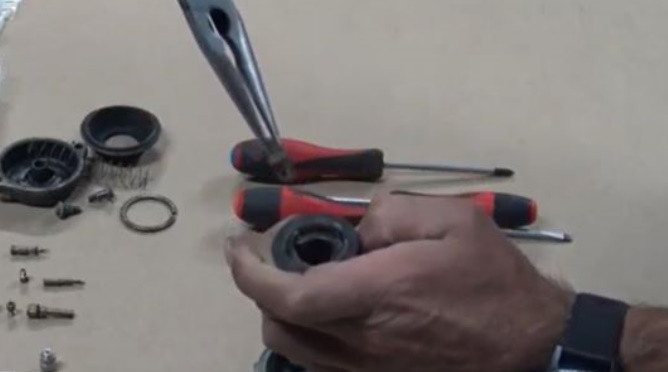
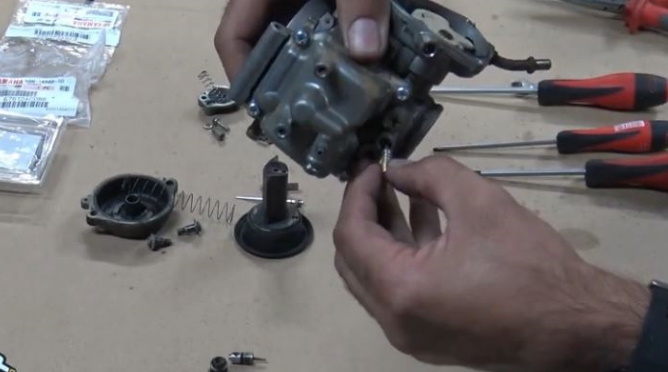
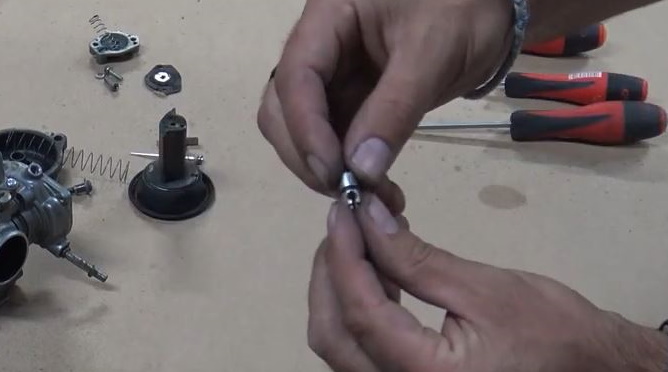
11) Using the needle-nose pliers, remove the needle.
11) Remove the system from startst.
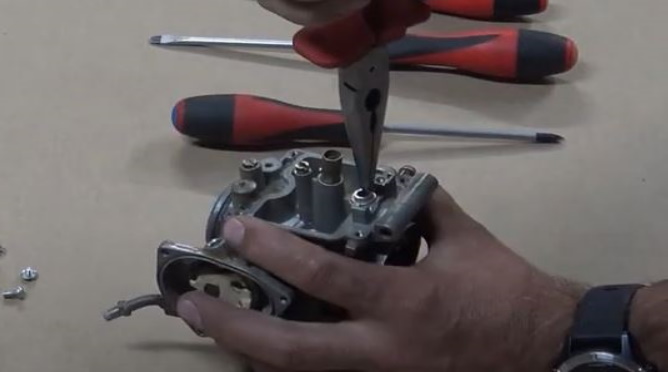
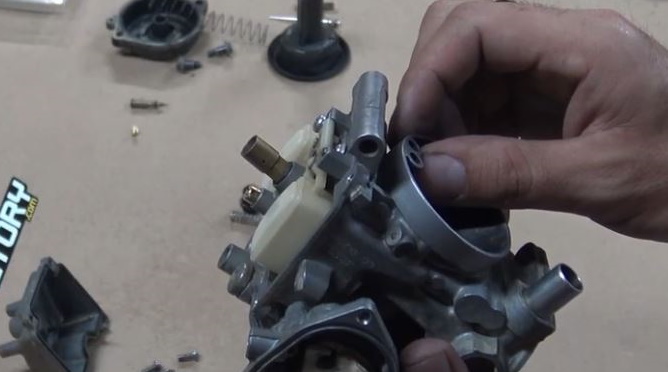
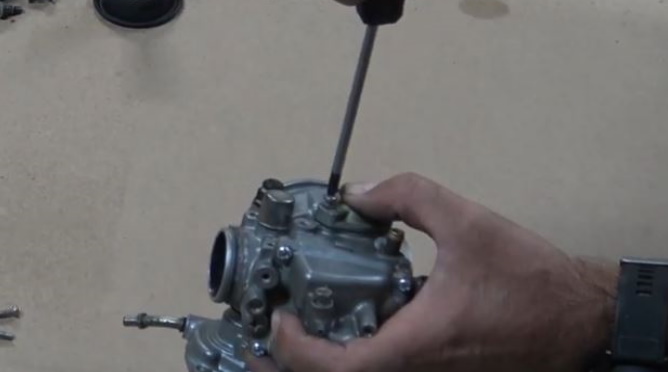
11) Unscrew (2 screws) the membrane cover.
11) Remove the cover.
11) And the membrane.
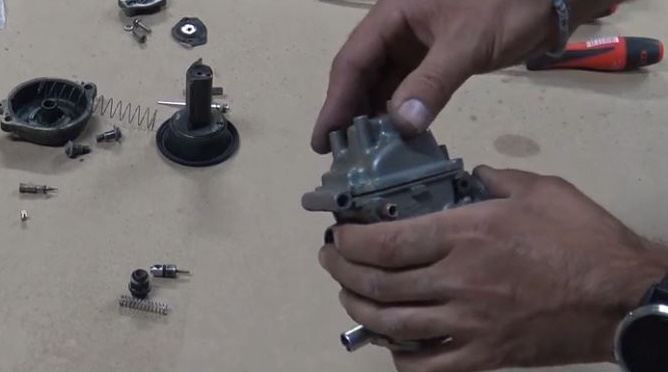
11) Using a brush or brush, clean the outside of the carburetor with cleanser (if this has not been done following disassembly of the carburetor).
11) Spray the product into each orifice.
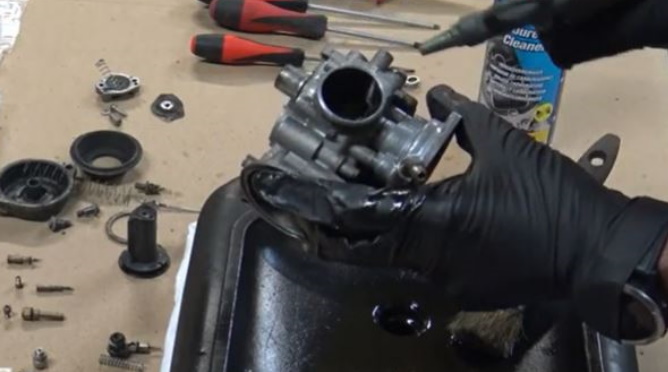
11) Blow the outside and the inside in order to expulser any residue and dry the carburetor.
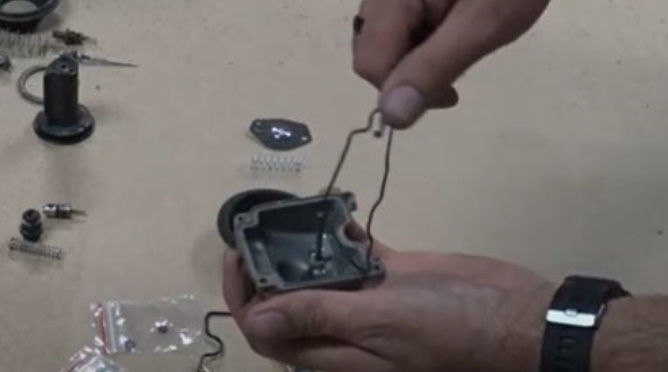
11) Replace the tank O-ring.
11) Place the new diaphragm on the valve (it should fit into the groove in the valve. Don't forget to replace the retaining ring).
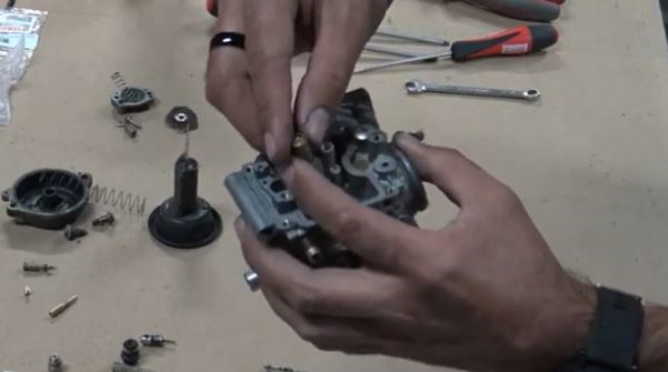
11) Replace the diffuser gasket.
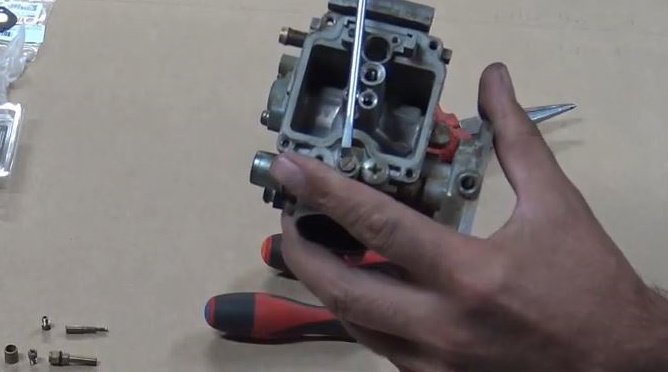
11) Replace the diffuser. Tighten with a spanner.
11) Place the main jet. Screw it.
11) Turn on the secondary nozzle.
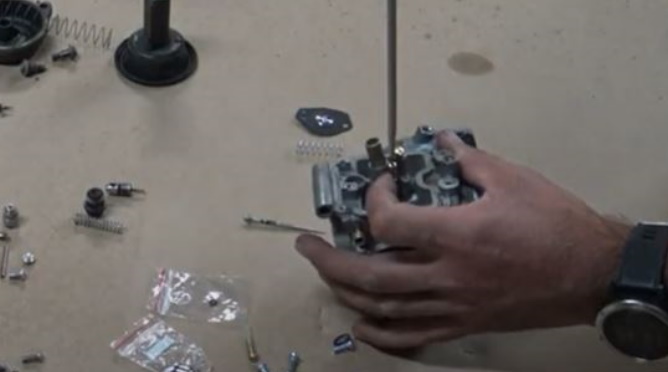
11) Then the idle jet.
11) Install the new needle well. Don't forget to screw it back.
11) Return the needle to the float.
11) Reposition everything.
11) Check the tank level.
11) The float must be parallel to the plane of the carburetor joint.
11) Please note: the joint plane must be at 2°.
11) Replace the tank.
11) Retighten the 4 screws to close.
11) Put on the new oil screw: new spring, washer and gasket.
11) Install the complete new richness screw.
11) Screw completely then unscrew according to the manufacturer's data (here 2 turns 3/4).
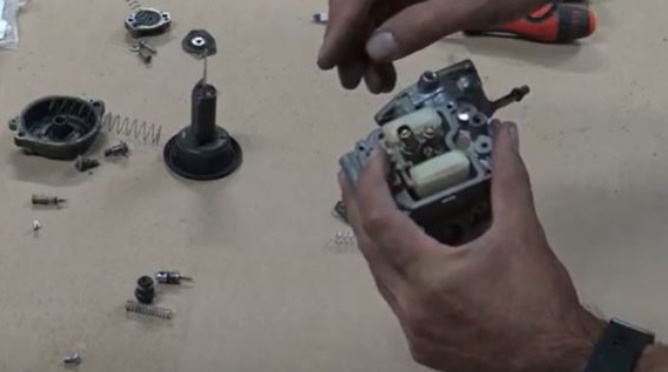
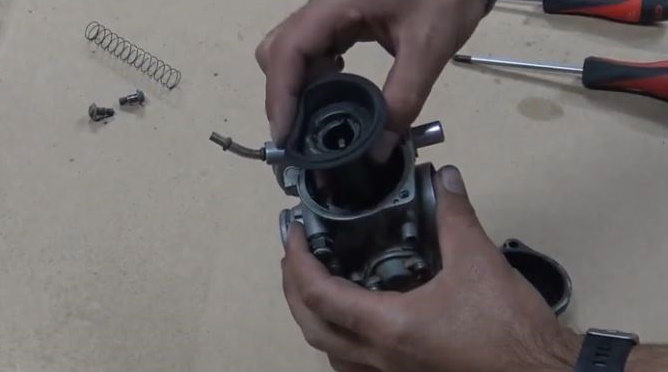
11) Replace the gaskets of the system starter and replace it in the carburetor. Don't forget the spring.
11) Replace the membrane, the spring and its cover.
11) Close with the 2 screws.
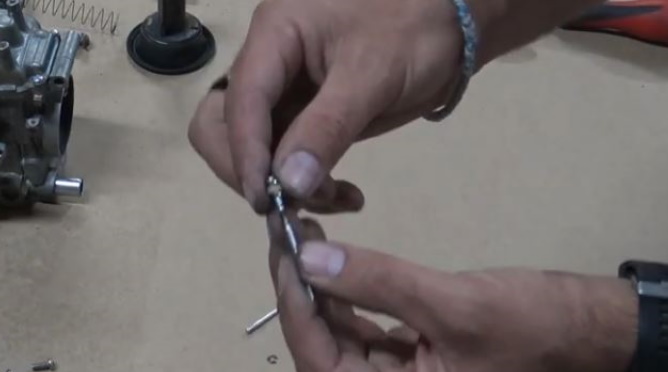
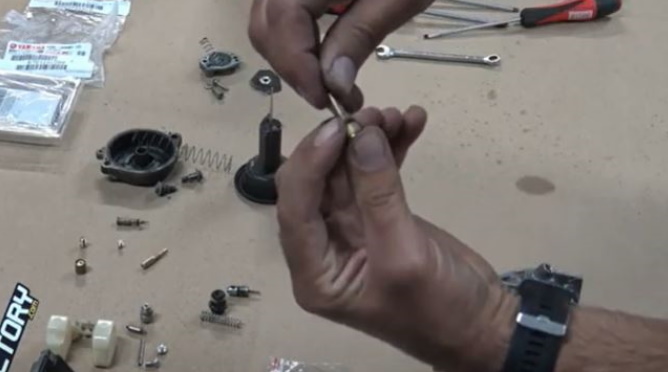
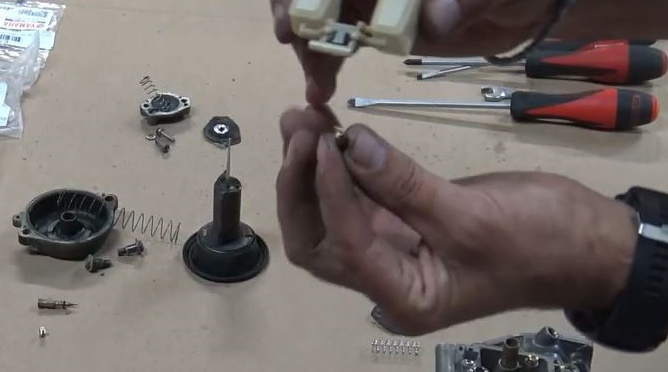
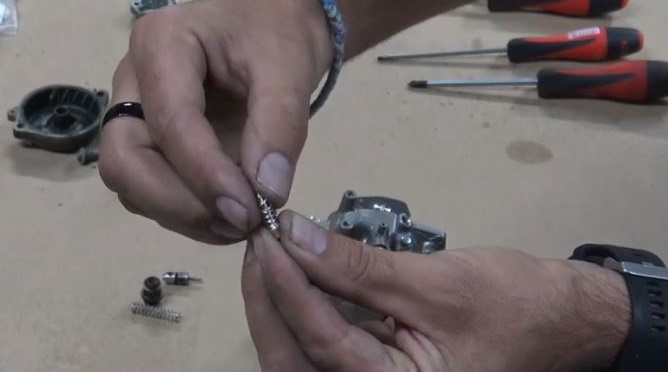
11) Take the old bushel needle and count the number of notches in order to put the clips on the new needle at the same level.
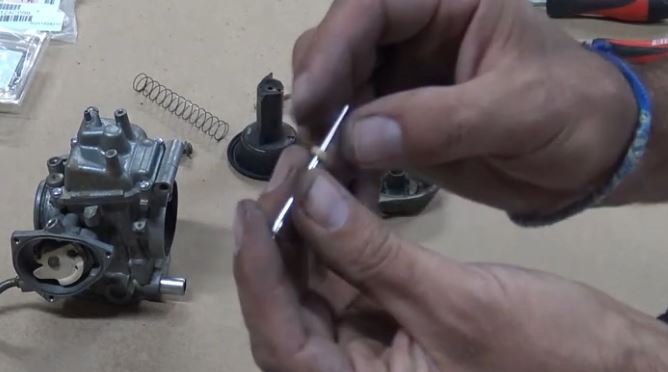
42) Then replace the shim and washers.
11) Place the needle back into the bushel.
11) Don't forget the spring bushing.
11) Install the plug into the carburetor.
11) Replace the spring.
11) Replace the cover.
11) Close with the 2 screws.
You will find on 50factory.com all parts for your quad as well as consumables, maintenance products.
VIDEO: REPAIR YOUR CARBURETOR (quad Yamaha Kodiak 450)


HERE 100% OF THE PARTS INDICATED IN STOCK REALLY ARE!


 Cart
Cart
This product has been added to your cart
 Cart
Cart
You have already added this product to the cart or there is not enough in stock.