Parts and equipment for motorcycles, quads, scooters and bicycles


WHICH GRAPHIC KIT TO CHOOSE FOR YOUR PEUGEOT 103?
What is the graphics kit for PEUGEOT 103?
This is a set of stickers that can be placed on different surfaces of your motorcycle. Nothing better than a decoration kit to give your machine a second lease of life or give it a style that suits you... all that remains is to glue it well! Here is what you should not miss for a lasting installation.
The graphic kit is the final dressing of your motorcycle. It allows you to add a personal touch and makes your two-wheeler unique!
You can find standard models, but also kits made according to your tastes and needs, from entry-level products to quality kits manufacturedar professional brands. Easy to replace, graphic kits have become the preferred solutionar those who wish to regularly change the design of their motorized vehicle.
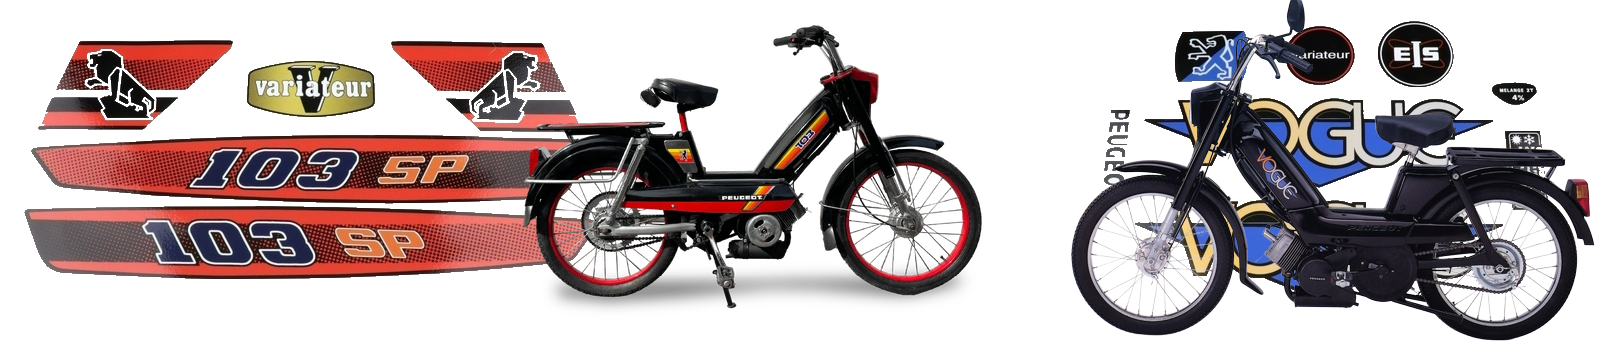
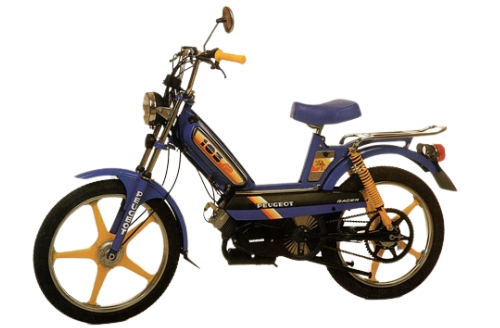
Choose a graphics kit for PEUGEOT 103
We offer a wide choice of decorative kits for your moped. All the decorative kits offered are French-made with high-definition printing.
How to install the sticker kit on your PEUGEOT 103 motorcycle?
1) Preparation of supports:
- Product to use: brake degreaser.
Degreasing the plastics is the essential step before fitting the graphics kit. If this step is not carried out correctly, your graphic kit will not stick perfectly to the plastics and will peel off.ar place.
Do not put the stickers on scratched plastics. Laying on new plastics is strongly recommended.
CAUTION: New plastics are covered with release wax (invisible to the naked eye). It is imperative to insist on degreasing (5 or 6 cleanings are necessary). Degrease the plastics, insisting on the ends, then dry with a clean, dry cloth.
Gasoline, mineral spirits, window cleaners or "WD" type products should not be used.
2) Positioning of stickers:
Position the sticker on its blank location to see how you will position it.
3) Sticking the stickers:
Always start a permanent collage par the center of the room.
Gradually remove the adhesive from its paper backing as you stick the sticker. Remove air bubbles by pressing firmly outward with a clean, dry cloth.
IMPORTANT: If the part on which you are working has significant relief, remember to slightly heat the sticker with a hair dryer. This operation will make it more malleable and therefore easier to adapt to the relief and to marry its curve.
4) Finish:
Once the whole kit is in place, heat it up using a hair dryer, taking care to apply pressure again over the entire surface during the heating process. and cooling, precisely on sensitive areas. The action of heat and pressure and time (letting stand at least 48h) will allow the glue to set on the support.
Air bubbles:
If you still see air bubbles, proceed as follows:
- Prick the bubble frankly in its center using a pin and keep the pin pressed.
- Heat the bubble with a hair dryer then remove the pin while continuing to heat.
IMPERATIVE: Let your graphic kit rest for 48 hours, (no rolling!). After the pressure exerted, the adhesive must have time to "marry" its new support. After these 48h, the adhesion characteristics are at their maximum.


HERE 100% OF THE PARTS INDICATED IN STOCK REALLY ARE!


 Cart
Cart
This product has been added to your cart
 Cart
Cart
You have already added this product to the cart or there is not enough in stock.