Parts and equipment for motorcycles, quads, scooters and bicycles


General information > Tips and Guides > Tutorials > 50 with box > ENGINE > Adjust valve clearance with pad
 VALVE ADJUSTMENT TUTORIALPES WITH TABLET
Ce tutorial aims at you help adjust valve clearance of your motorcycle 4 Temps 125cm3 thanks to the pics and explanations associated. In this example we used a Kawasaki Ninja 125 engine, but the procedure remains the same for the other 4-stroke engines.
It is imperative to start work when the engine is very cold.
Look for the manufacturer's data for the setting. Depending on the type of engine, some manufacturers recommend making this adjustment every 5 thousand km, others every 000 thousand km.
There are two types of valves, those of admission and those of exhaust.
You must also be in possession of a set of shims, the very precise adjustment of the clearance is of the order of 5 hundredths of a millimeter.
Difficulty :

Temps necessary:
35 minutes
HOW TO ADJUST THE GAME AT THE VALVESPES A TABLET ON YOUR MOTORCYCLE 4 TIMES
It is not necessary to remove the motor in order to carry out the adjustment. Here the engine is deposited in order to better show you the procedure to follow.
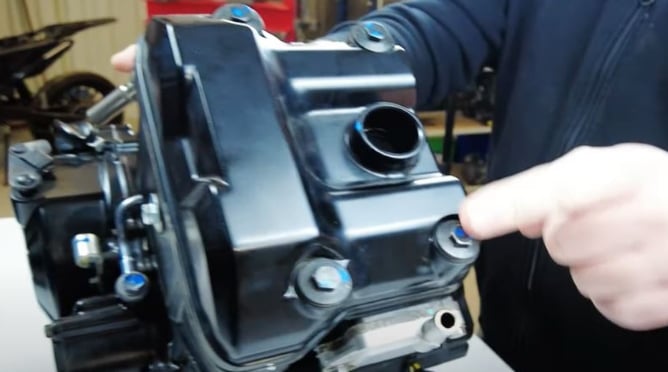
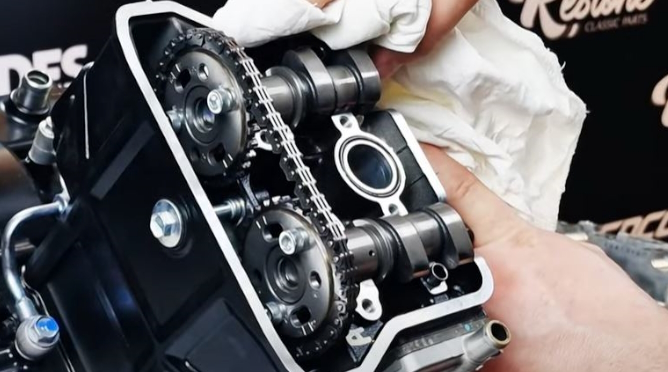
1) Remove the 4 screws from the cylinder head cover
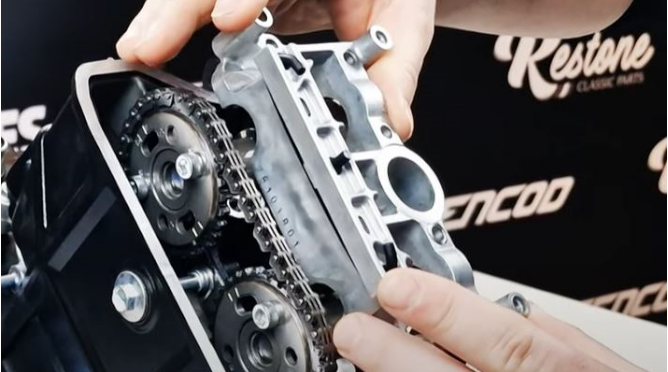
2) Remove the cylinder head cover
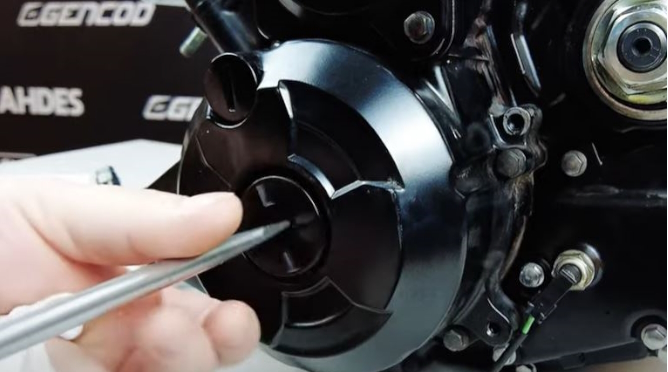
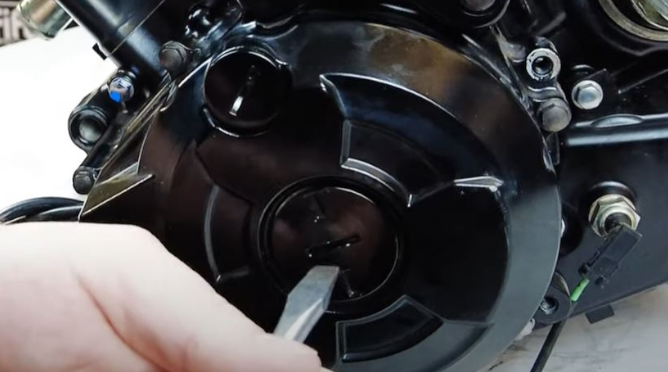
3) Remove the 2 plugs from the ignition cover
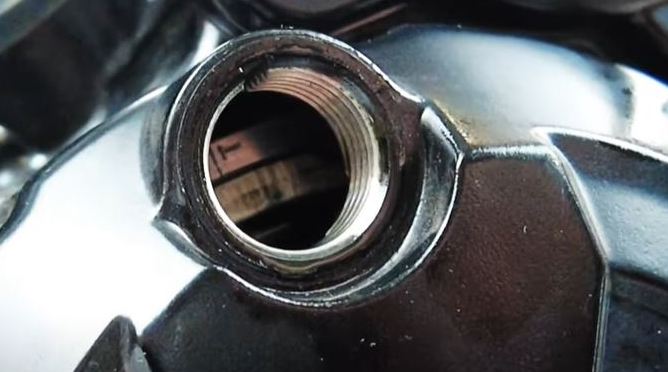
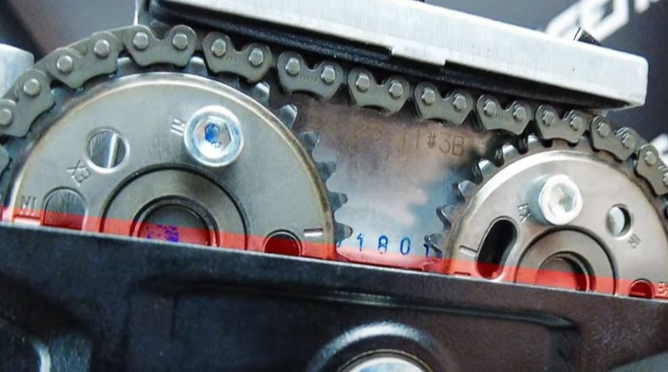
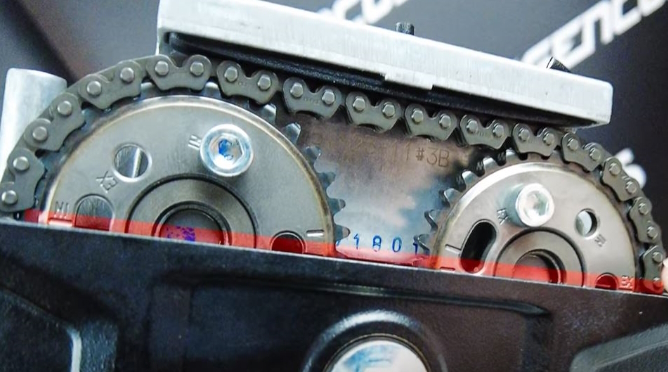
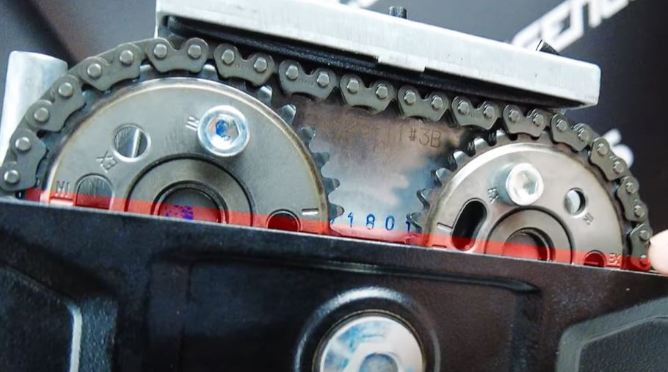
4) It is necessary to rotate the ignition using the pawl in order to align the T mark
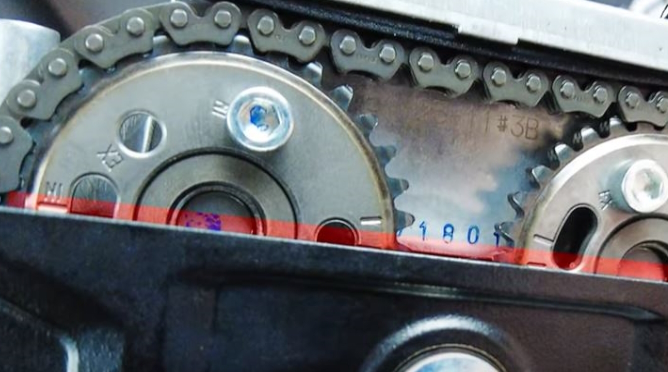
5) Check "IN" alignment ET "EX" (Inside and Outside)
6) You can start checking the valve clearance by starting par admission by referring to the manufacturer's recommendations. First, the intake valve 1
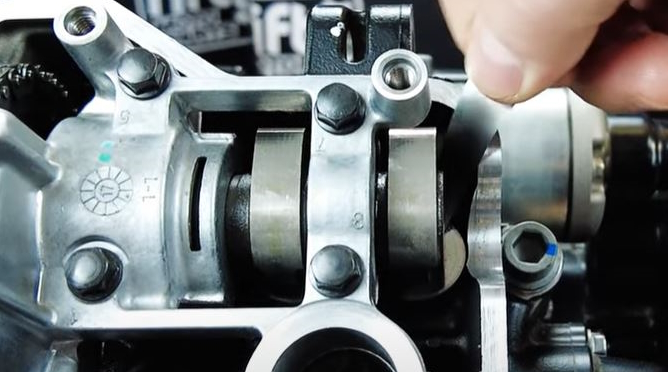
7) Using the feeler gauge, measure the space between the cam and the tappet. The gauge should pass with a slight resistance
8) The manufacturer's recommendation for this model is between 0.10 mm and 0.19 mm
9) Do the same for the second intake valve
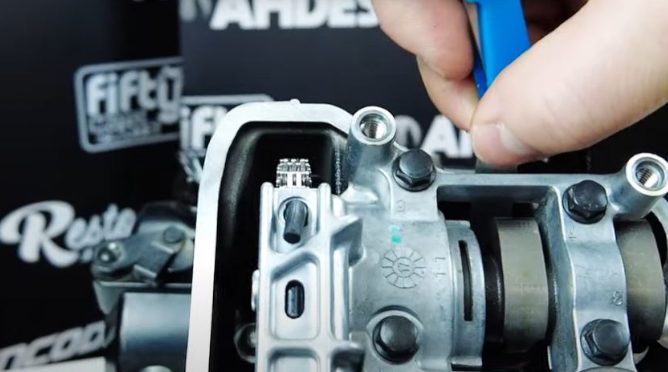
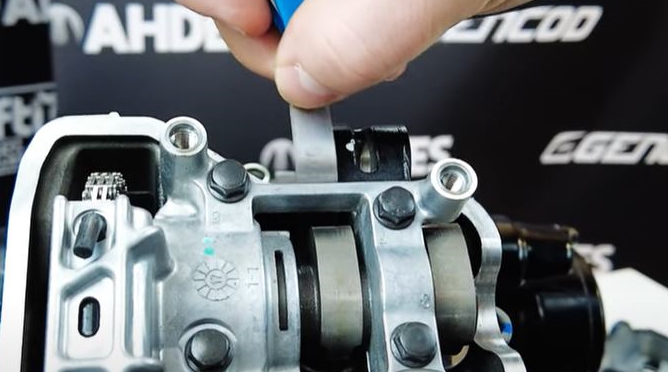
11) Let's move on to the exhaust valves, the manufacturer's recommendation is between 0.21 and 0.28 mm

11) On the 2 exhaust valve, the clearance says 0.11 mm - the recommendation between 0.21 and 0.28. The tablet needs to be replaced
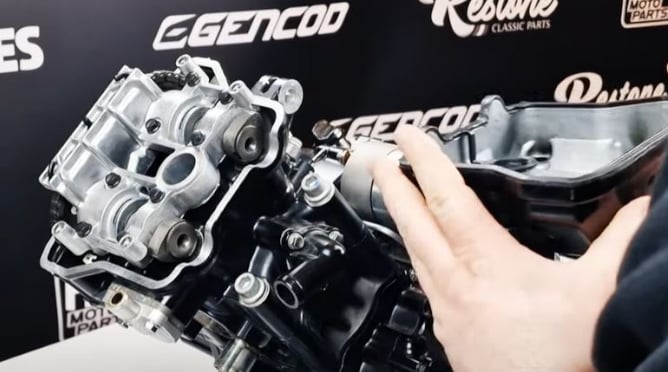
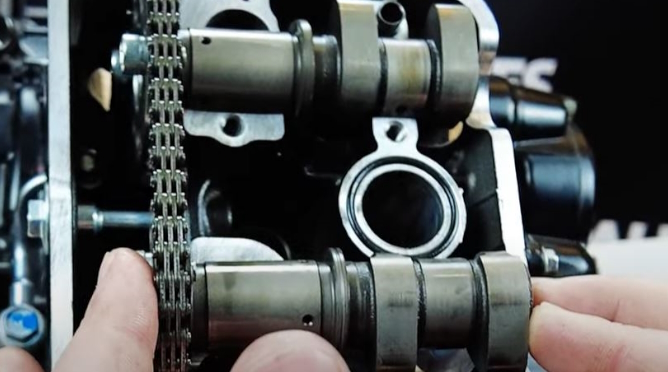
11) Start par remove the timing chain tensioner
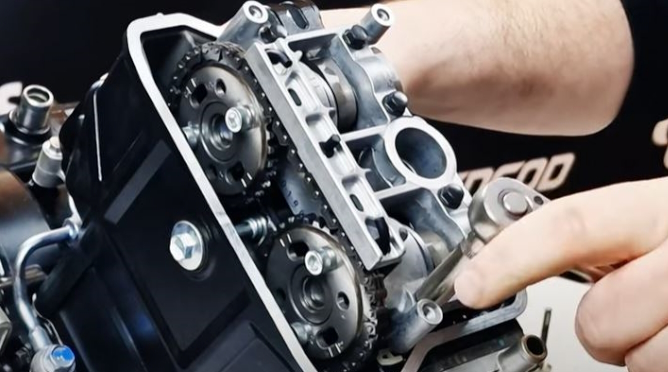
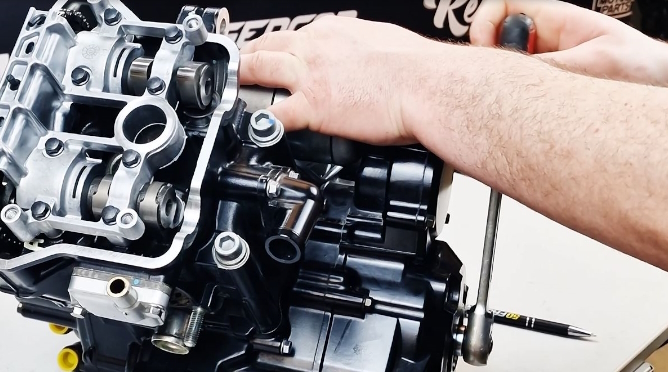
11) Remove the 8 screws from the camshaft bearing
11) Drop the bearing
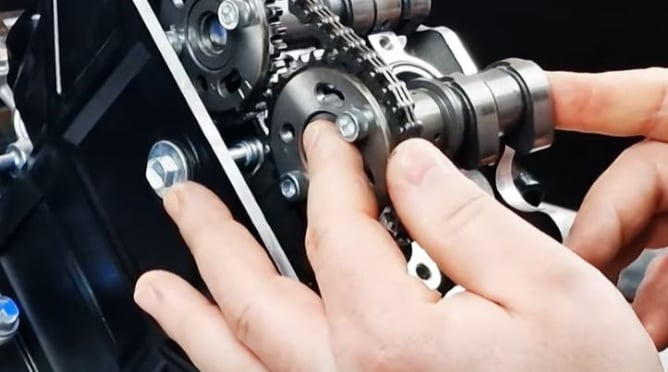
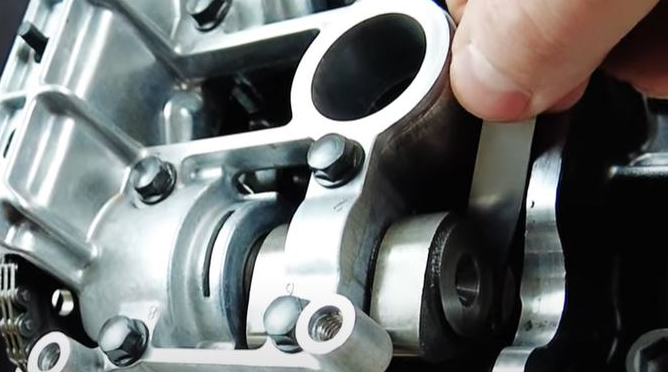
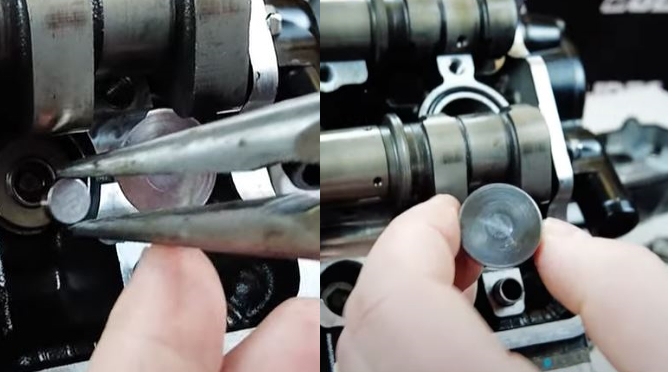
11) Pull out the camshaft to release the tappet
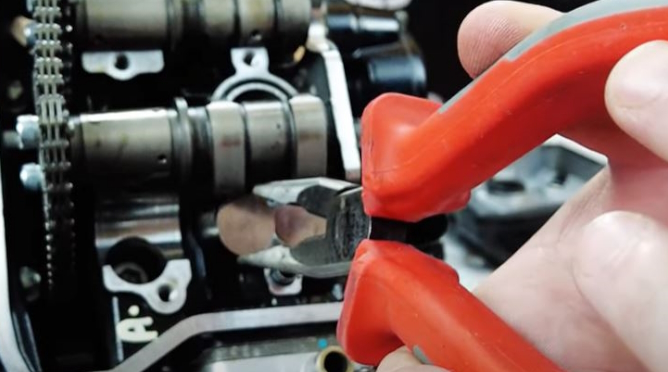
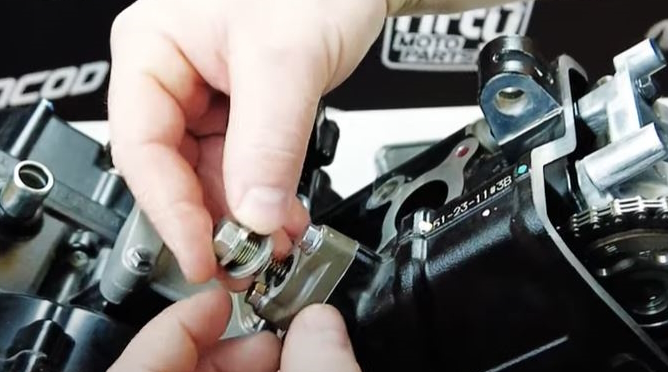
11) Pull out the plunger using the needle-nose pliers
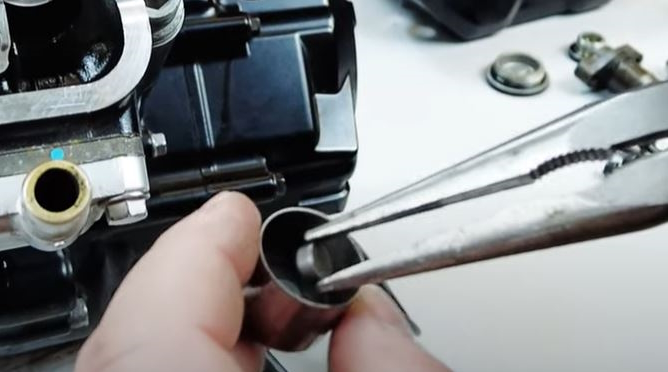
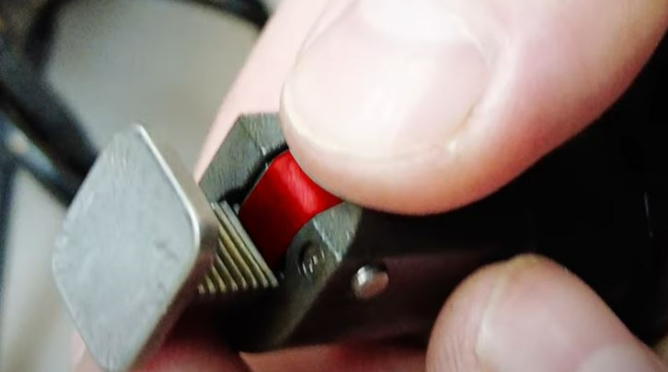
11) Remove the pellet to measure it using the micrometer
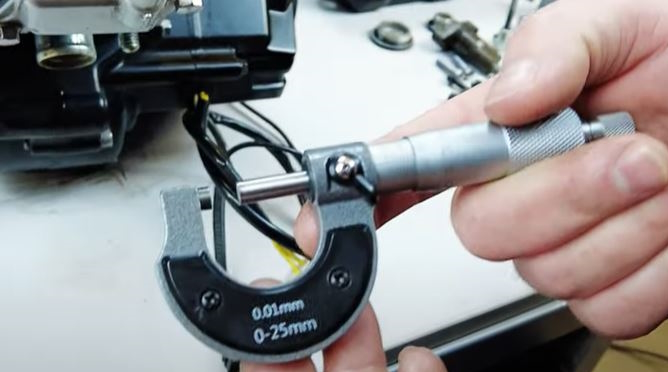
11) Accuracy is determinedepar the spindle thread pitch. The axis is a screw machined with high precision, and the object to be measured is placed between the axis and the anvil
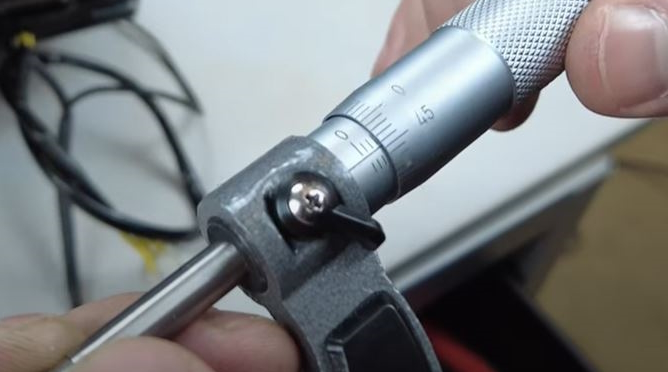
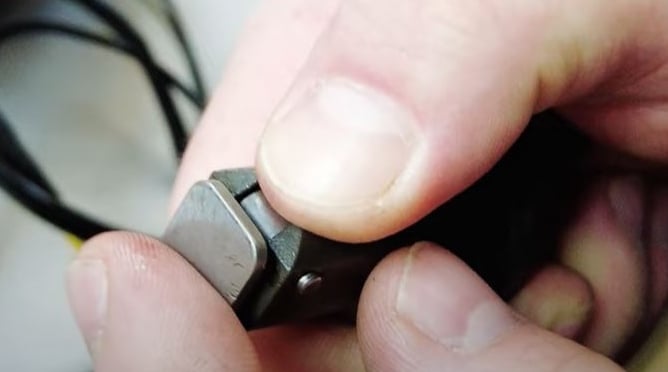
11) 5 laps were completed and 0.45 on the last lap: 2.50 + 0.45 = 2.95
20) Reminder: Recommended clearance between 0.21 mm and 0.28 mm, measured clearance 0.11 mm, pad thickness 2.95 mm
To get the ideal pad thickness 2.95 mm (measured pad thickness) - 0.10 mm (difference between measured clearance and recommended clearance) = 2.85 mm
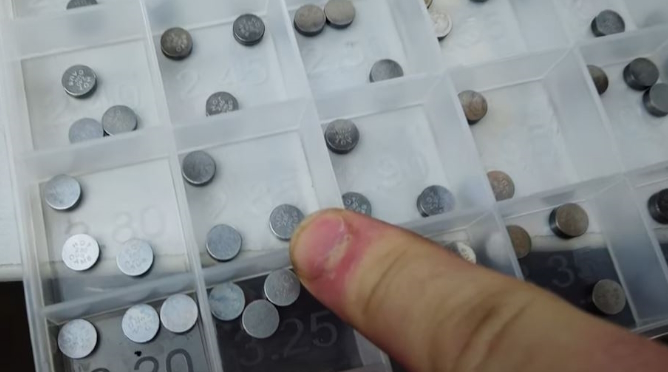
11) Choose the corresponding tablet
11) Insert it then reposition the pusher
11) Reposition the camshaft
11) Check "IN" and "EX" alignment
11) Dust off the gasket plane
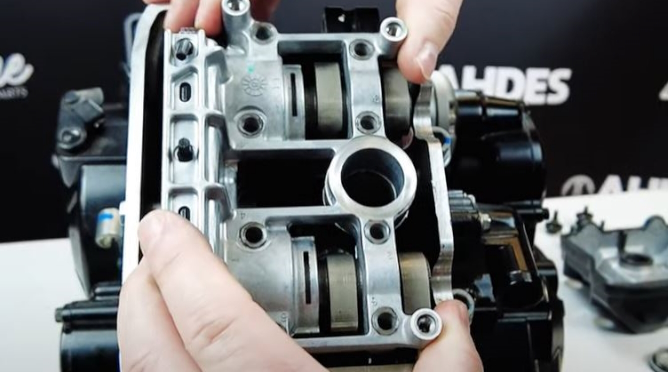
11) Replace the camshaft bearing
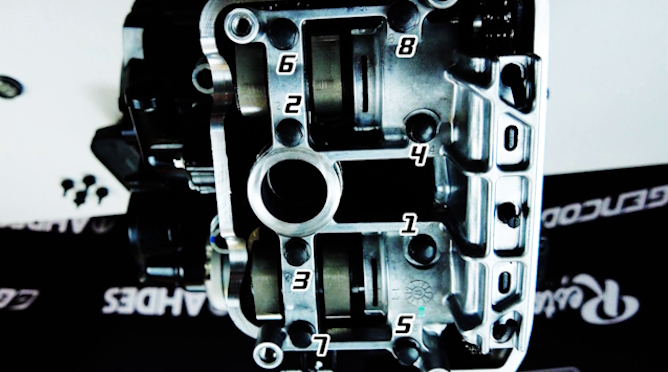
11) Tighten the screws to torque 0.9 Nm observing the order
11) Check "IN" and "EX" alignment
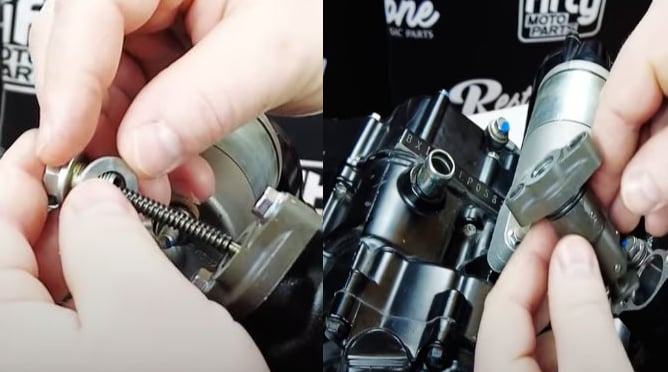
11) To reset the chain tensioner, press the lug
11) Then push the primer
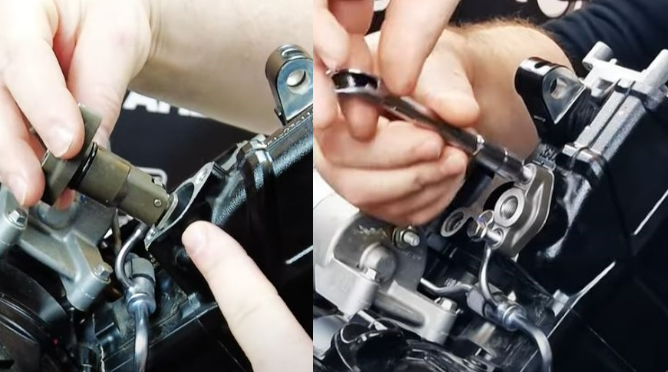
11) Refit the chain tensioner, replace the screws
11) Return the chain tensioner to the original position
11) Rotate the crankshaft to complete one revolution of the engine
11) Check "IN" and "EX" alignment
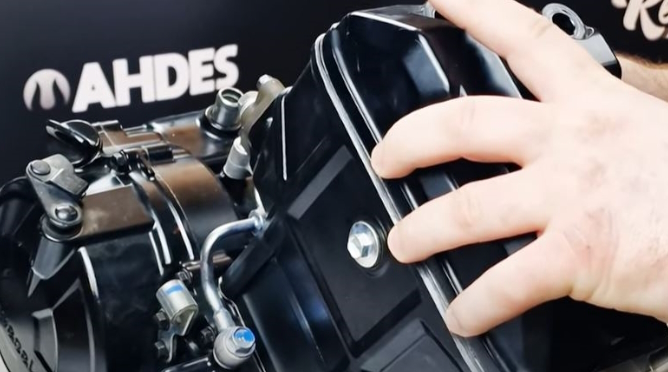
11) Replace the cylinder head cover; depending on the model, it may be necessary to use sealant.
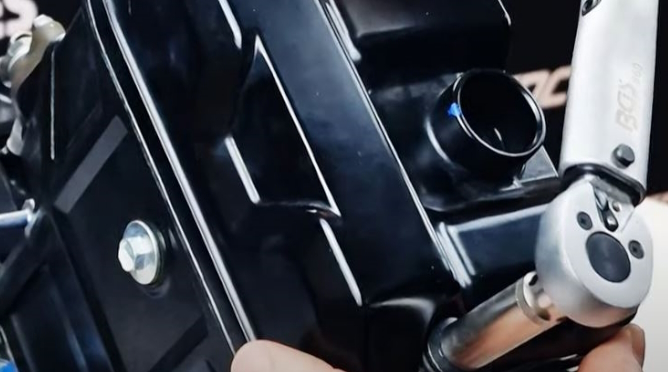
11) Screw the cylinder head cover screws back in - tightening torque 0.8 Nm
11) Replace the ignition pan plugs
Valve clearance is part of routine motorcycle maintenance. You can do it preventive or for simple verification. The consequences can be serious. Indeed, if the clearance is too low, there is a loss of compression. If the clearance is too great, the valve wears out prematurely.
Replacing a pellet (whether intake or exhaust) can be more tricky.
all parts are suitable for the engines of your 125 motorcycle. You will find at 50factory.com new or used parts for all brands as well astools suitable and all maintenance products of your two wheels
VIDEO: ADJUSTING THE GAME AT THE VALVESPES OF YOUR MOTORCYCLE 4 TEMPS 50 CC OR 125 CC


HERE 100% OF THE PARTS INDICATED IN STOCK REALLY ARE!


 Cart
Cart
This product has been added to your cart
 Cart
Cart
You have already added this product to the cart or there is not enough in stock.