General information > Tips and Guides > Tutorials > Bikes > Equipment and workshop > Install a bottle cage
 TUTORIAL: Install a bottle cage
Ce tutorial aims at you help install a bottle cage on your bike. Discover on our site all the bottle holders and cans for cycling.
Find our guide: How to choose the right bottle and bottle cage for your bike
Difficulty :

Temps necessary:
5 minutes
Necessary material :
HOW TO INSTALL A PORTE CAN

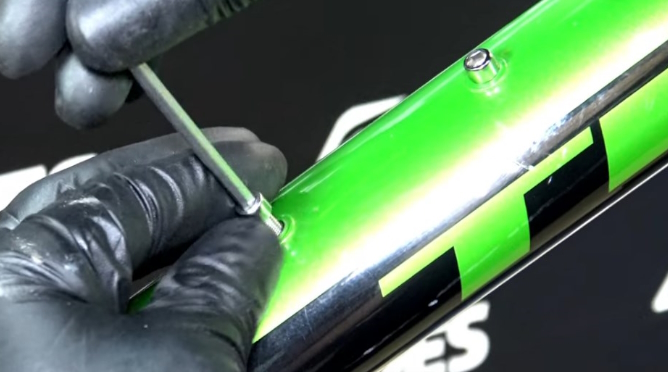
1) Remove the two BTR screws on the bike frame. The distance between the two screws may vary slightly from one bike to another.

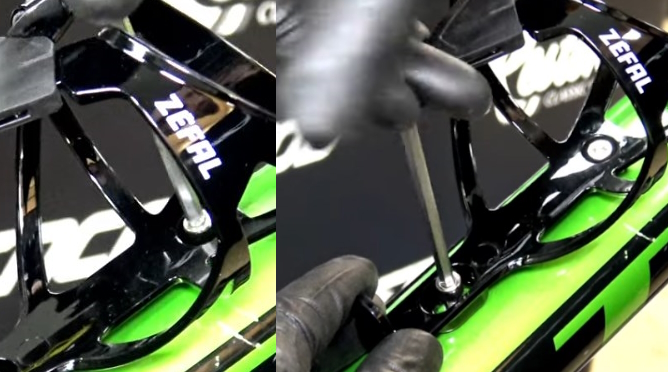
2) Also there is always a longer insert on the bottle cage.

3) Start installing the bottle cage par the shortest insert to end par the longest.

4) Tighten the two BTR screws securely.

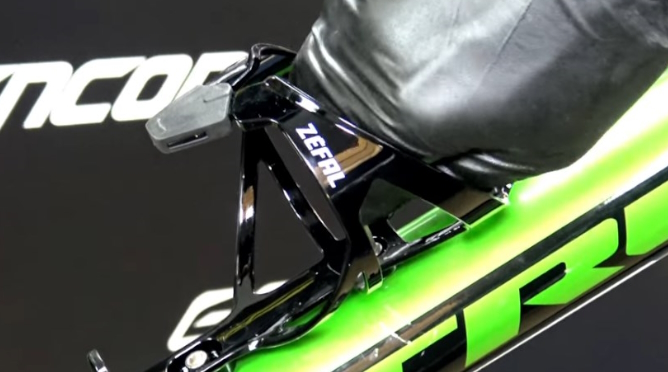
5) Your bottle cage is now installed and functional.
Tips:
The vast majority of bikes have threaded holes in the middle of your frame downtube. Simply screw your bottle holder to this location.
Grease the screws for better screwing. This part is highly exposed to water and salt. Put a little grease... Position your bottle cage above the threaded holes in your frame and tighten the screws without too much forcer on your frame. You will just have to reproduce the same action on the other part of your frame if you want to attach two bottle holders.
Your bike may not have threaded holes. In this case we advise you to opt for bottle holders with a collar system which will surround your frame. You will then screw the screws directly onto the fixings integrated into the collar to hold your bottle cage.
The bottle holder can finally be used for other purposes such as to carry a first aid kit or a spare hose.


