Parts and equipment for motorcycles, quads, scooters and bicycles


Informations General > Tips and Guides > Tutorials > Quads > Electrics > Install an additional headlight - Quad
 TUTORIAL INSTALL AN ADDITIONAL HEADLIGHT
Ce tutorial aims at you help install an additional headlight on your quad.
Difficulty :

Temps necessary:
15 minutes
HOW TO INSTALL AN ADDITIONAL HEADLIGHT?
Additional LED lighting for quads is an essential element for driver safety and comfort. It allows you to improve visibility at night, to signal yourself to other road users and to personalize your vehicle.
Ths different additional headlights for quad attach to the rear or front of the quad and play two important roles.
The first is to optimize your vision and visibility.
The second is to enhance the aesthetics of your quad. If placed in the rear, it will make it easier for other drivers to spot you in the dark. If installed at the front, it will optimize your field of vision.
When choosing the best LED work light, the brightness produced is not the only criterion. It is also necessary to take into account whether the lighting beam of your headlight is long-range.
For additional LED quad headlights, think about reliability,ar it is not uncommon to leave fires burning for very long hours. With old halogen or neon lights, autonomy was reduced due to their obsolete technology. In addition, LED headlights consume much less energy and it is possible to install several of them. Be careful, however, not to mount too many LED lights, thisar their cumulative power could exceed the limit of the original wires. If you want to change your current lights, remember that for an equivalent light intensity, LEDs consume approximately 6 times less energy.
The additional LED headlights are subject to bad weather, rain and summer sun. Pay particular attention to the quality of the materials, the protection index (rated IP) and UV resistance. The IP rating represents protection against solid bodies, such as dust, and liquids. Water and mud will be your main enemies when using your work lights. For use with complete confidence, opt for an additional headlight with an IP68 rating at least. As a reminder, the higher the number, the better the protection.
Check out our guide: The essentials for riding a quad at night.
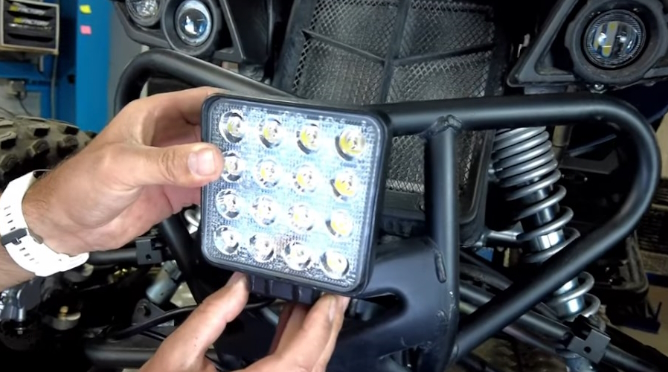
1) After removing the headlight from its packaging, locate the location where you want to install the headlight.
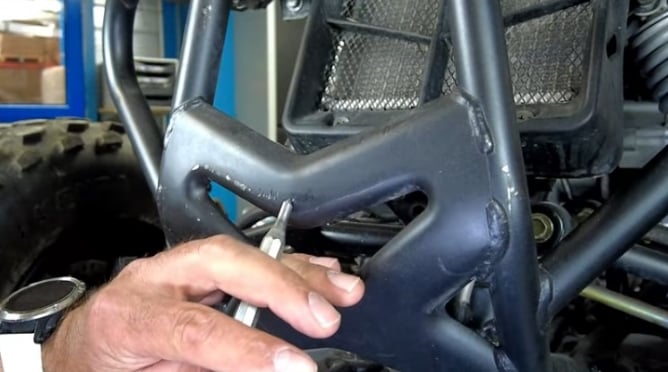
2) Using a center punch and hammer, mark the location.
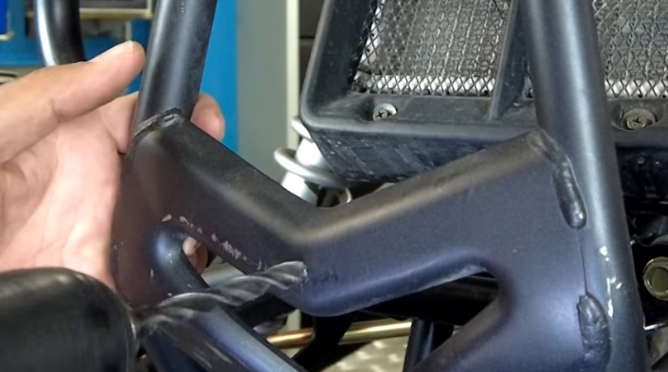
3) Drill a hole of a size equivalent to that of the supplied retaining screw
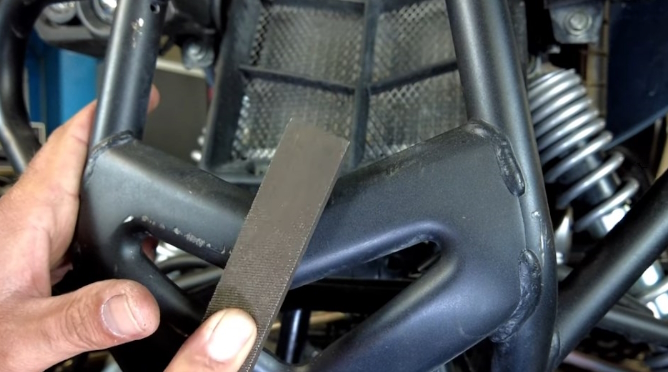
4) Use a file to deburr the hole.
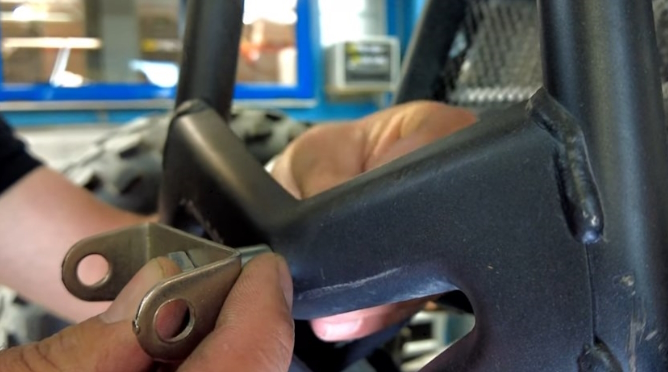
5) Present the support and screw the nut

6) Tighten the nut firmly
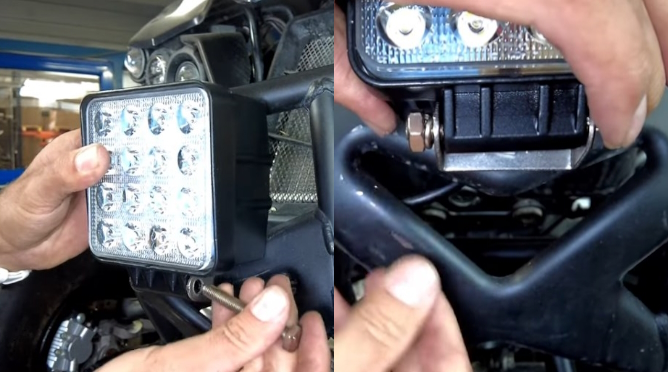
7) Place the lighthouse. Then install the retaining screw and nut
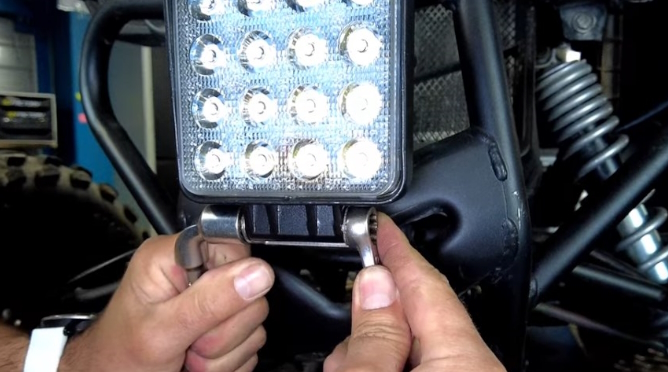
8) Tighten the nut while locking the screw with a wrench.
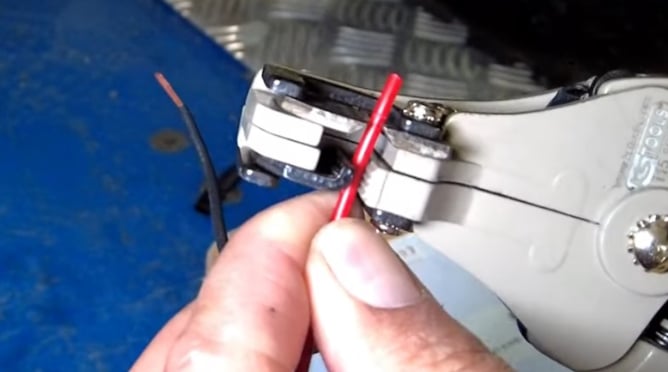
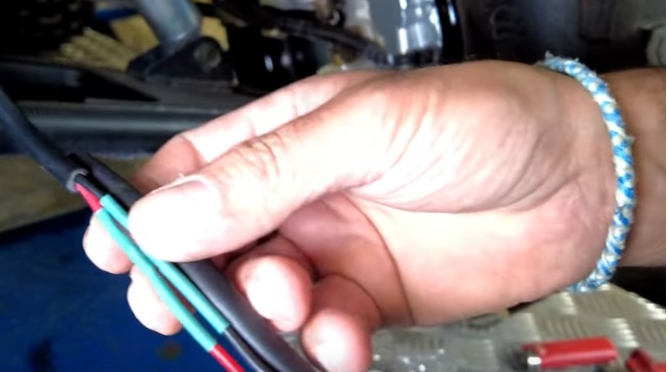
9) Strip the ends of the headlight cable extensions.
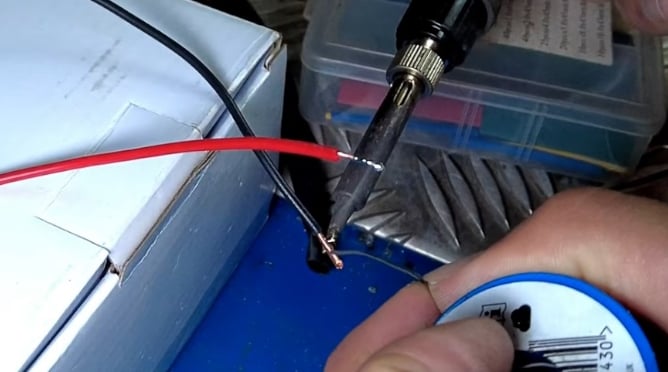
11) Tin the stripped ends.
11) Solder the cable extensions to the harness of the new headlight, respecting the colors of the wires.
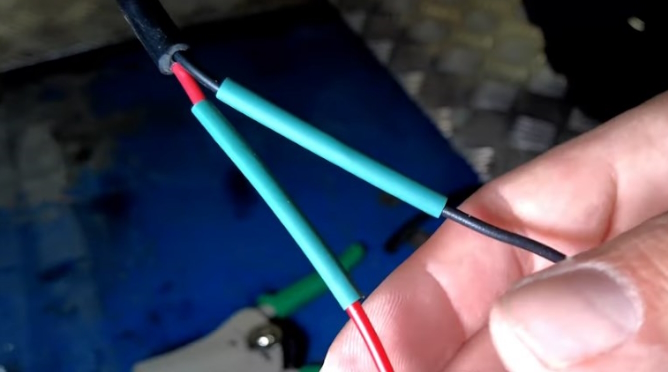
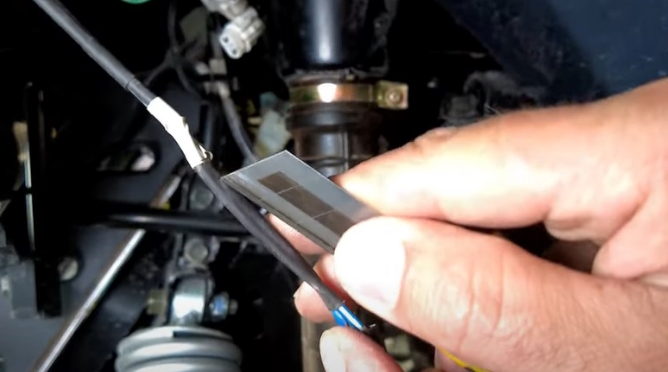
11) Place heat shrink tubing over the welds.
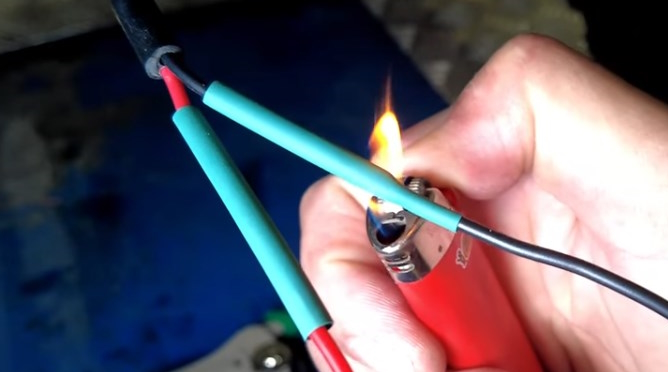
11) Using a lighter, heat the sheath. Be careful of the flame if you use a lighter.
11) Calculate the length of duct (support) required.

11) Pass the harness through the sheath.
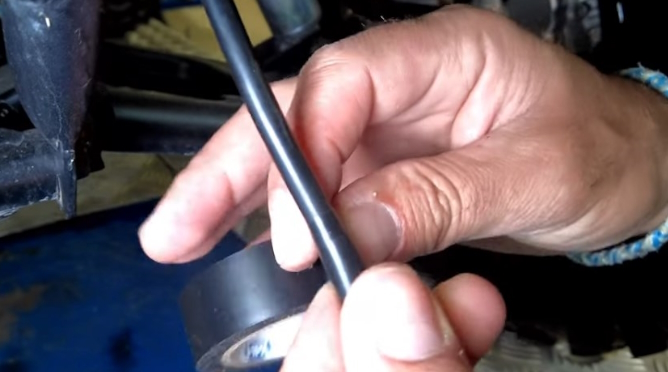
11) Install insulating adhesive tape (tape) at the junction of the ducts.

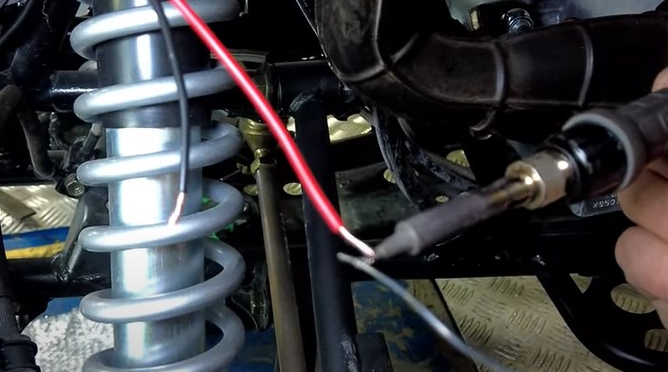
11) Turn on the ignition and turn on the full headlights.
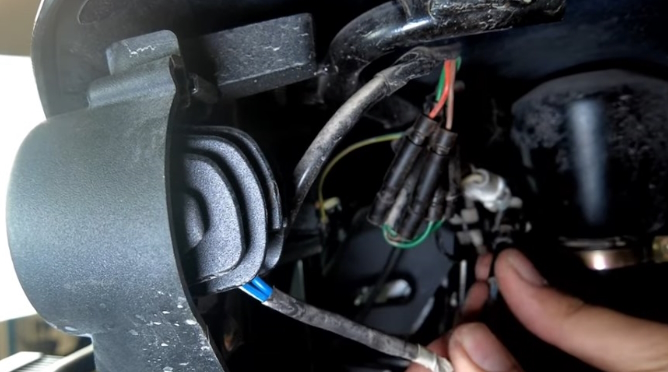
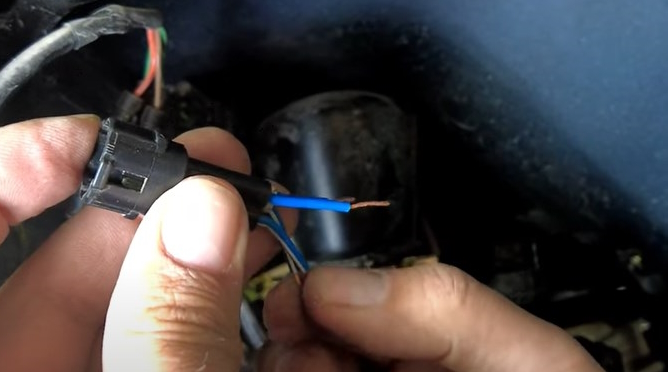
11) Disconnect the headlight. The purpose of this operation is to know how to connect the cable extensions.
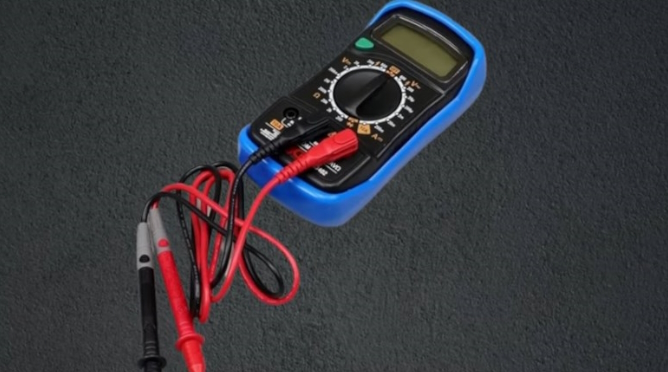
19) The multimeter will allow you to find the direction of polarity.
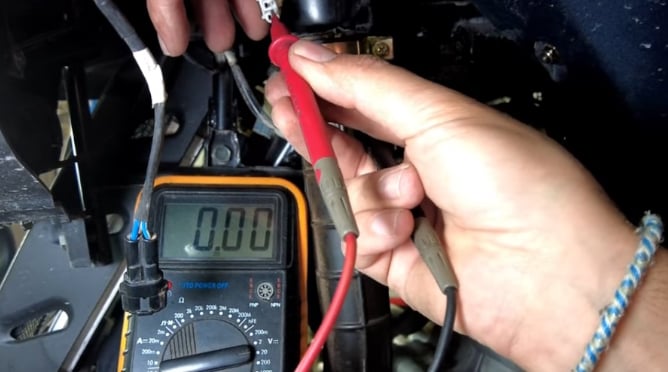
11) On the harness socket, the red pin on one side, and the black one on the other
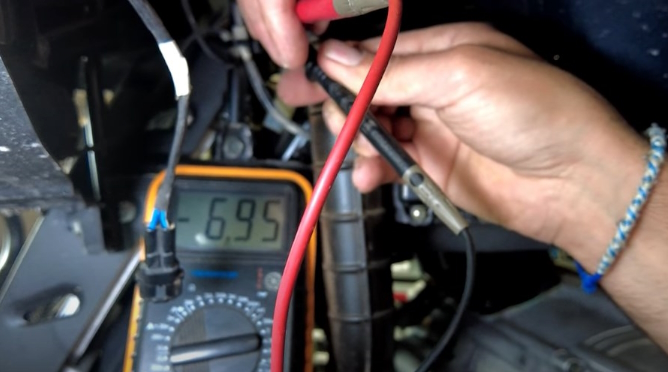
11) If the displayed value is negative, the arrangement is not good
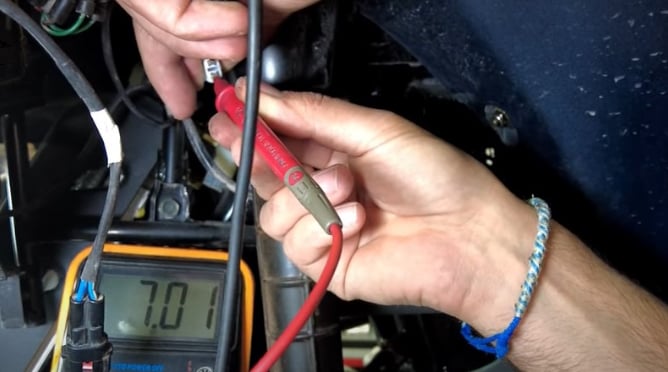
11) If the value is positive, the layout is correct.
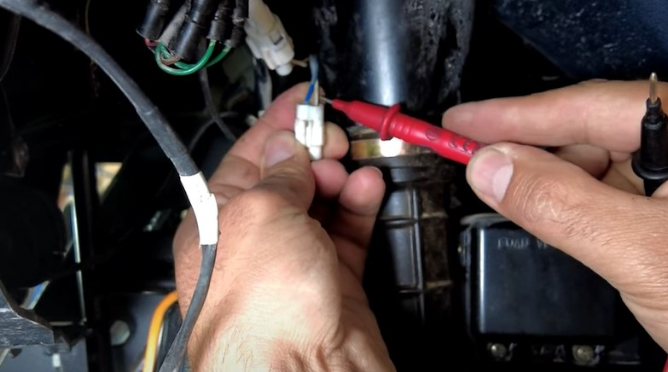
11) For our example, the + pole is the white wire with blue stripes. It is best to make modifications to the headlight beam rather than the main beam.
11) Remove part of the sheath to gain access to the cables
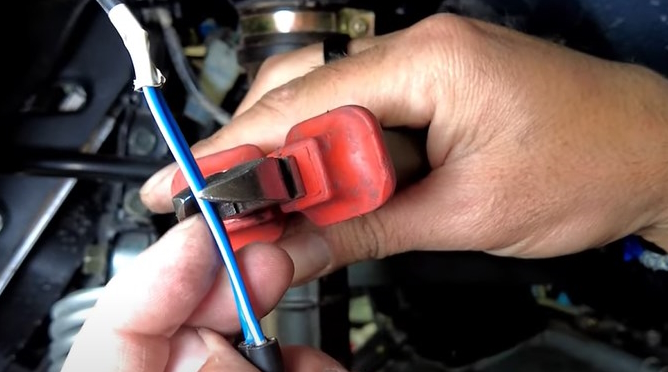
11) Cut the harness so you can add the extensions
11) Strip both sides of the harness.
11) Twist the ends of the cables
11) Then twist the ends together (respecting the color of the wire)
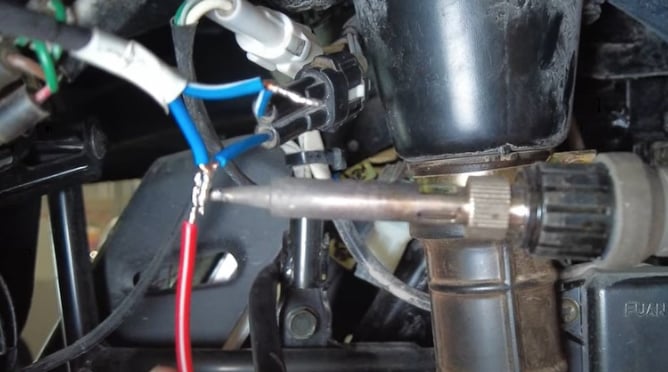
11) Tin the ends.
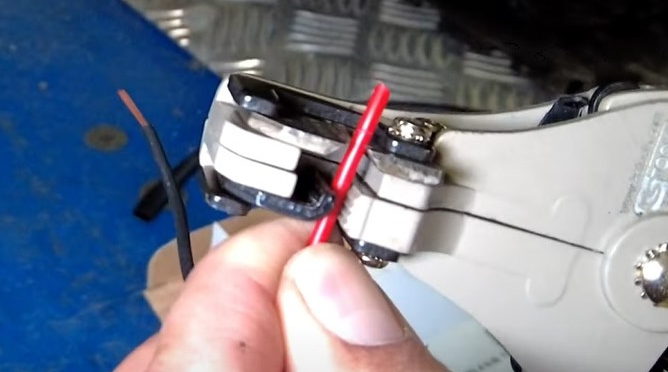
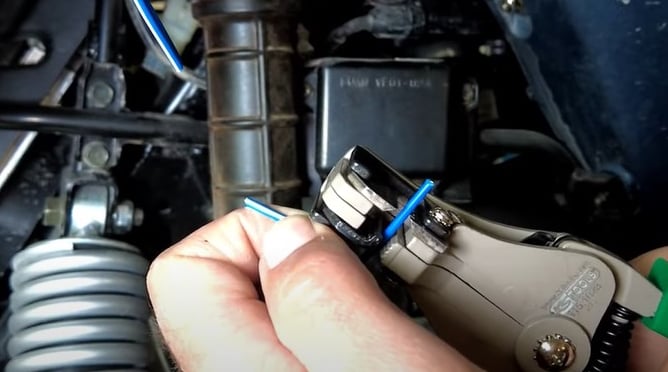
11) Strip the ends of the cable extensions.
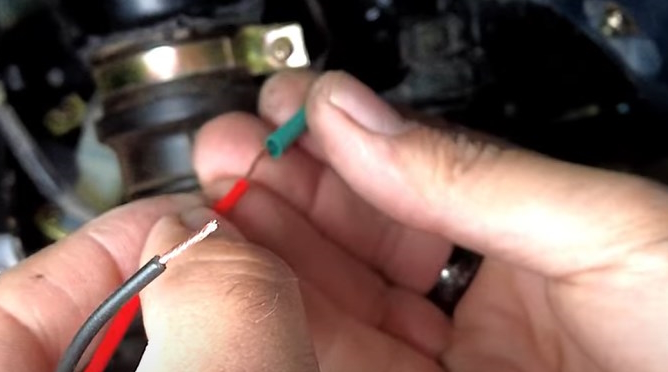
11) Place heat shrink tubing over each extension cord and twist the ends.
11) Tin the ends.
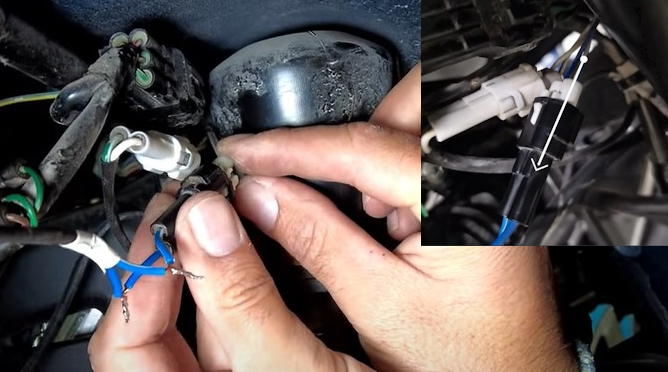
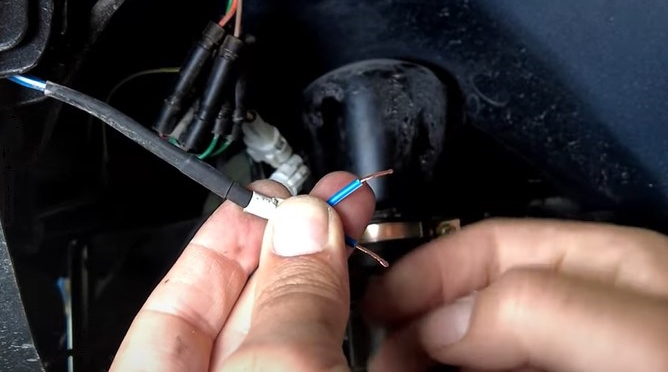
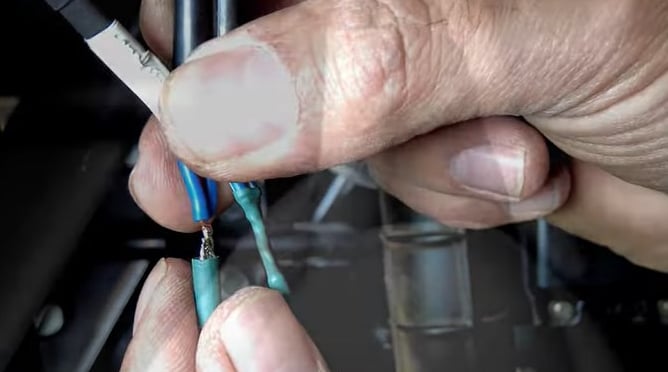
11) Reconnect the connectors and locate the + wire. Here our blue striped white wire is connected to the blue wire.
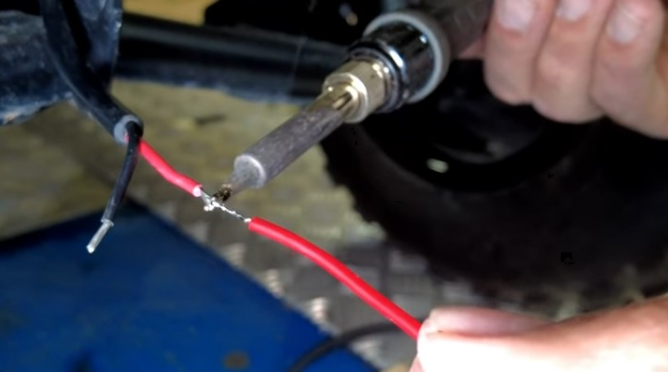
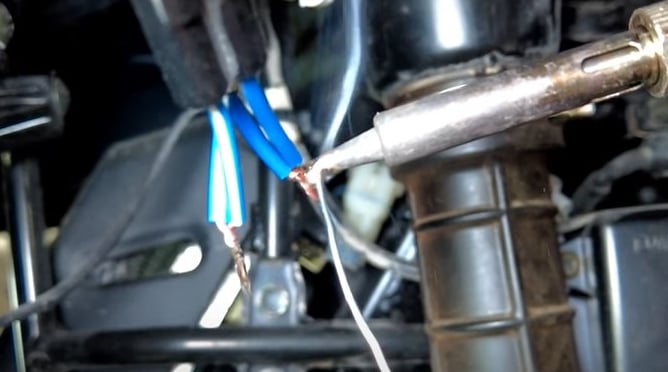
11) The red extension cable will need to be soldered to the blue wire.
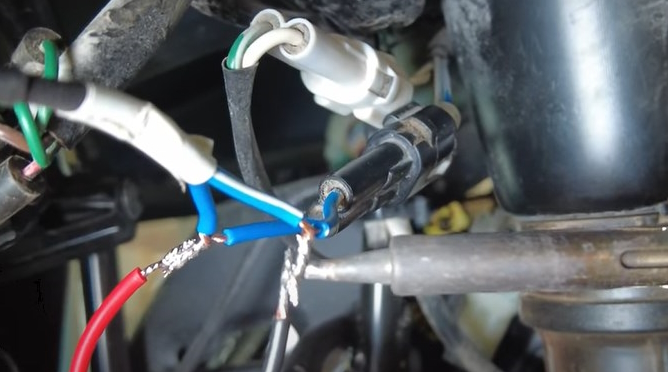
11) Solder the wires respecting the polarity
11) Slide the previously installed sheaths over the welds and heat them
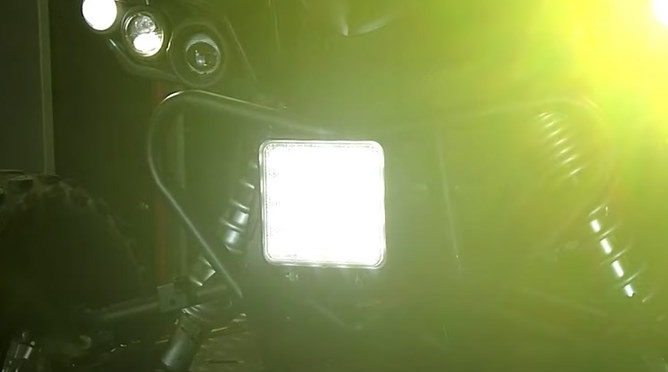
11) Your additional headlight works.
VIDEO: INSTALL AN ADDITIONAL HEADLIGHT


HERE 100% OF THE PARTS INDICATED IN STOCK REALLY ARE!


 Cart
Cart
This product has been added to your cart
 Cart
Cart
You have already added this product to the cart or there is not enough in stock.