Parts and equipment for motorcycles, quads, scooters and bicycles


 TUTORIAL INSTALL A HYDRAULIC CLUTCH RECEIVER
Ce tutorial aims at you help replace your cable clutch for a hydraulic clutch from your 50 to box thanks to pics and explanations associated.
To learn everything about the clutch slave, click You can consult it by clicking here..
By replacing the cable clutch system par a hydraulic system, the clutch lever will be softer and more progressive, making it easier to operateœWorks and shifts gears. It is also less subject to wear than a p system.ar cable.
Difficulty :

Temps necessary:
20 minutes
HOW TO INSTALL A HYDRAULIC CLUTCH RECEIVER
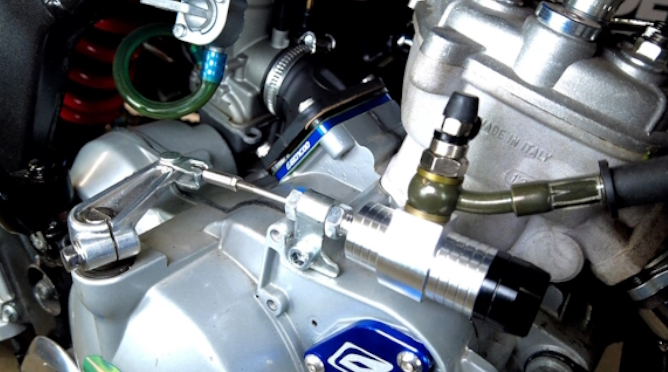
1) The receiver installs at the clutch link
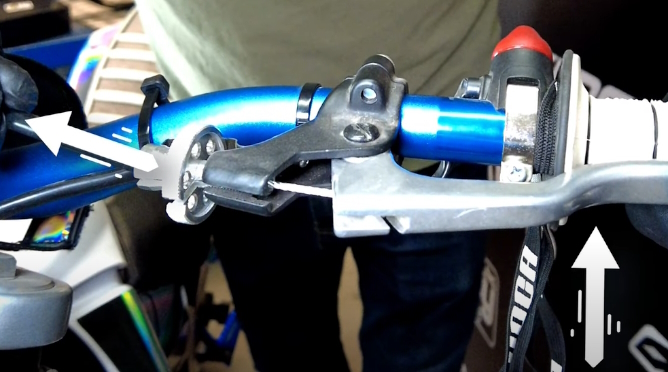
2) Squeeze the clutch lever while pulling on the housing.
3) Once the sheath is pulled, release the lever
4) Disconnect the cable from the clutch lever.
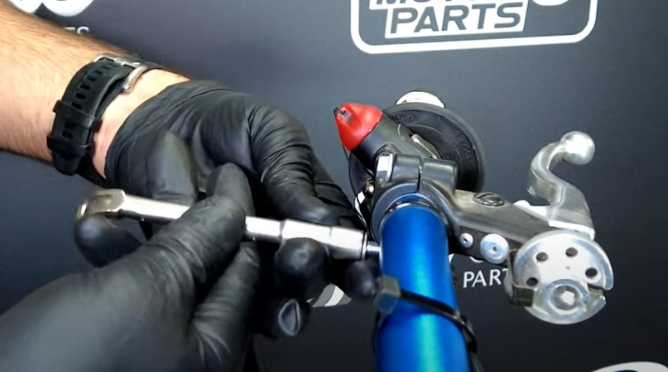
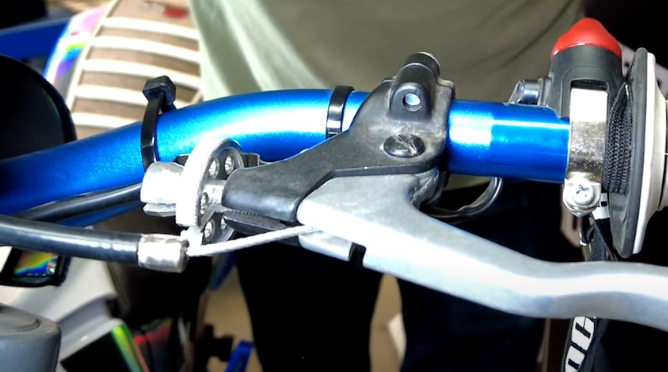
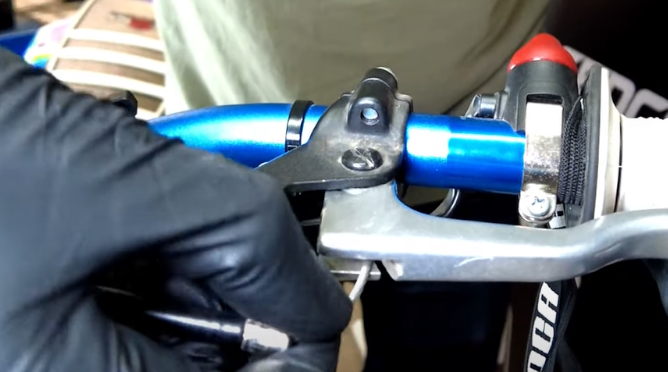
5) Loosen the lever clip and remove it.
6) Remove the cable at the clutch link.
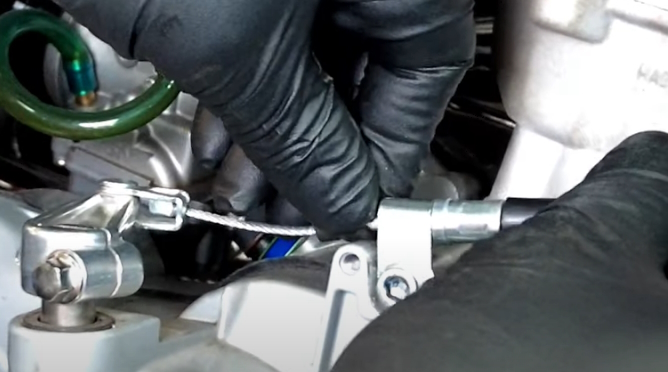
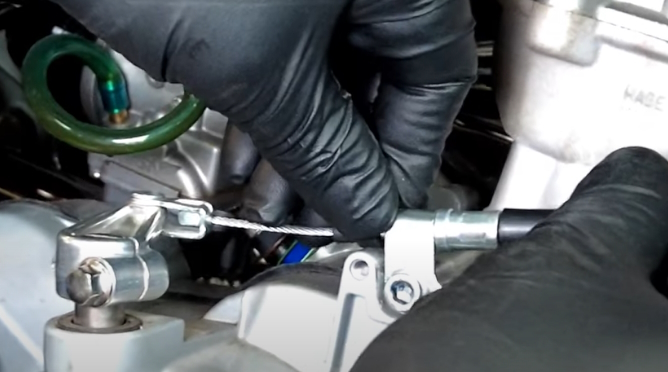
7) Release the cable from the tie rod. Remove it with the clutch sheath
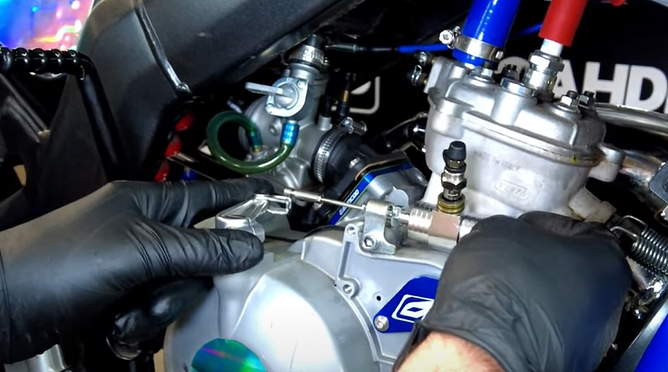
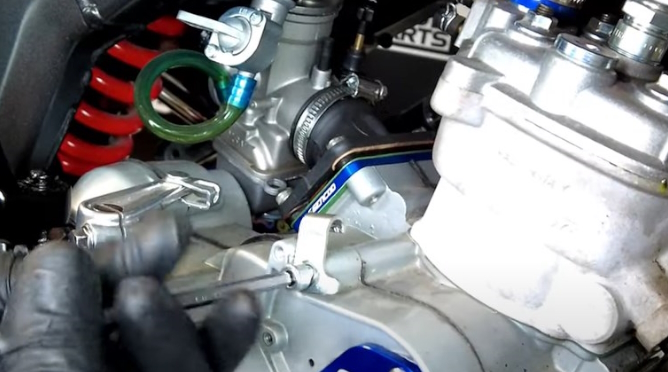
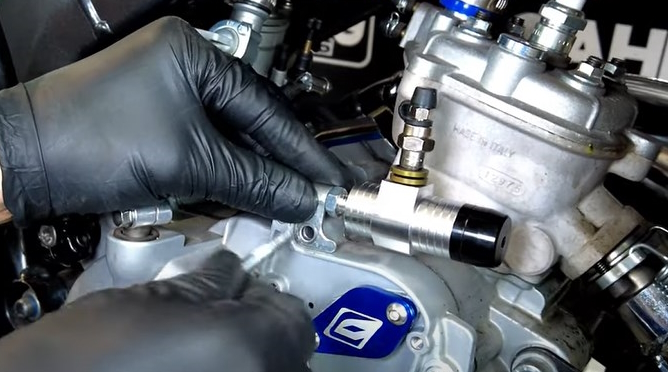
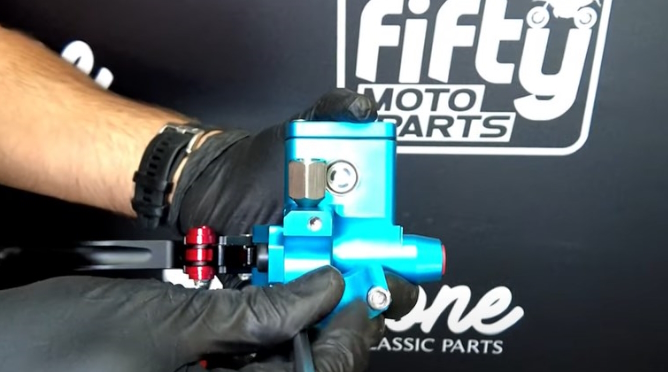
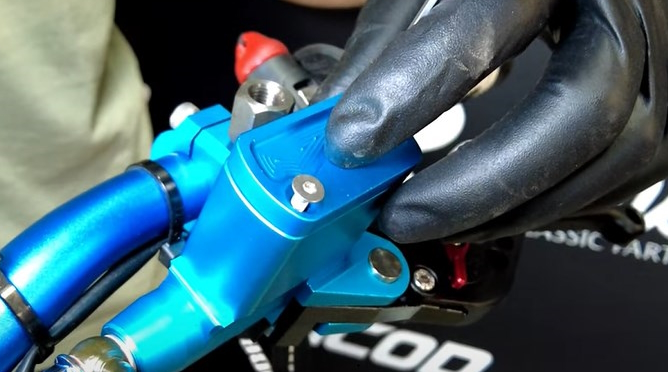
8) Present the hydraulic clutch slave to check the correct position.
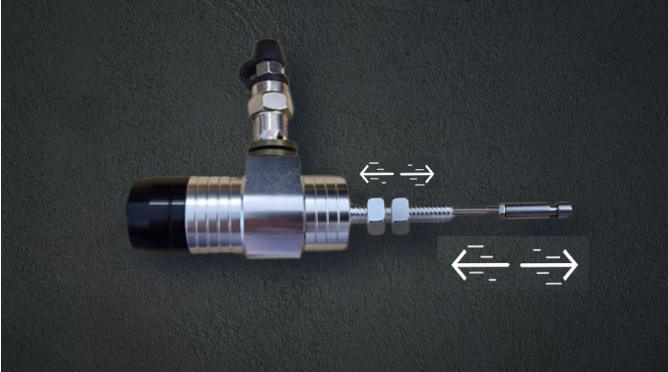
9) The receiver has several adjustable parts to allow it to be placed. Here are the adjustable parts. The extension must be sufficient so that the connection does not force not.
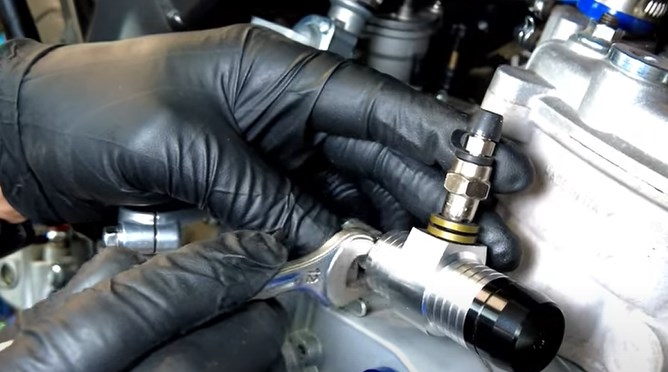
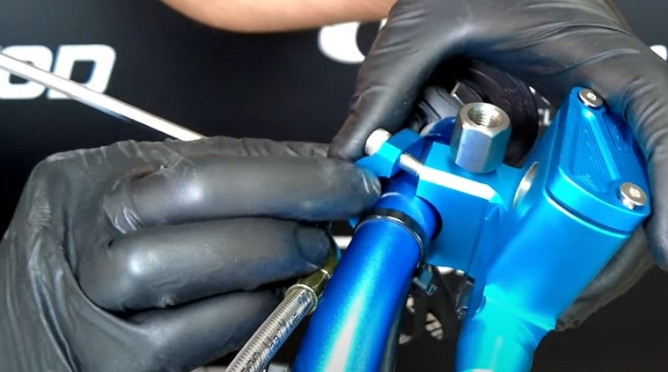
11) Loosen the clutch cable retaining tab
11) Position the cable retaining tab between the two nuts of the clutch slave unit
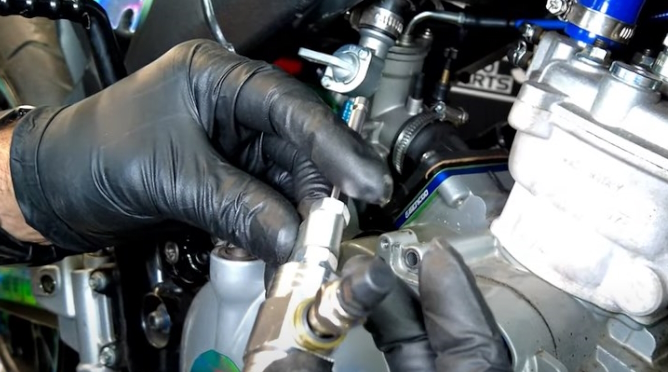
11) Install the clutch slave with the retaining tab. Make sure that the rod is well positioned in the notch of the clutch link
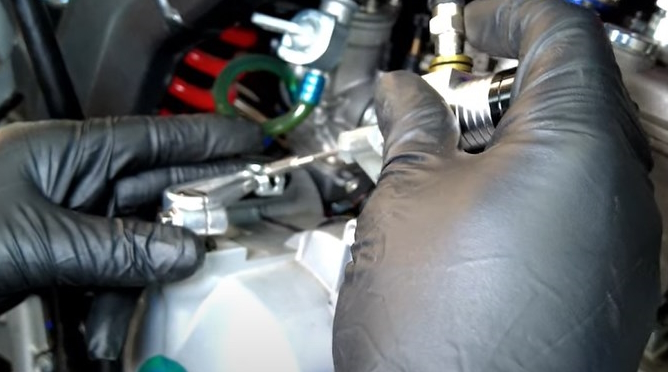
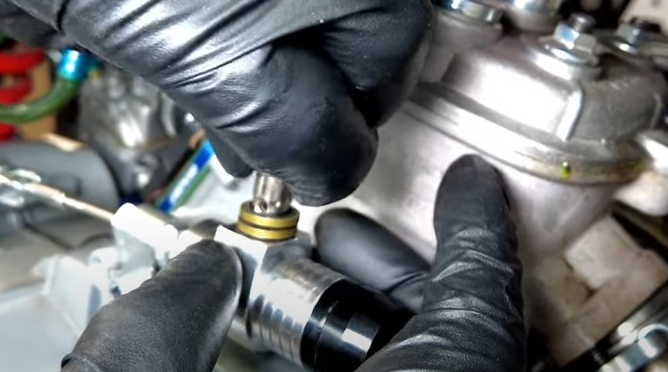
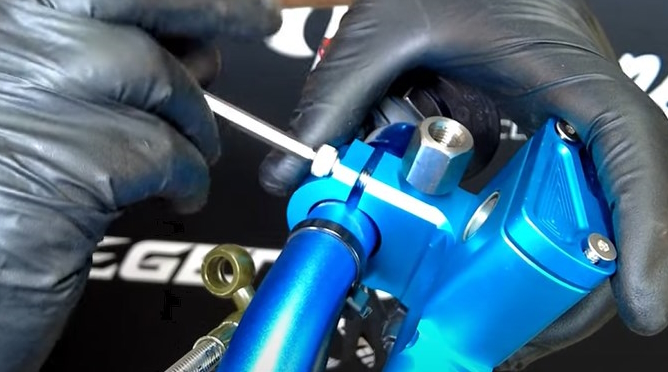
11) Present and tighten the leg screw
11) Bring the two nuts together to tighten the retaining bracket
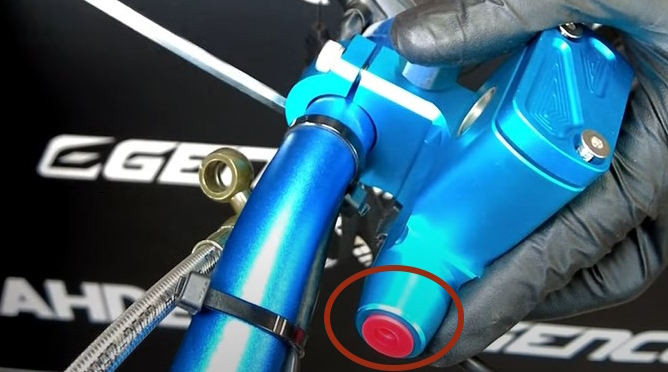
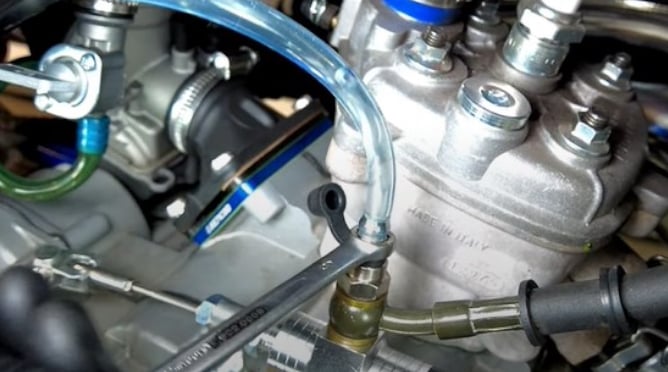
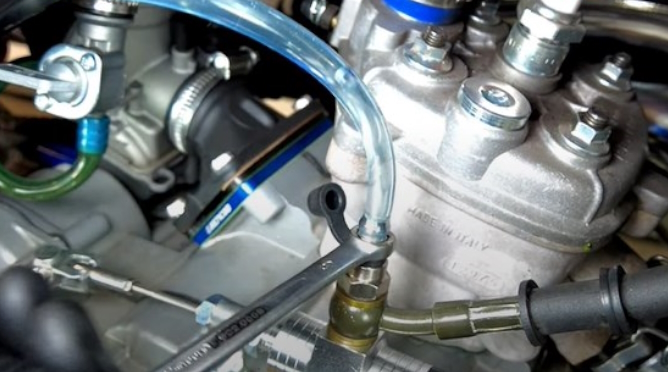
11) Loosen the banjo screw - The banjo screw is a screw that allows you to connect a hose to a block (calipers, master cylinder, etc.) while ensuring sealing and good transmission of the fluids.
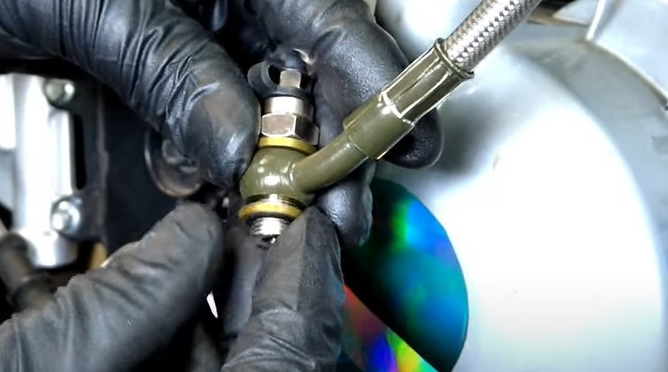
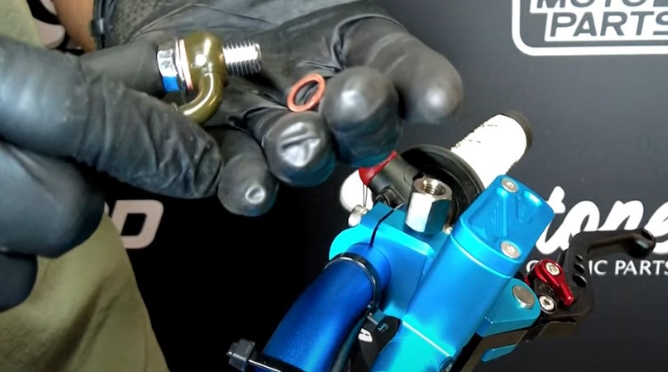
11) Place the hose between the two joints on the banjo screw
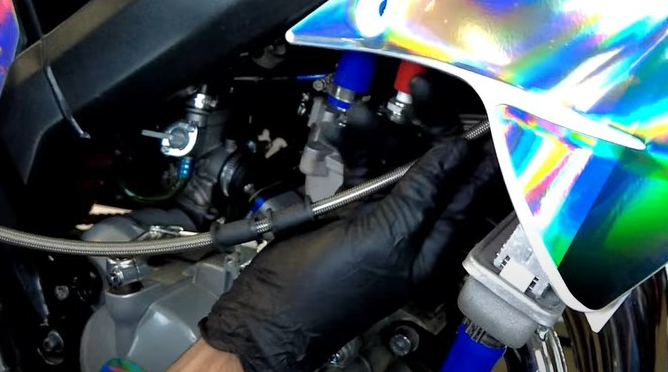
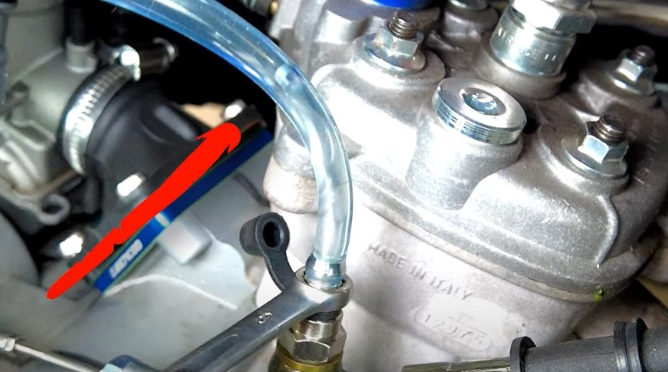
11) Pass the hose under the fairings
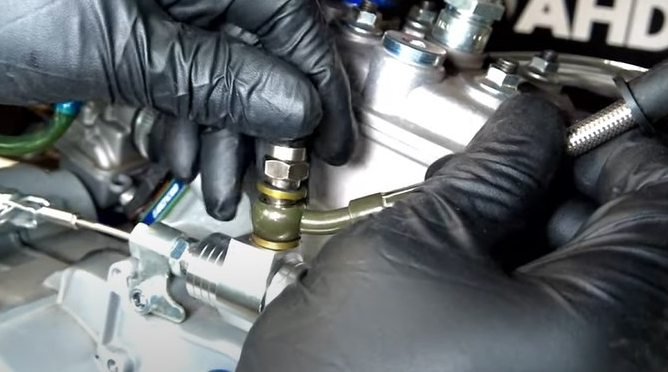
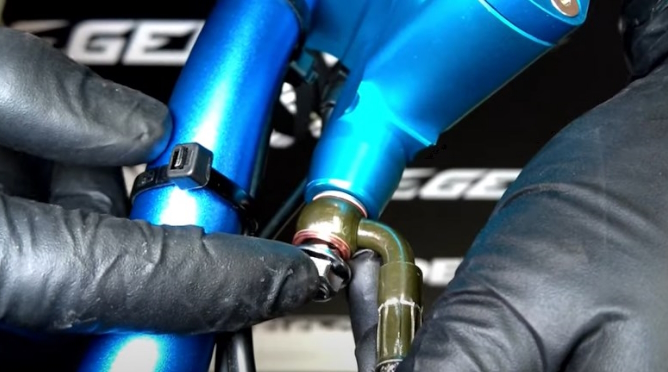
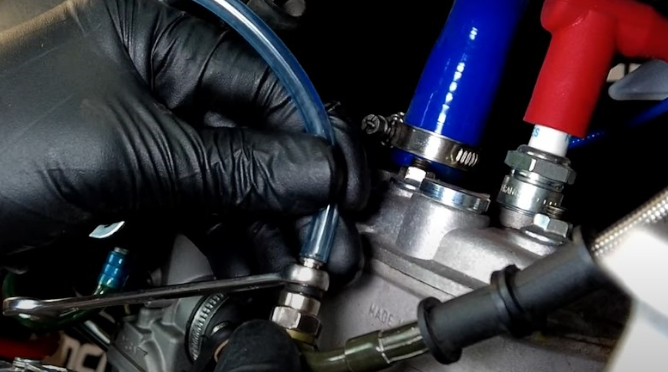
11) Present the banjo screw on the clutch slave
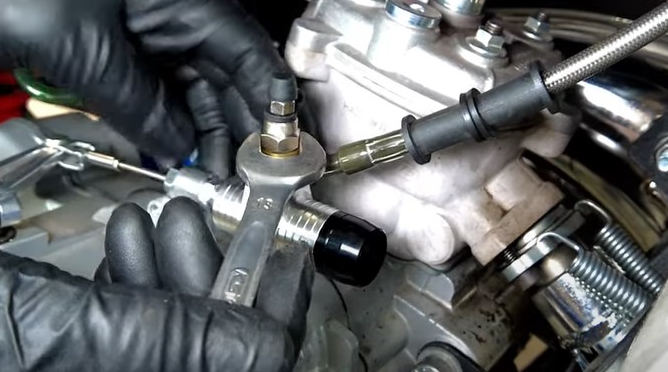
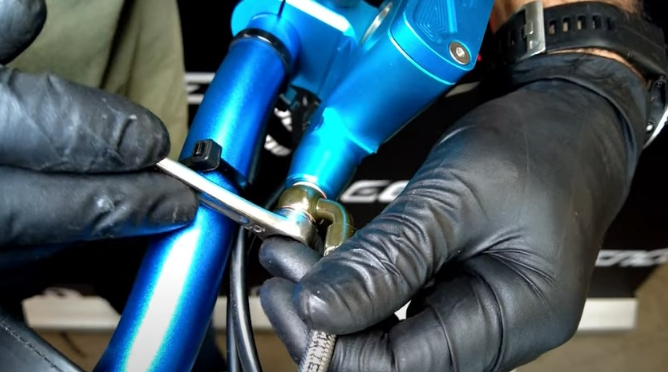
11) Tighten the screw using a spanner.
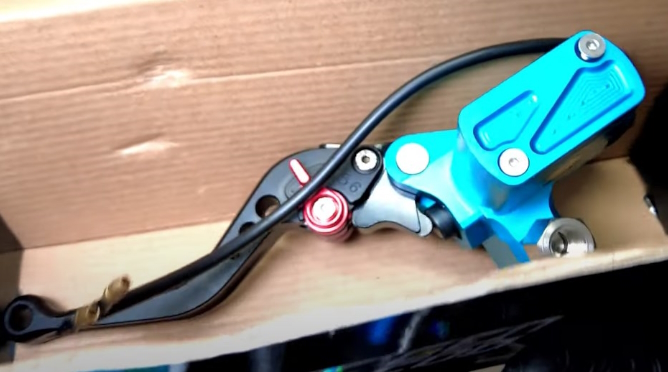
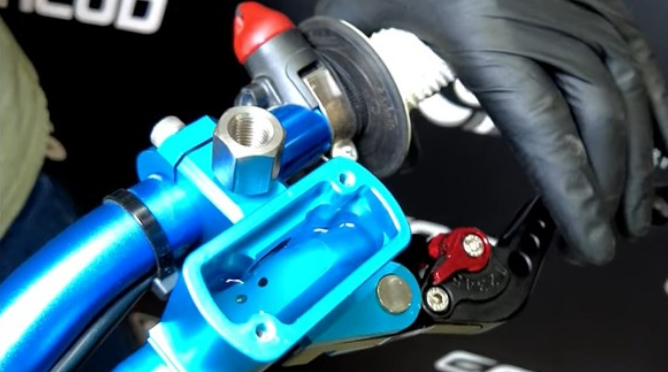
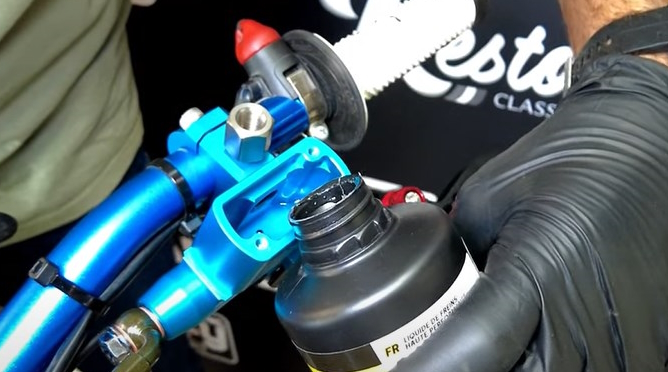
11) In order to change from the cable system to a hydraulic system, you must install a master cylinder which will contain the fluid for the hydraulic system. Generally it comes in the form of a clutch lever fitted with a small reservoir.
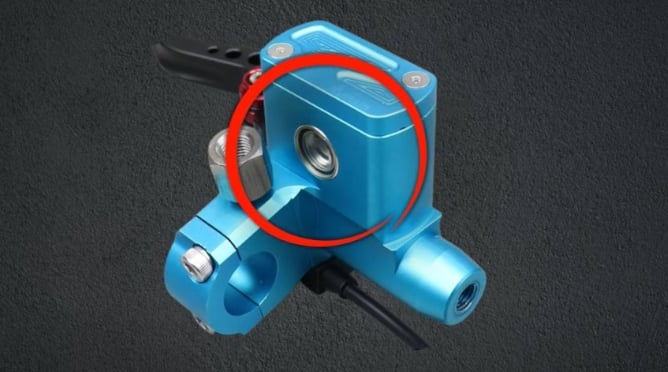
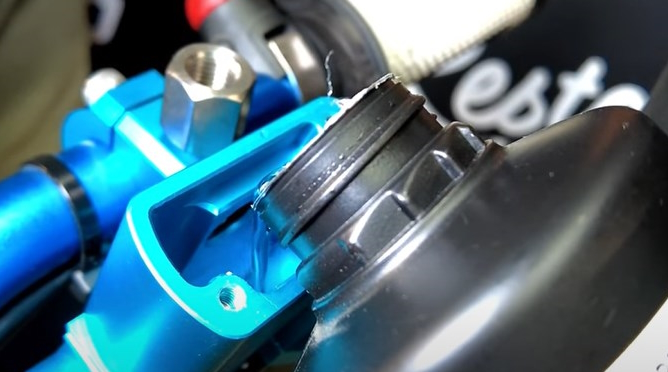
11) This tank has a porthole which allows you to check the liquid level
11) Loosen the BTR screws that hold the master cylinder retainer
11) Place the master cylinder on the handlebar
11) Tighten the master cylinder retaining screws
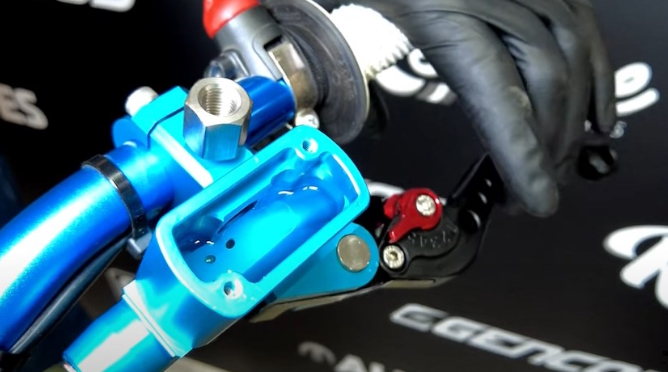
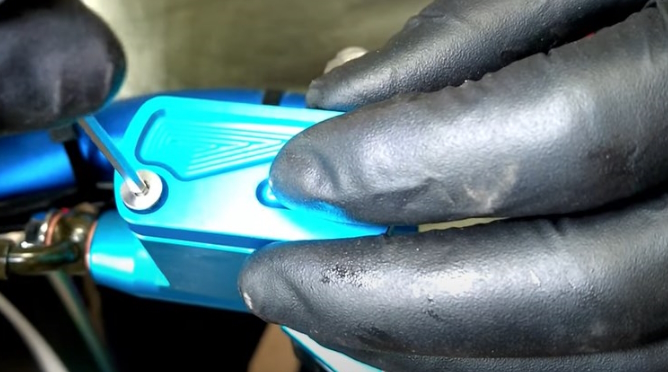
11) Remove the protective cap from the master cylinder
11) Place the hose between the two joints on the banjo screw
11) Present the banjo screw on the master cylinder
11) Tighten the banjo screw

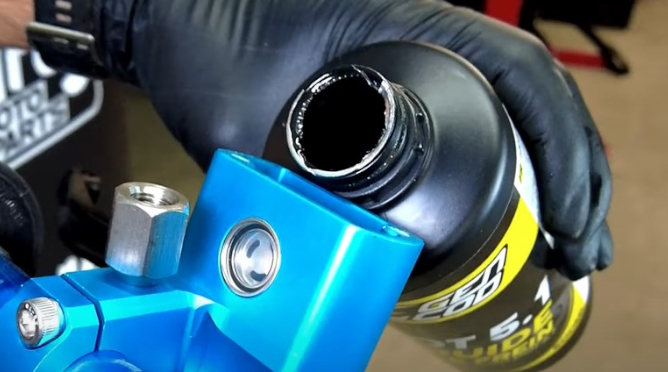
11) Who says hydraulic circuit, says liquid. Brake fluid should be used. To find out everything about brake fluid, click You can consult it by clicking here.

11) Brake fluid is a very corrosive product which can damage paints and certain materials. Read the usual precautions carefully before handling it.
11) To open the tank, loosen the two BTR screws
11) Fill the reservoir with brake fluid
11) Install a hose at the circuit purge level
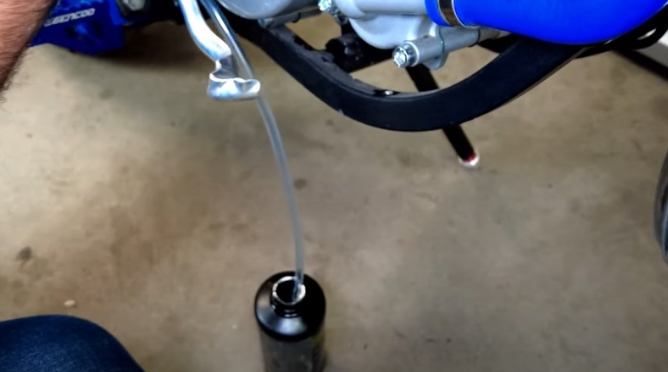
11) Place the other end of the hose in a container.
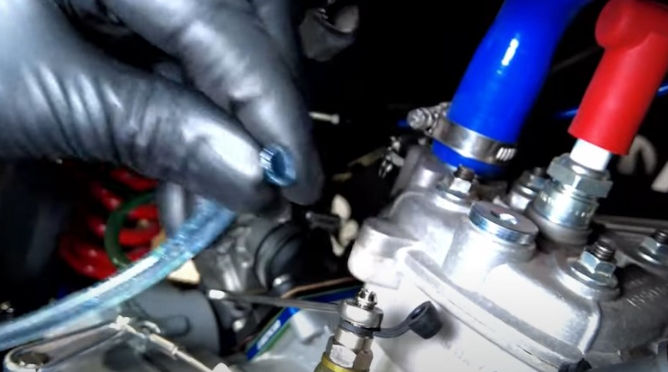
11) Operate the clutch lever several times. This action allows the liquid to be injected into the hydraulic circuit.
11) Leave the lever tight and open the bleeder screw, then close it and tighten again. Repeat the operation as long as there is air in the circuit.
11) When the lever becomes firmer, keep it tight and release the pressure by loosening the bleeder screw
11) Here we can see an air bubble escaping. Remember to fill the tank as the operation progresses.
11) The lever will gain firmness as soon as the circuit is completely purged.
11) When there is no more air in the system, fill the tank to bring it up to level
11) Remove the (bleeder) hose, paying attention to the brake fluid

11) Tighten the bleeder screw correctly, wipe with a cloth to wipe off any drops of brake fluid.
11) Check the fluid level at the reservoir, top up if necessary
11) Close the brake fluid reservoir cover.
VIDEO: INSTALL A HYDRAULIC CLUTCH RECEIVER


HERE 100% OF THE PARTS INDICATED IN STOCK REALLY ARE!


 Cart
Cart
This product has been added to your cart
 Cart
Cart
You have already added this product to the cart or there is not enough in stock.