


 CHANGING YOUR CRANKSHAFT (ENGINE GENERIC)
Ce tutorial aims at you help change the crankshaft of a type engine GENERIC on your box 50cc thanks to pics and explanations associated. This tutorial is quite complicated, you have to be patient and rigorous! It is in two parts: Disassembly then assembly.
We advise you to do the tutorial at the same time HOW TO CHANGE YOUR BEARINGSTS BOITE ON ENGINE GENERIC. Find out on 50factory.com all of our crankshafts for your gearbox 50cc with engine GENERIC. You can help yourself with the videos below to perfectly replace your crankshaft.
Difficulty :
![]()
Temps necessary:
1 hour 30
1 part: Disassembly of a crankshaft on engine GENERIC
HOW TO REMOVE YOUR CRANKSHAFT GENERIC
1) Start par take your motor out of the frame and drain it. For this, consult this tutorial.
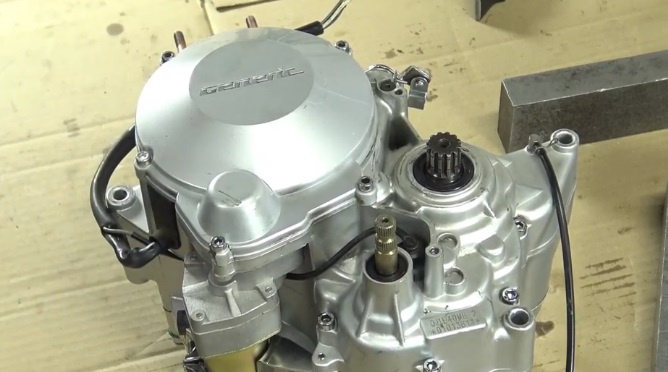
2) Remove the clutch housing (4 screws).
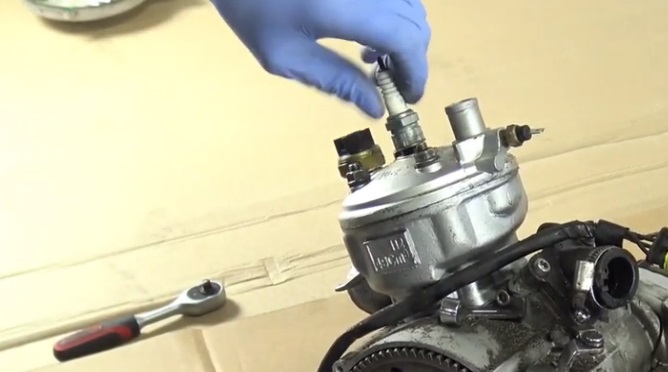
3) Remove the candle.
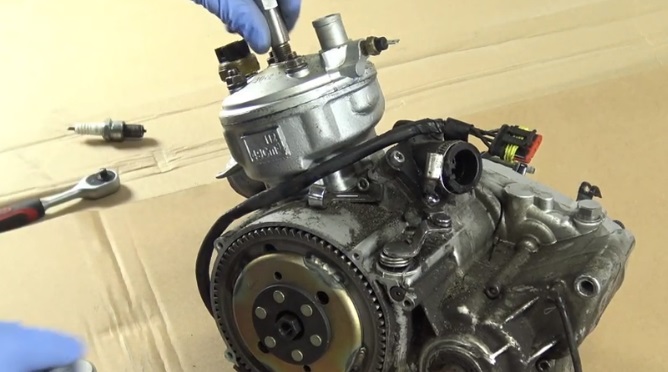
4) Place the piston lock instead.
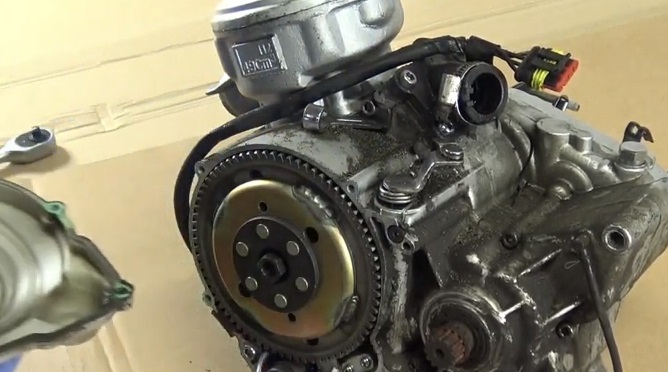
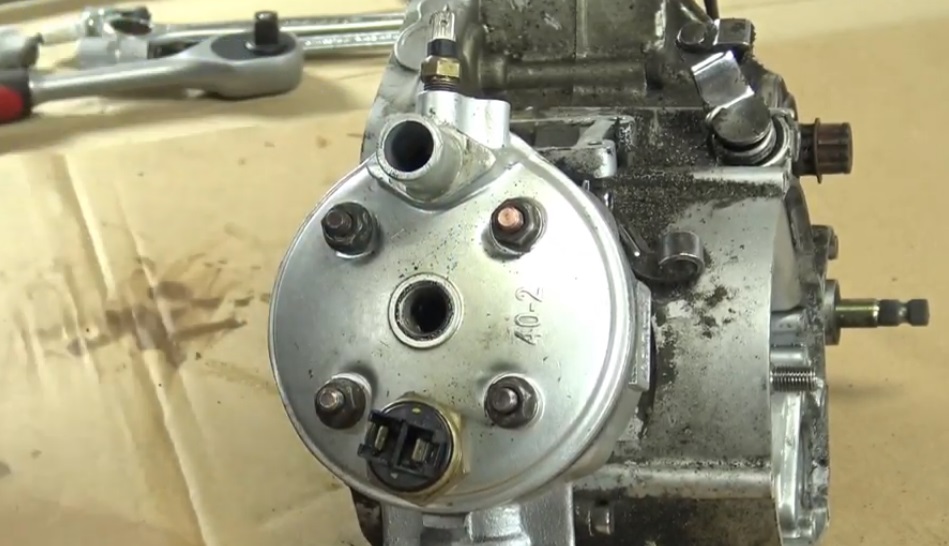
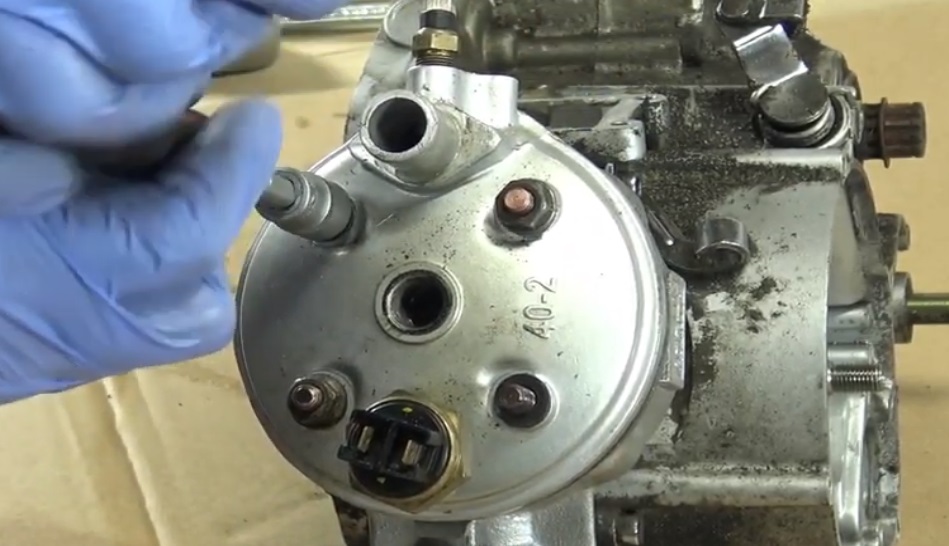
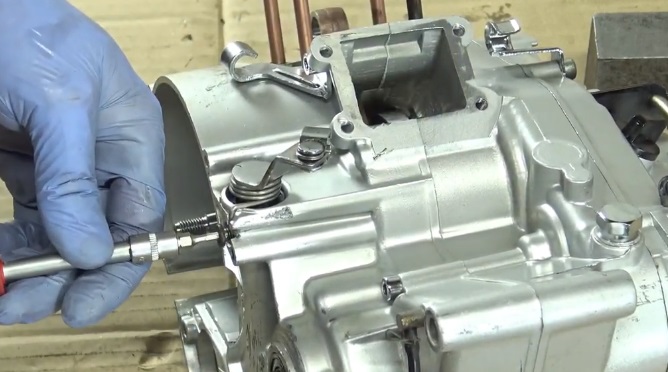
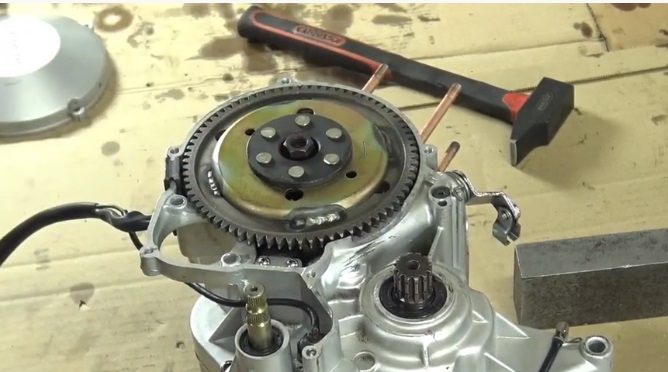
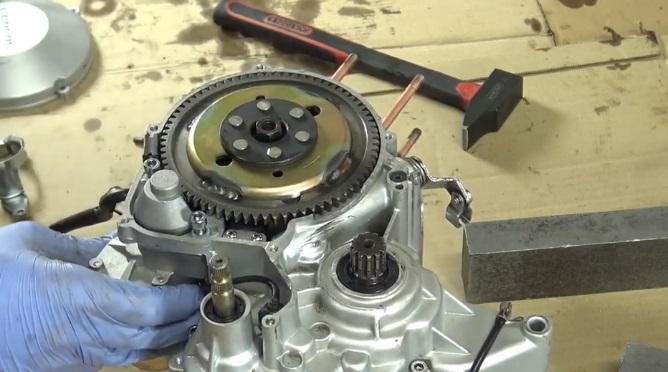
5) Remove the nut from the ignition rotor.
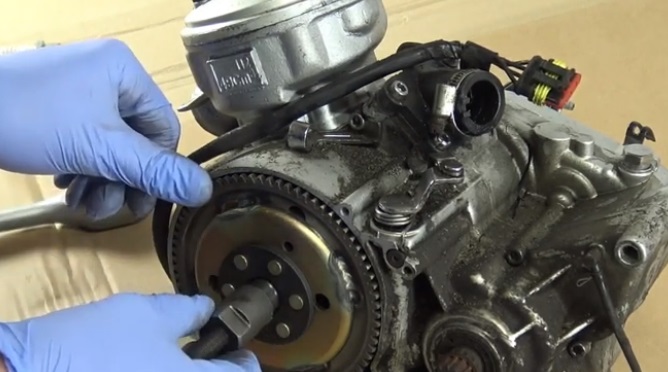
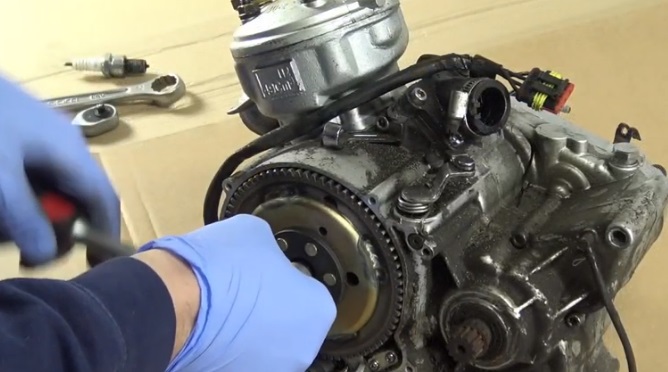
6) Place the flywheel puller on the rotor.
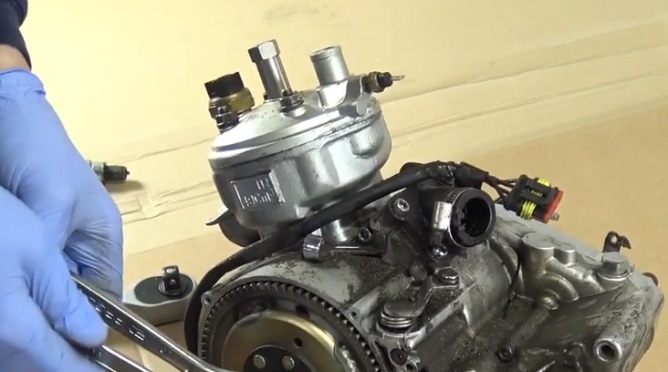
7) Remove the ignition rotor using the flywheel puller and 2 open-end wrenches.
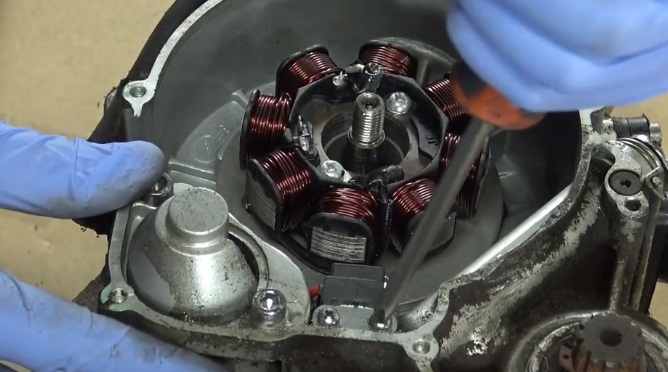
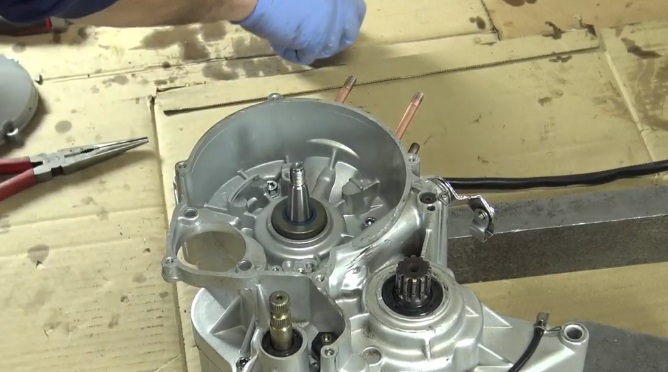
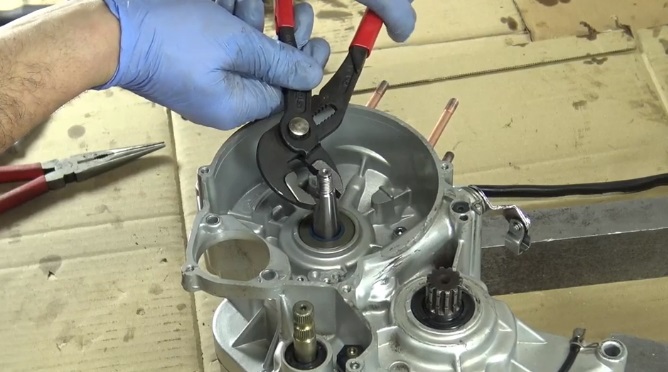
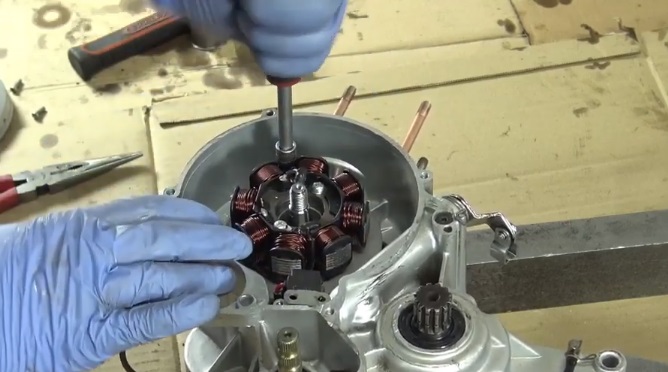
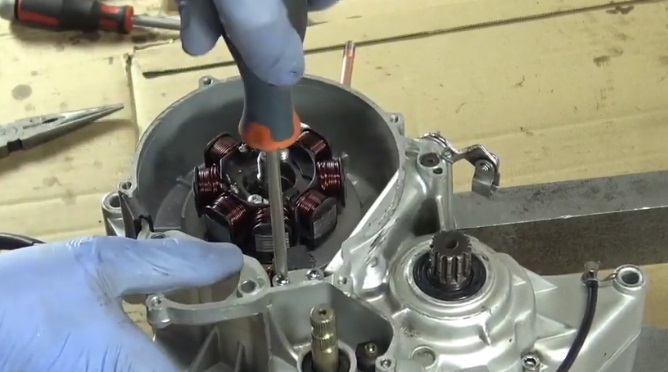
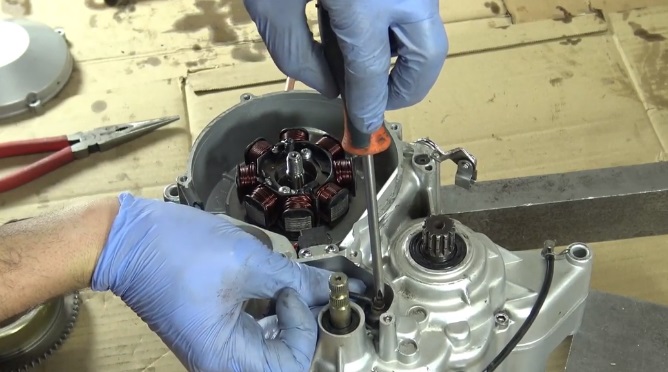
8) Disconnect the stator (2 screw).
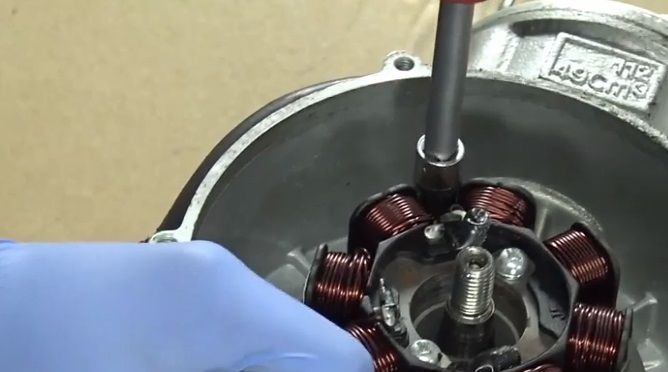
9) Unscrew the stator from the support (2 screw).
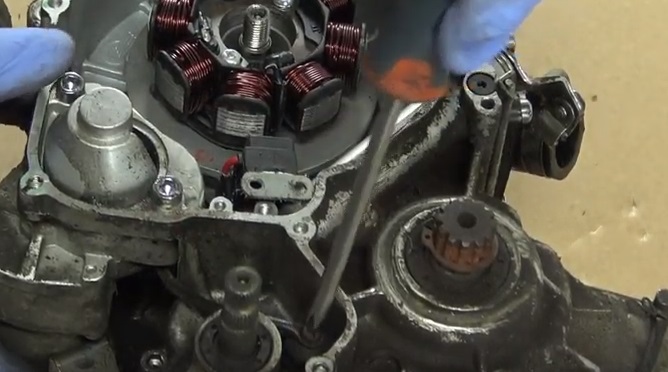
11) Unplug the power cable. Attention, collect the washer of the screw
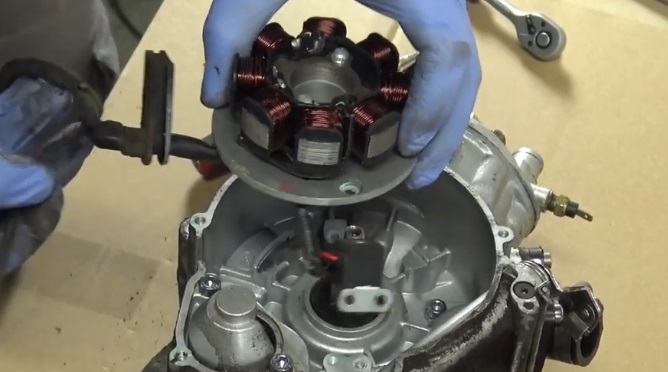
11) Remove the ignition stator.
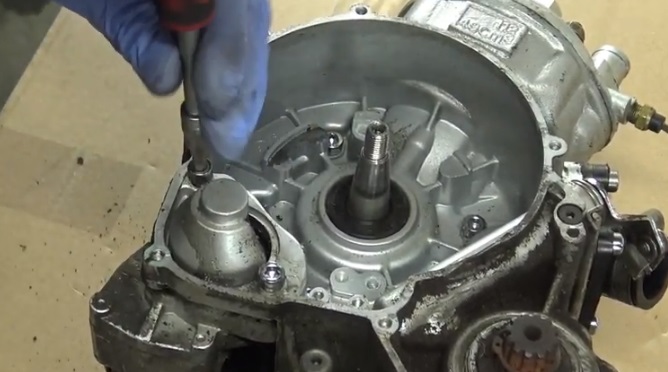
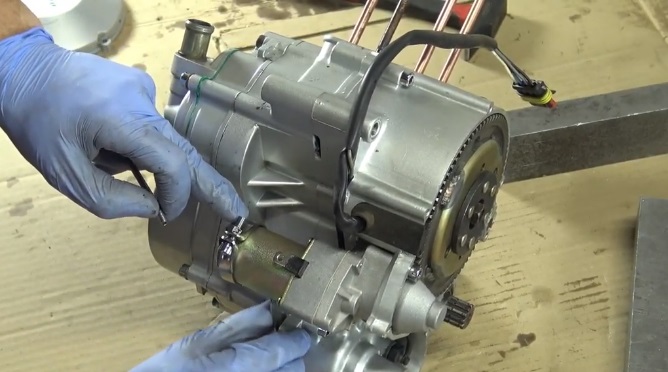
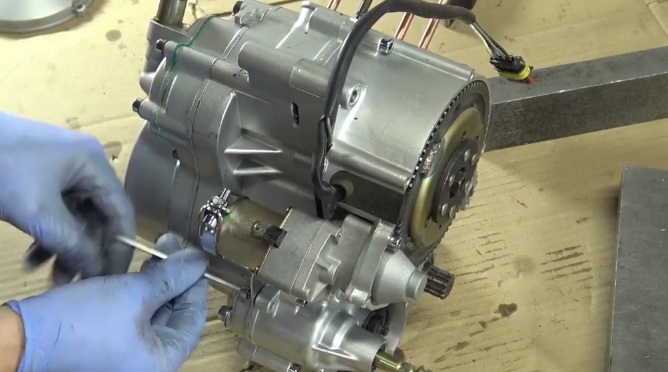
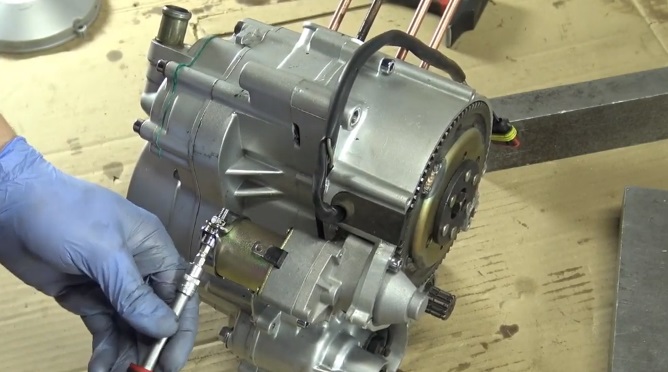
11) Unscrew the starter (2 screw).
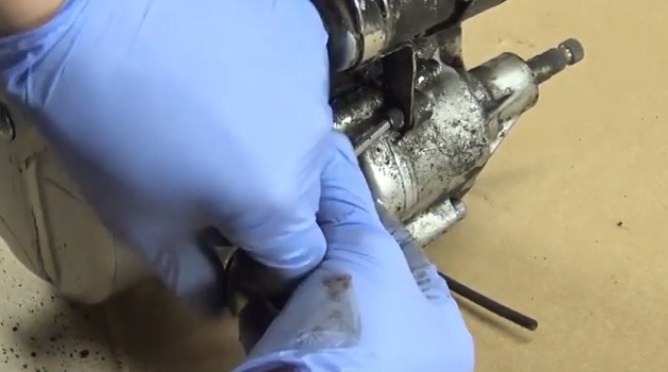
11) Remove the starter support screw on the outside of the engine.
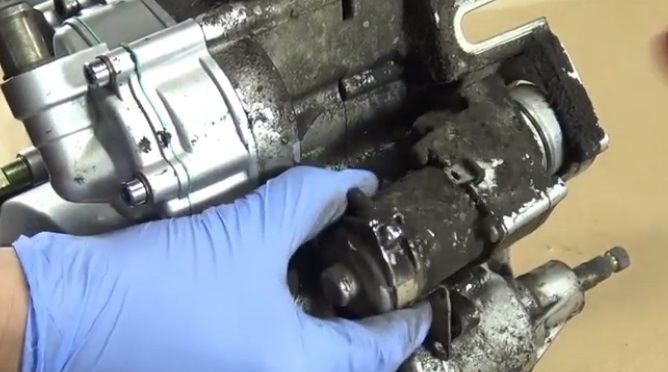
11) Remove the starter using the mallet.
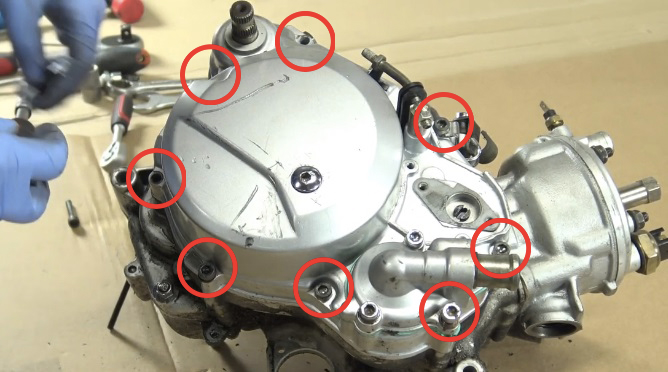
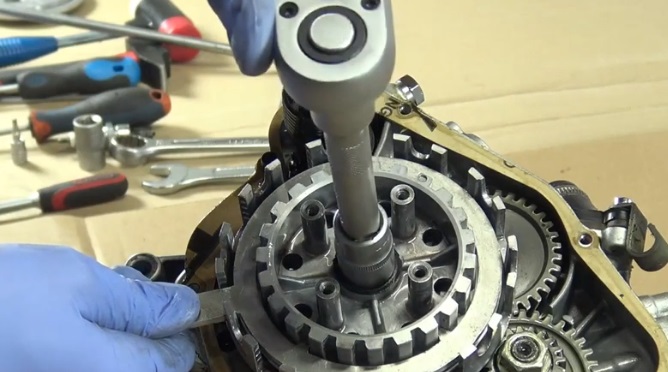
11) Remove the clutch housing (8 screws).
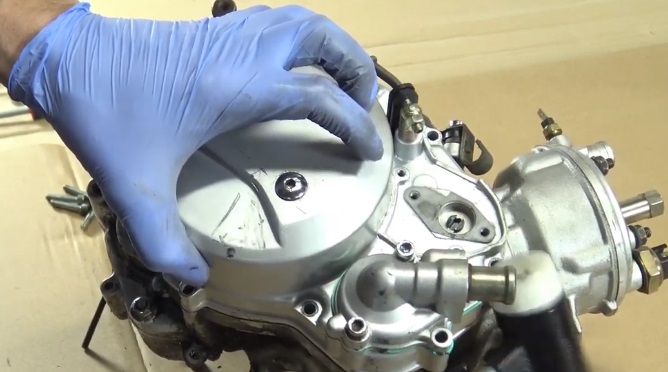
11) Then use the mallet to take out the clutch housing.
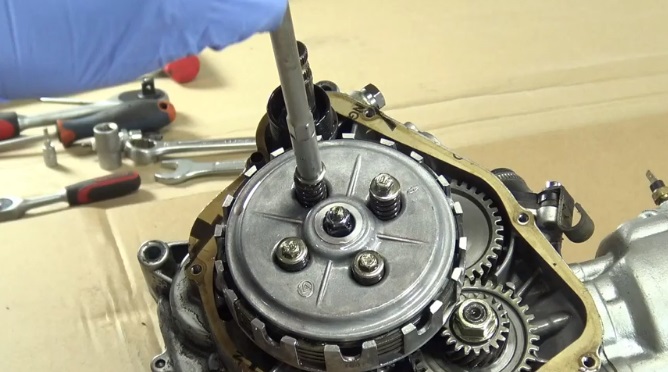
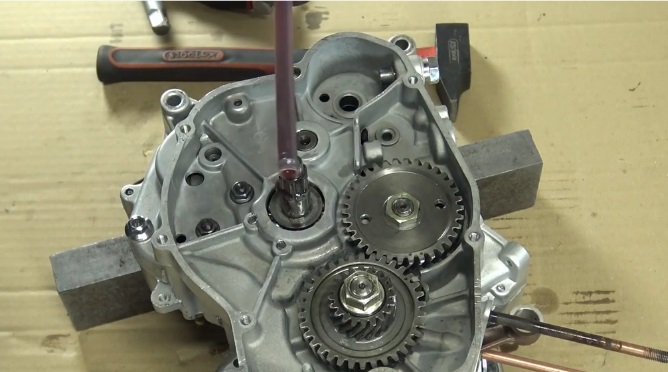
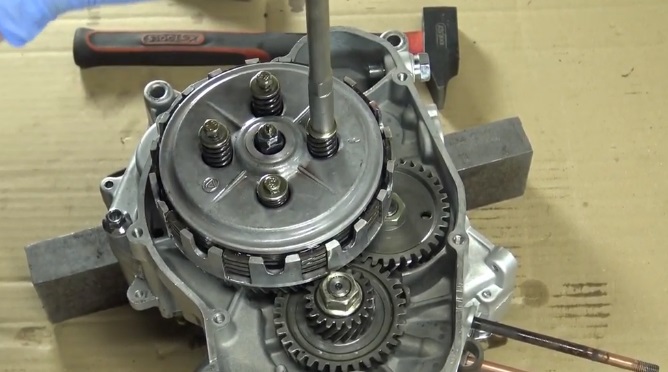
11) Remove the 4 screws and springs from the presser plate.
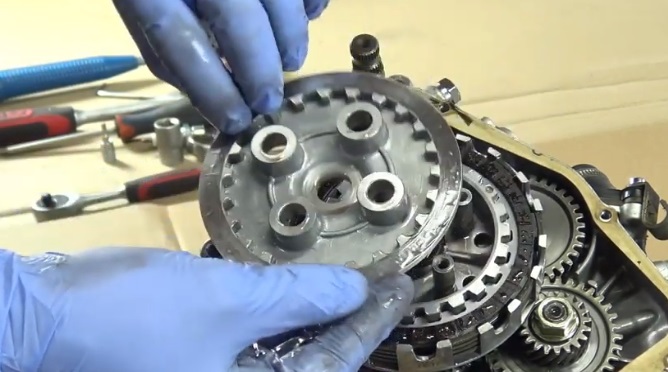
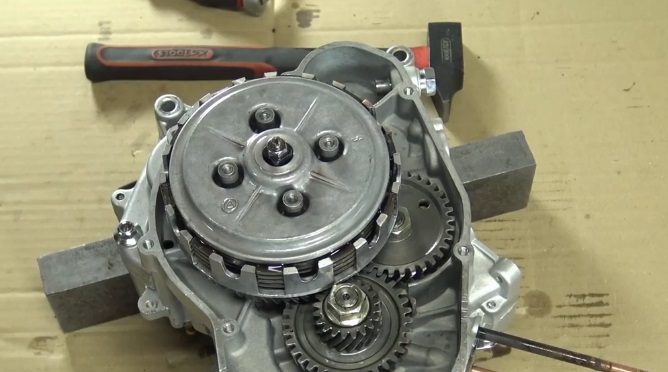
11) Remove the pressure plate.
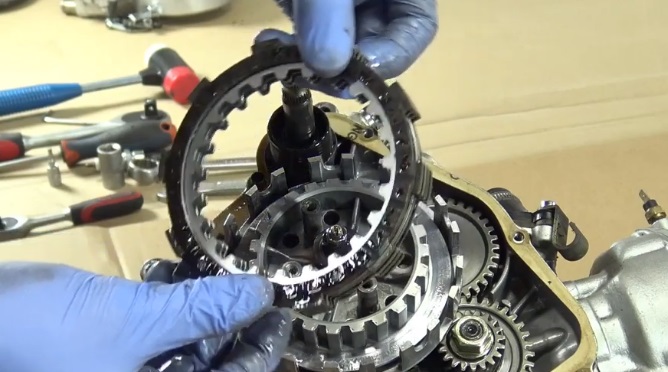
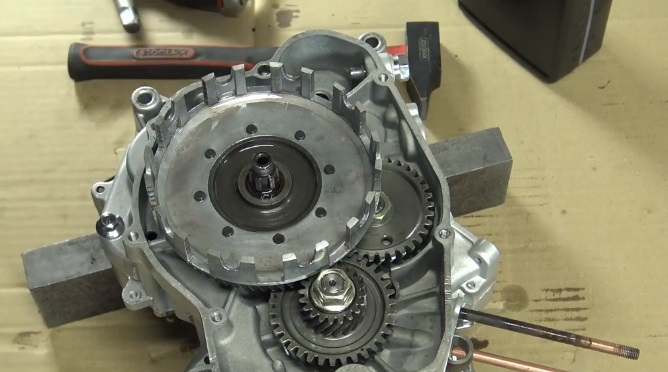
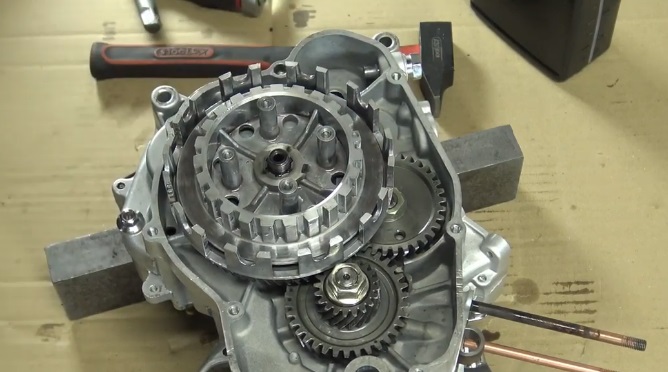
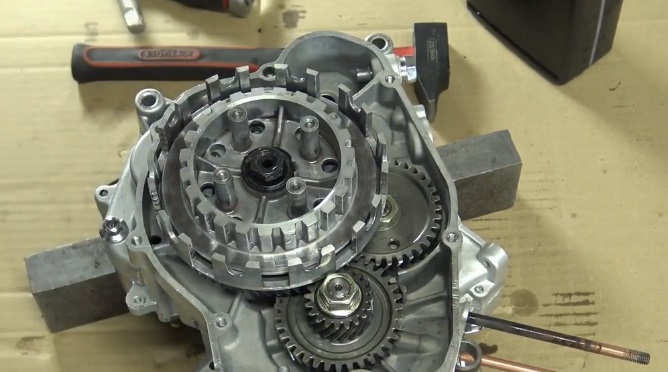
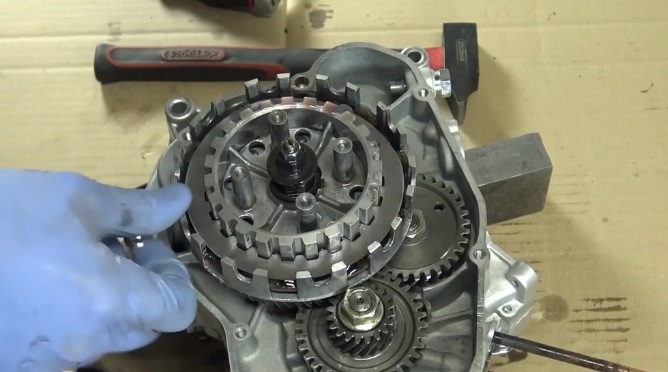
11) Remove all clutch disks.
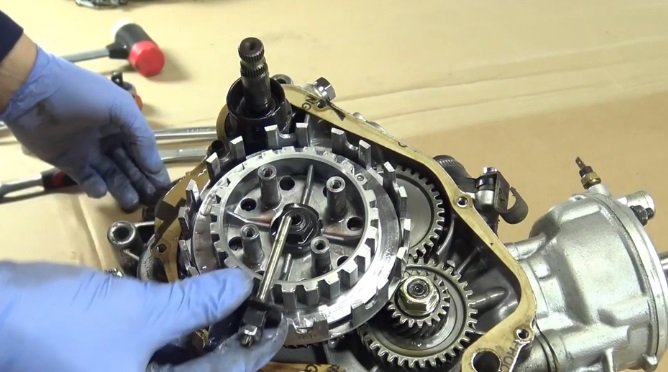
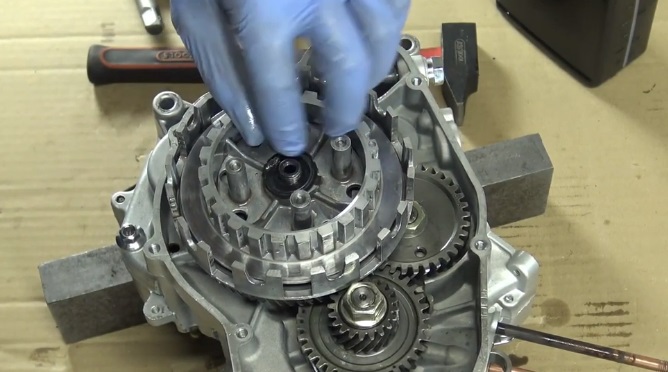
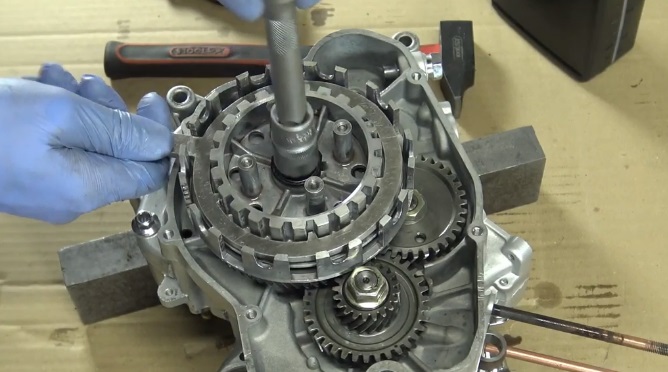
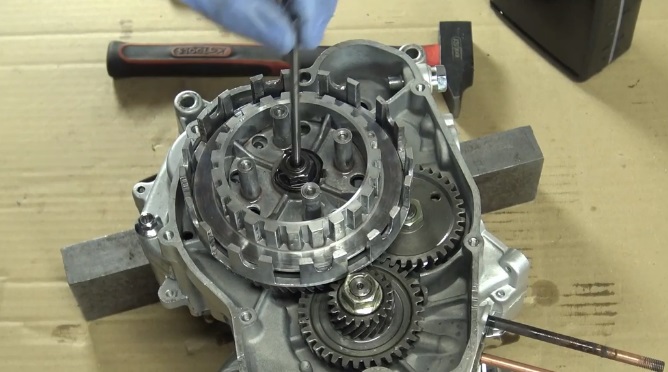
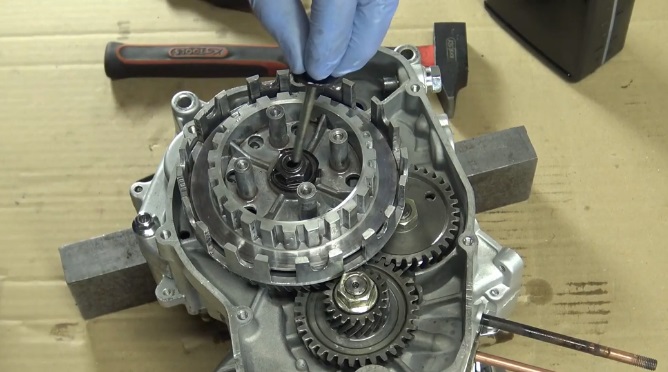
11) Then remove the central axis.
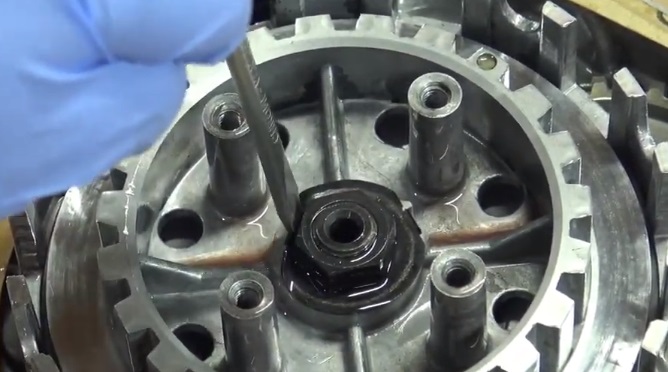
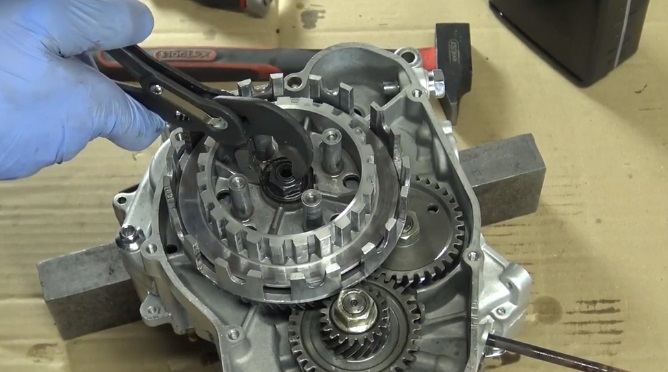
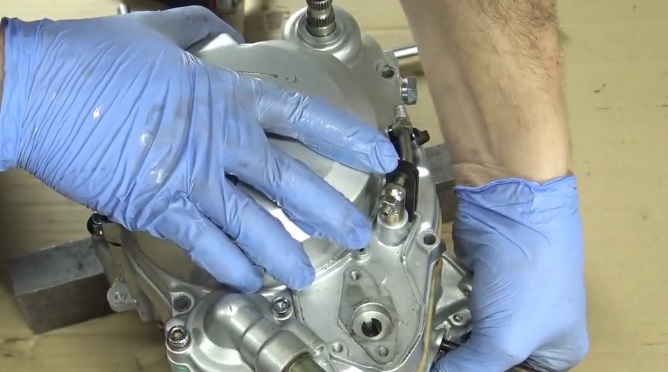
11) Unfold the bell nut retaining washer using a screwdriver and hammer.
11) Then remove the bell nut. Help yourself with the clutch key.
11) Remove the clutch nut (watch out for the washer below).

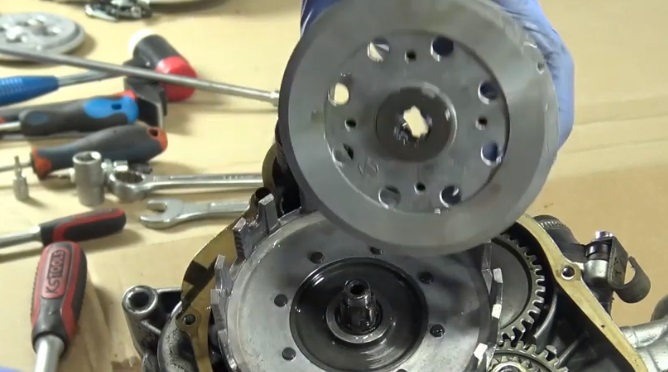
11) Remove the clutch housing.
11) Remove the clutch washer using flat screwdrivers.
11) Remove the kick pin. Be careful to recover the pinion in the hole in the axle.
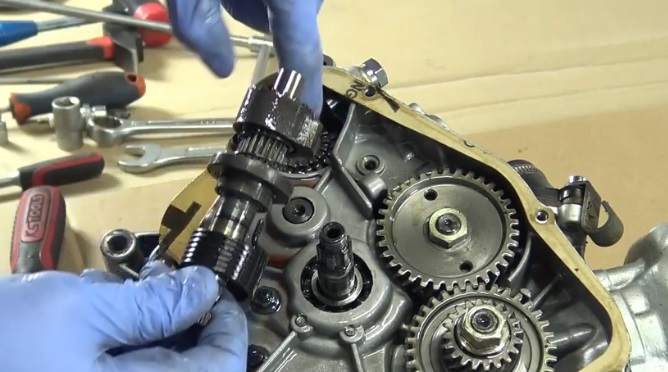
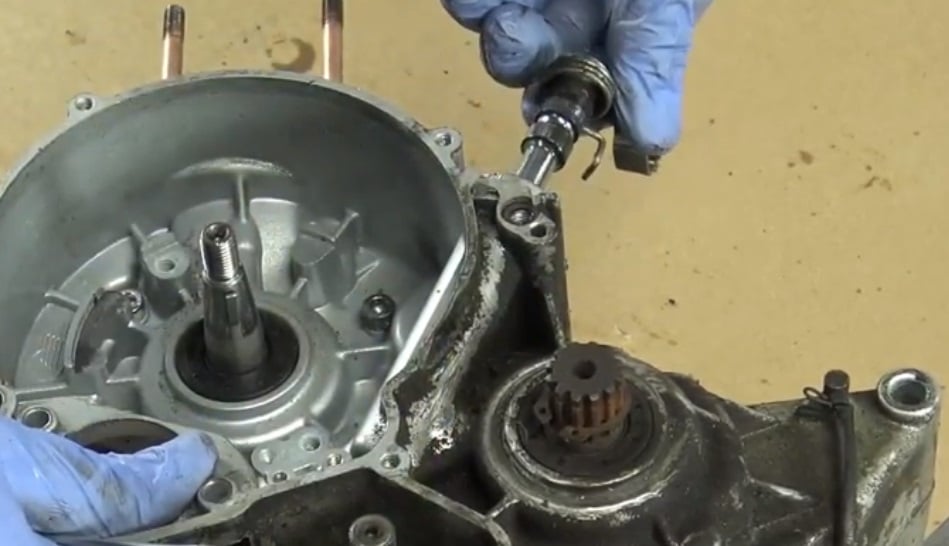
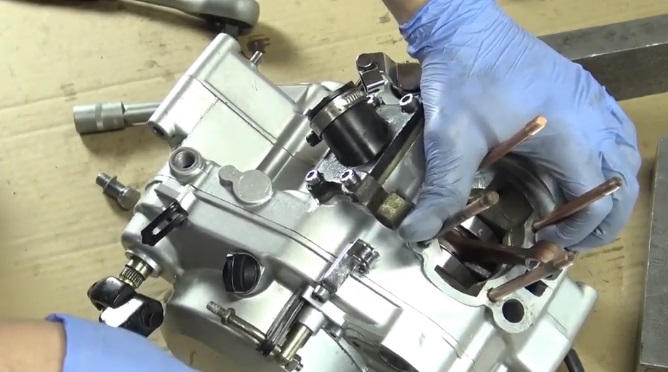
11) Remove the nuts from the balance shaft and the crankshaft pinion.

11) Remove the crankshaft pinion. Watch out for the washer
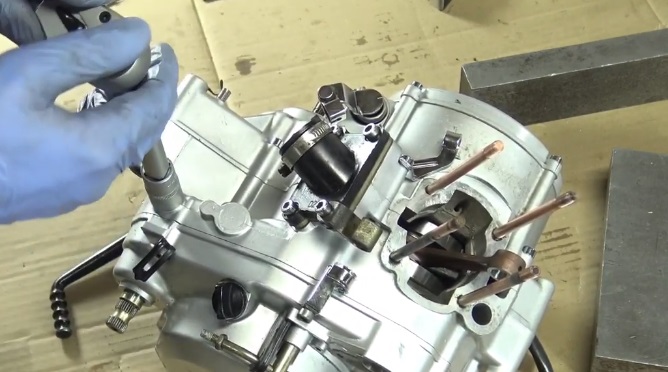
11) Retrieve the key from the crankshaft pinion.
11) Disassemble the balancing shaft pinion.
11) Take the key from the balancing shaft.
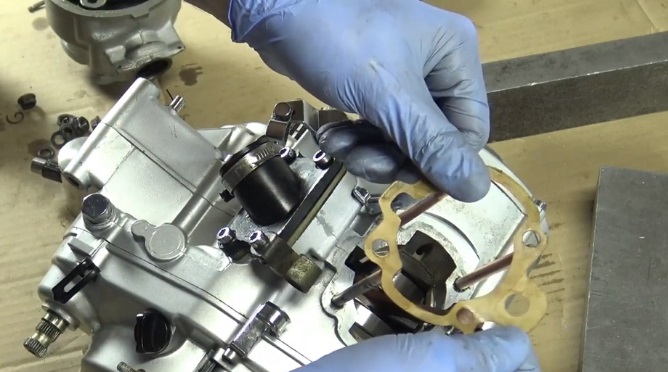
11) Remove the clutch gasket.
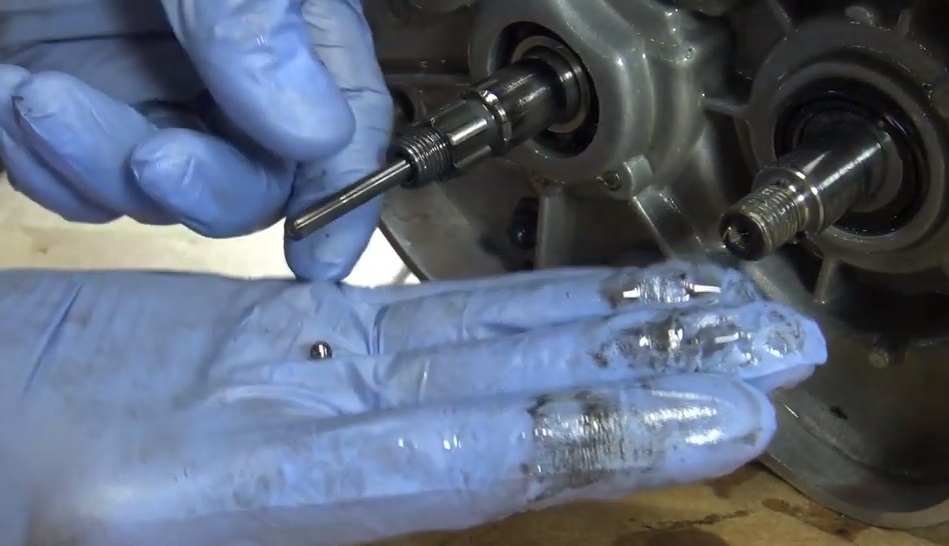
11) Collect the ball and the clutch rod.
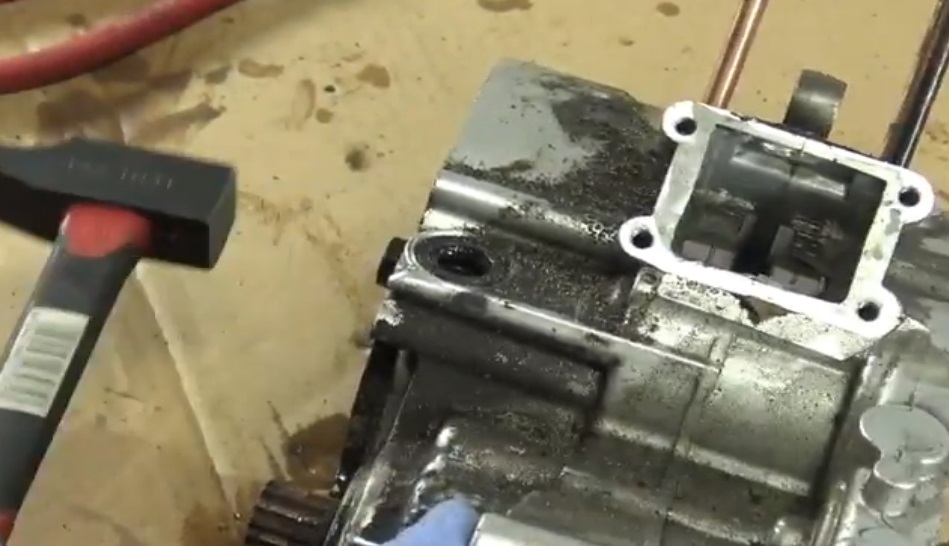
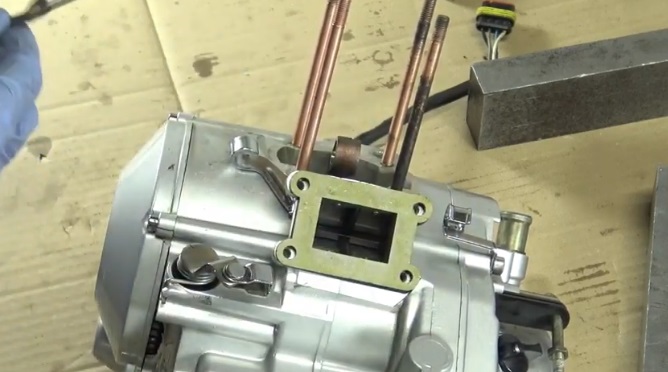
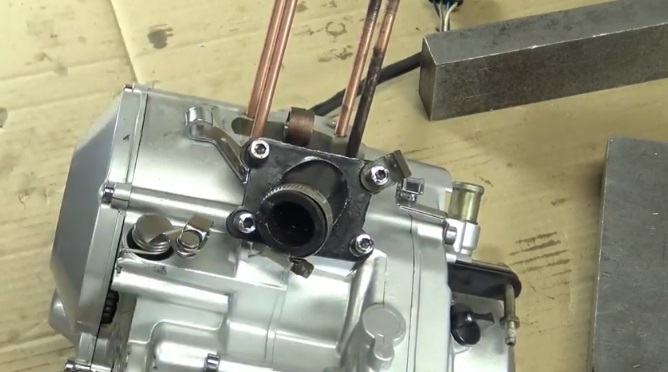
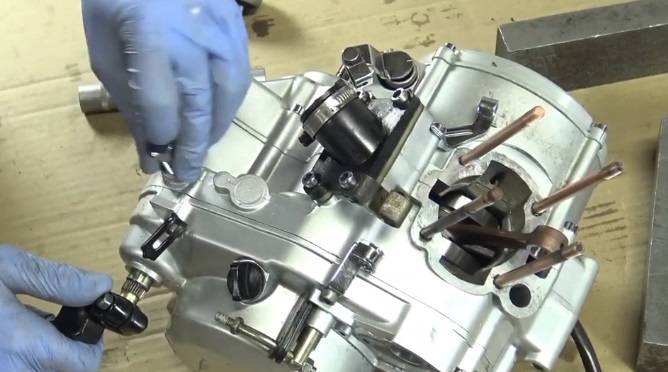
11) Unscrew the intake pipe (4 screw).

11) Collect the valves.
11) Remove the piston lock.
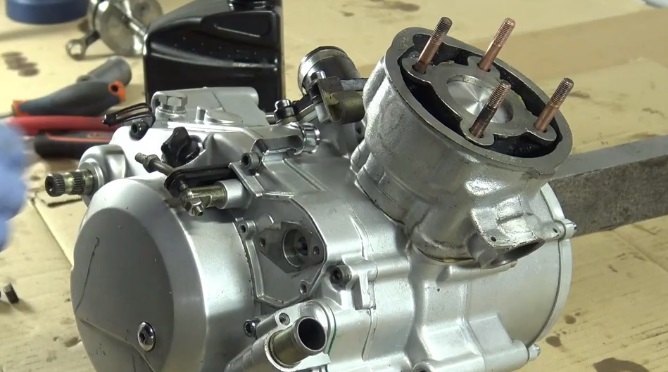
11) Remove the 4 screws and the 4 washers located on the cylinder head, then the cylinder head.
11) Remove the cylinder.

11) Remove the piston pin clip.
11) Remove the piston pin and the piston, pushing with the screwdriver.
11) Remove the needle cage.
11) Remove the base gasket.
11) Unscrew the clutch rod screw.
11) Release the spring from its notch.
11) Remove the clutch rod.
11) Remove the circlip from the kick pin.
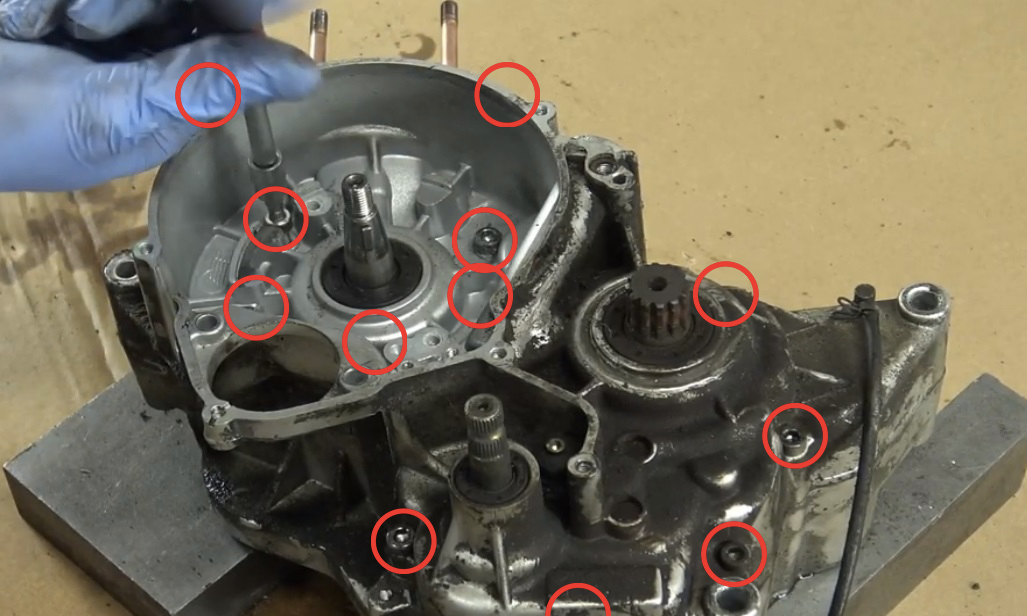
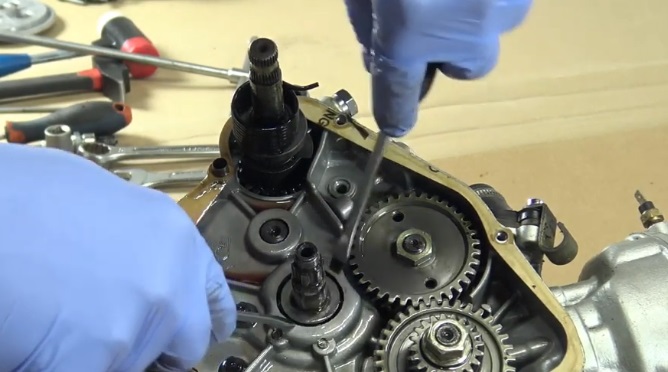
11) Remove the screws from the crankcase (12 screws).
11) Turn the engine over.
11) Remove the screw from the crankcase behind the balancing pinion.
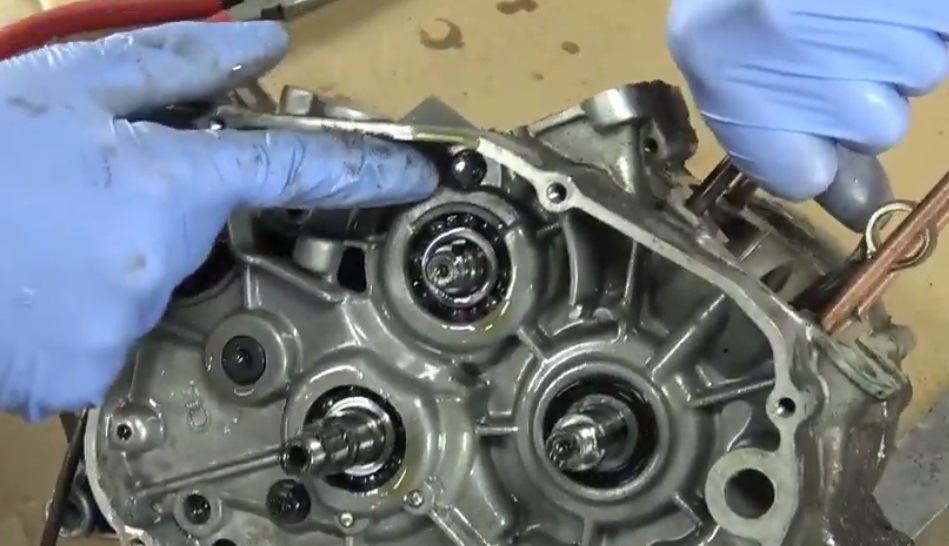
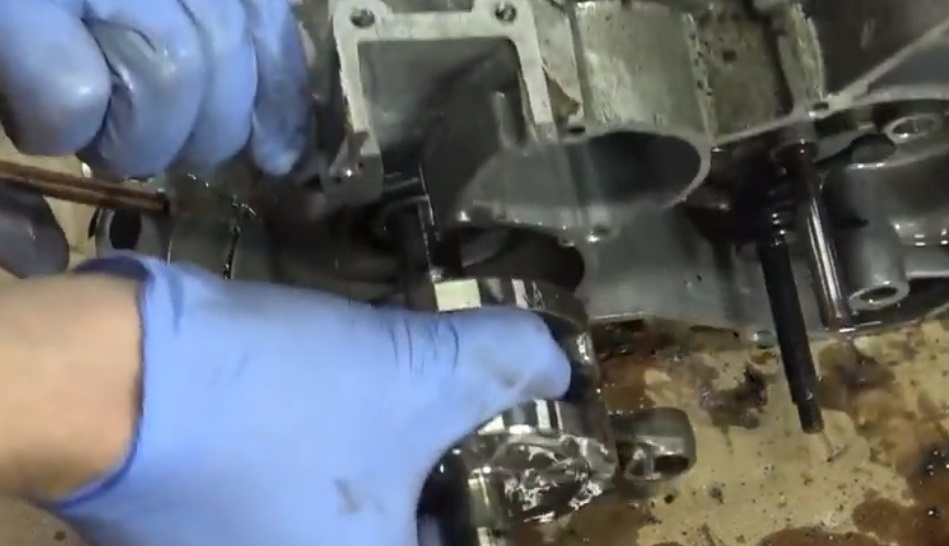
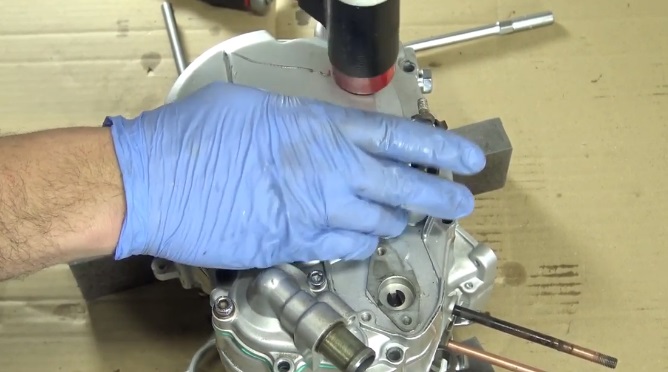
11) Put the nut on the crankshaft, then tap it with the mallet until the engine opens.

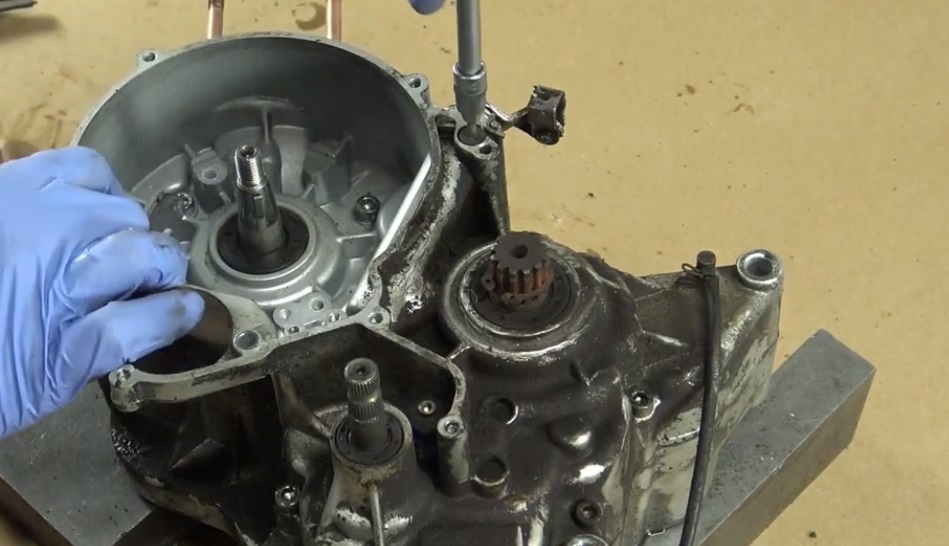
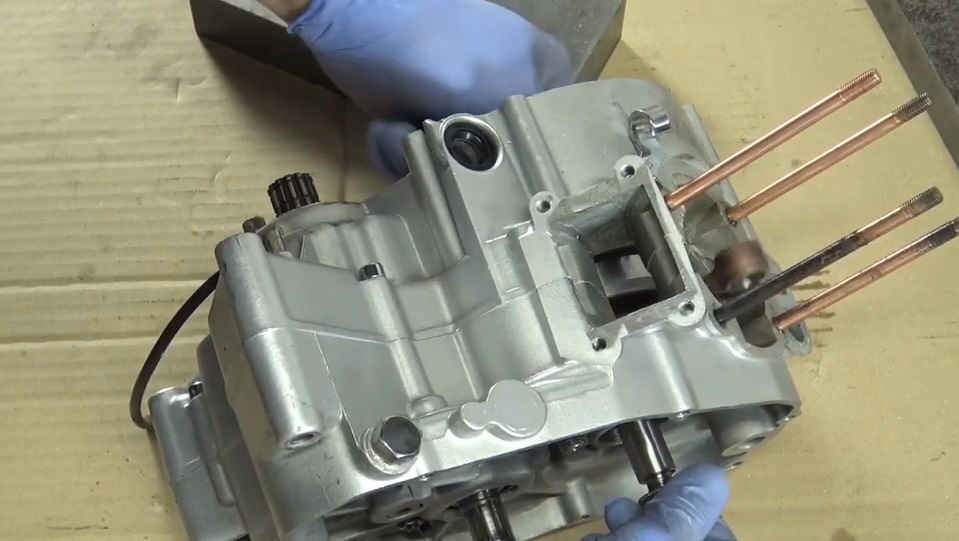
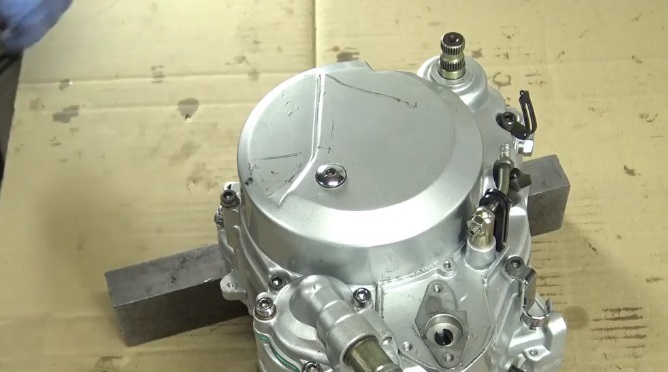
11) Remove the crankshaft nut. Open the engine.
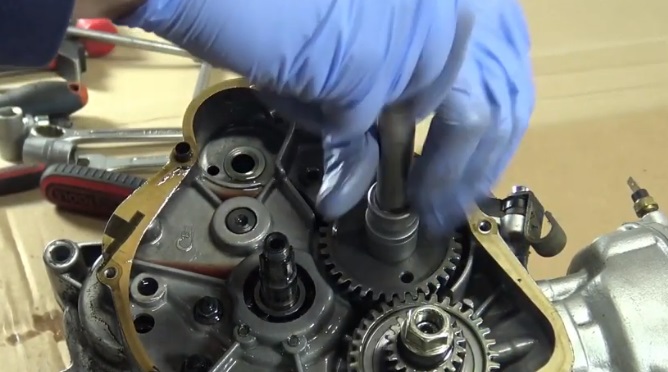
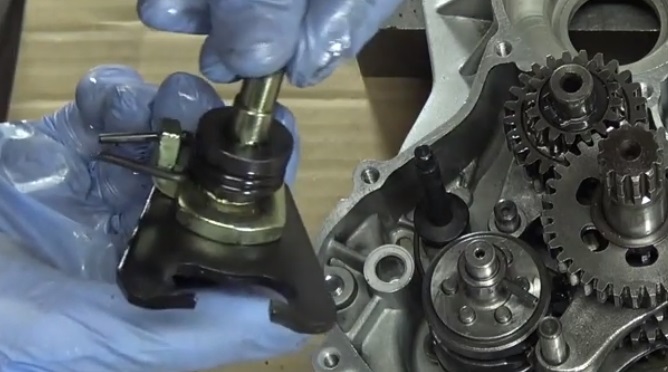
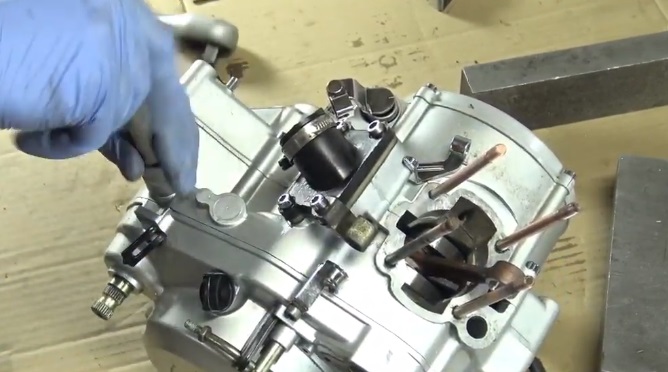
11) Remove the gear selector shaft, collect the washer.

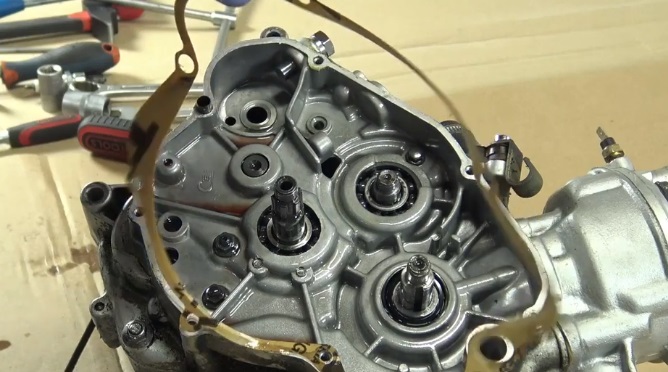
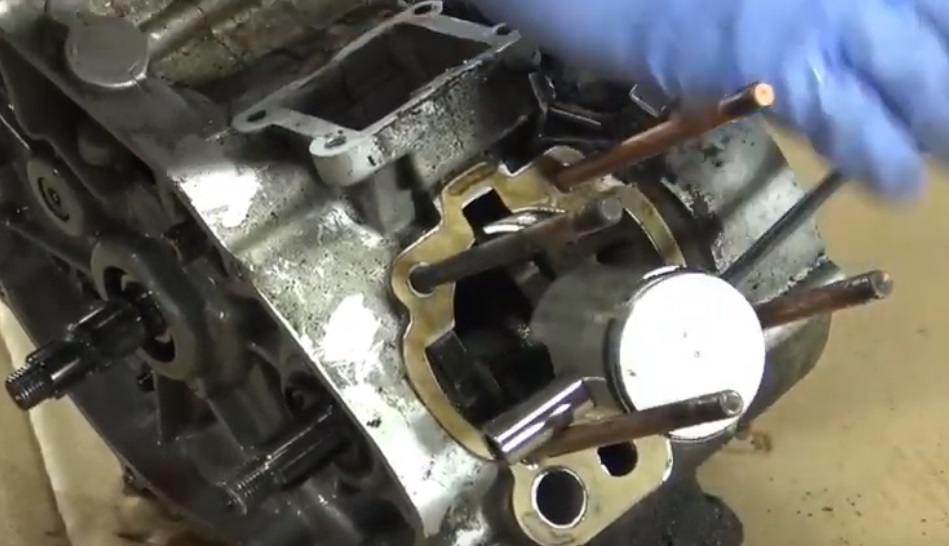
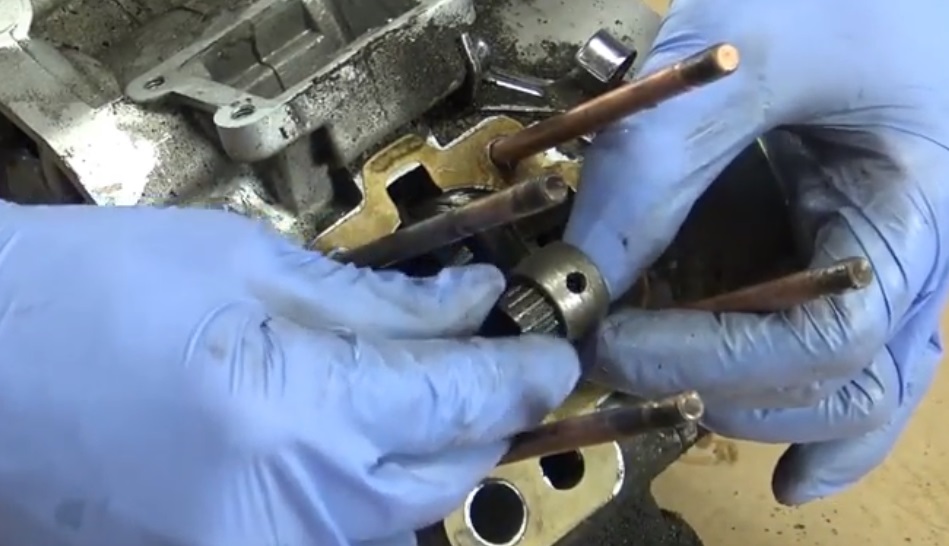
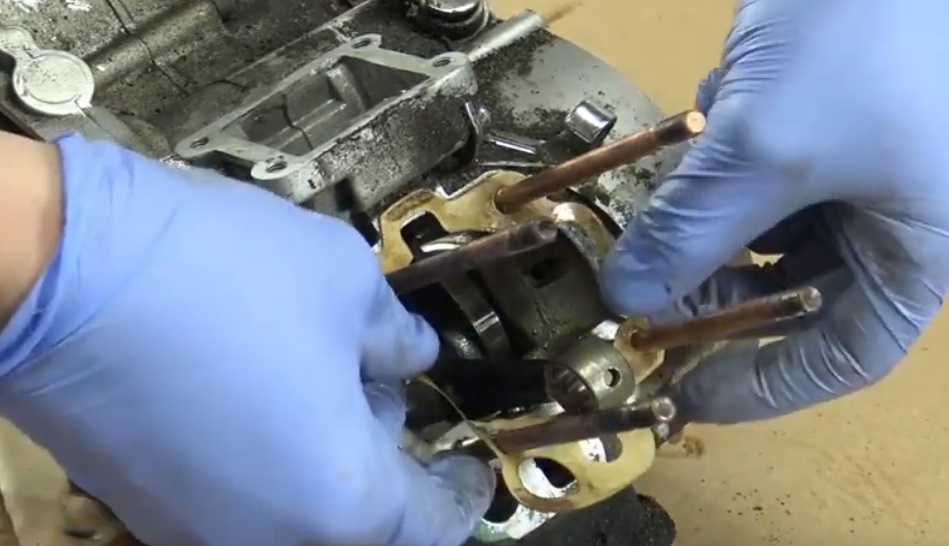
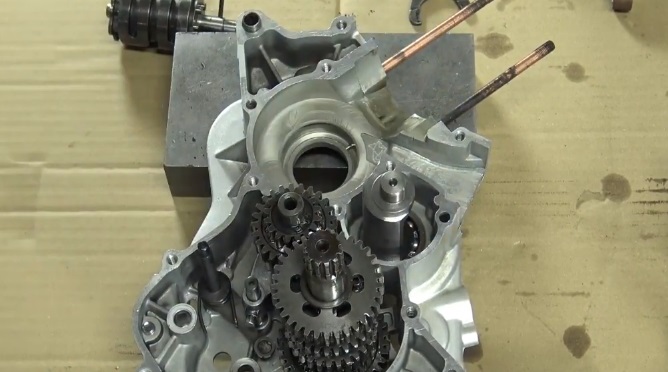
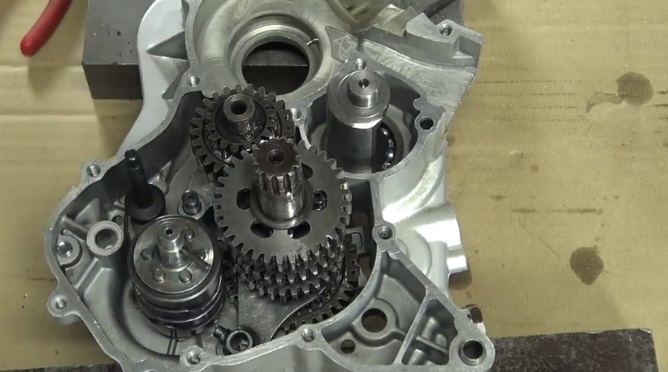
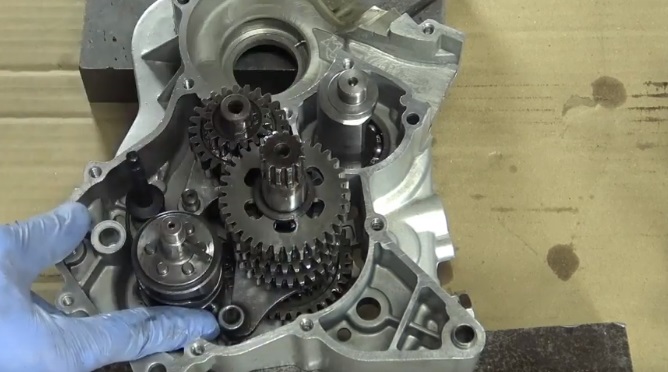
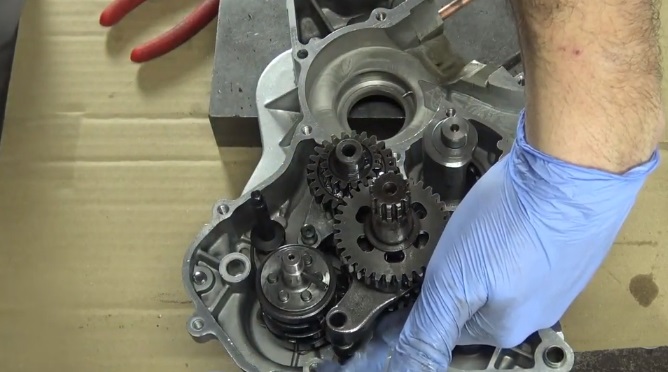
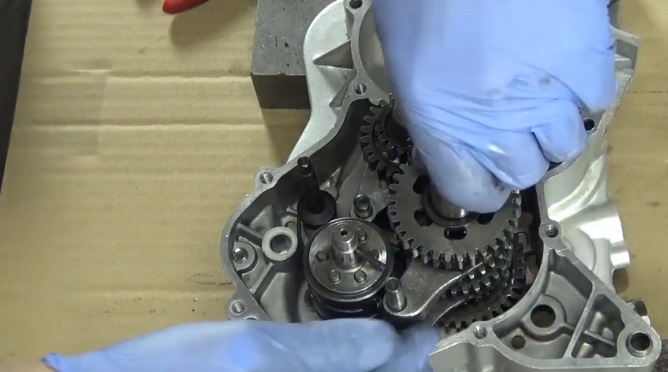
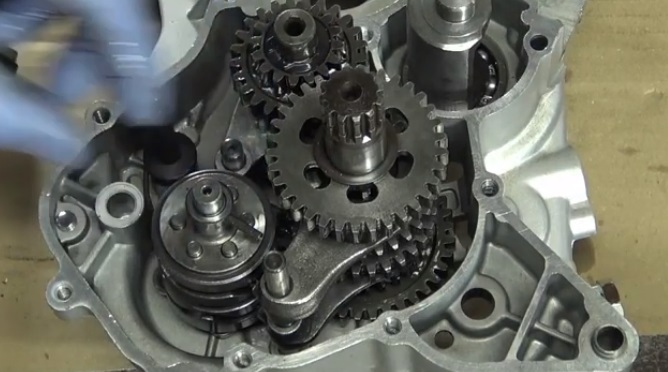
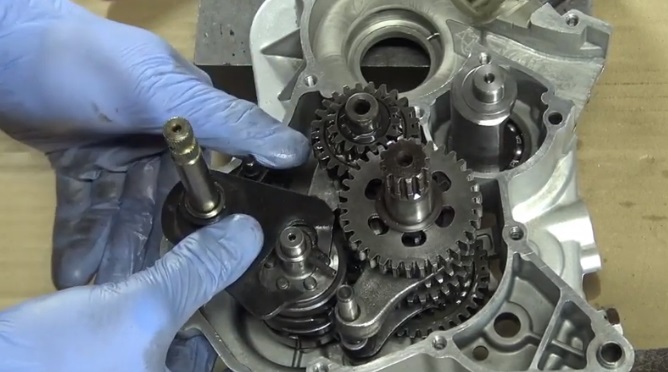
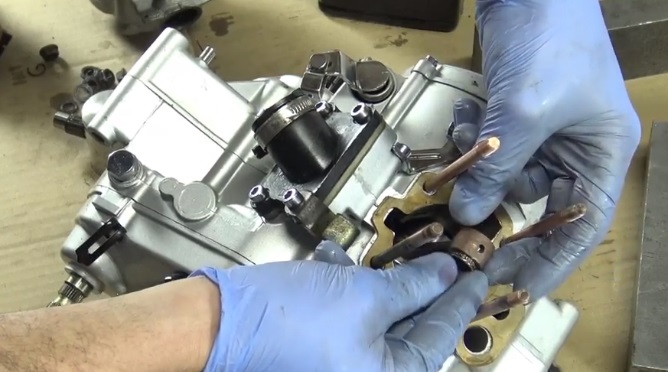
11) Remove all the elements from the gearbox, starting with par the barrel
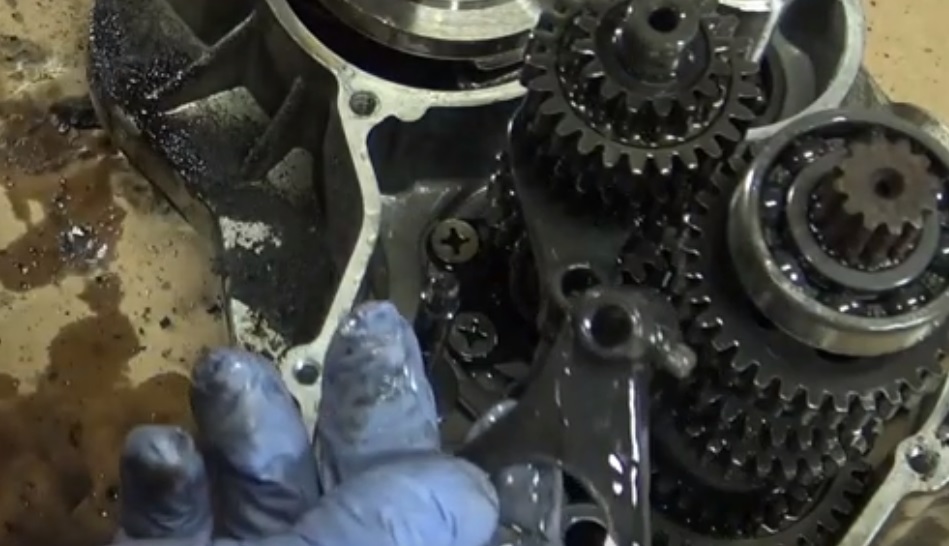
11) Get the first fork.
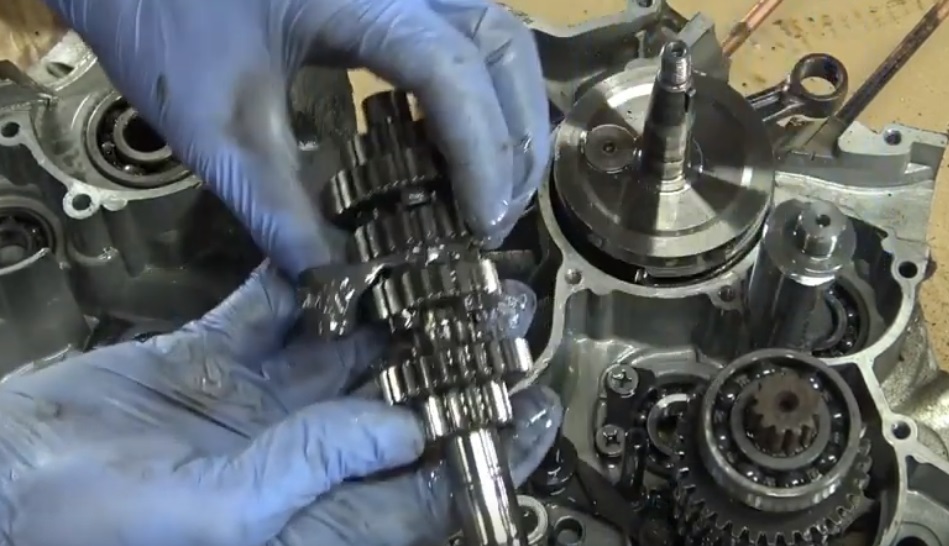
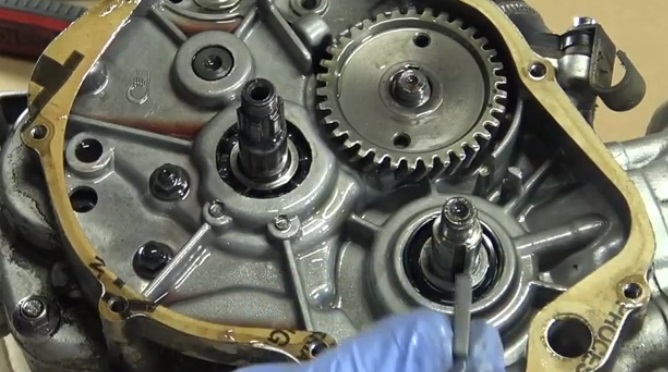
11) Remove the first transmission shaft.
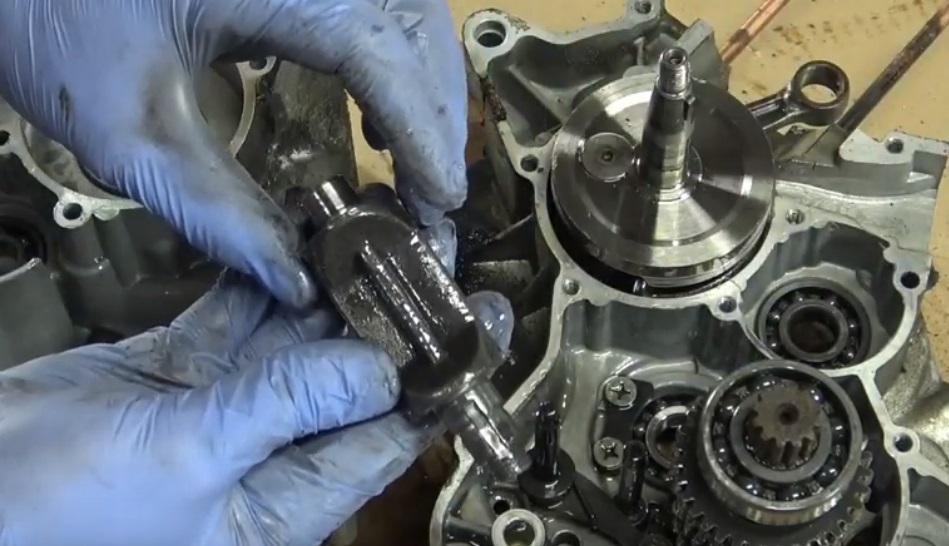
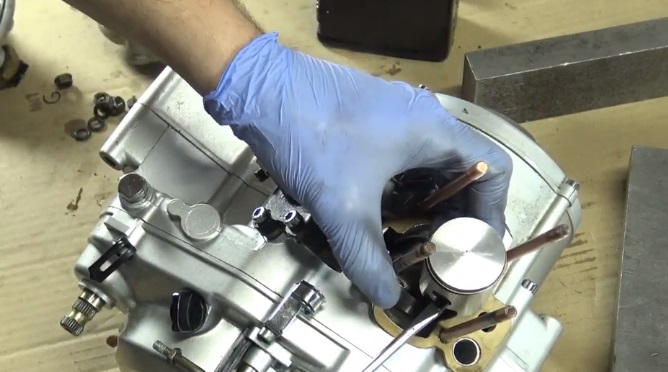
11) Then the balancing balance.
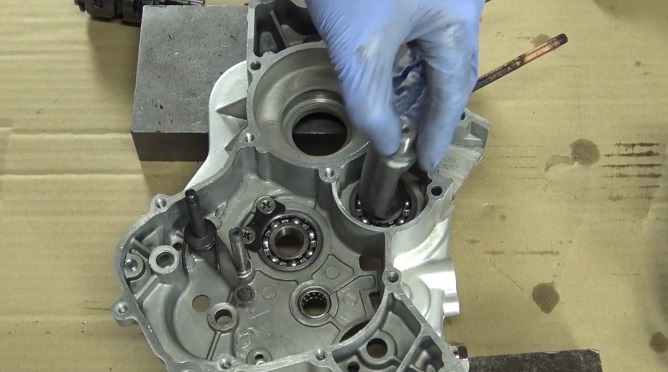
11) Remove the second tree.
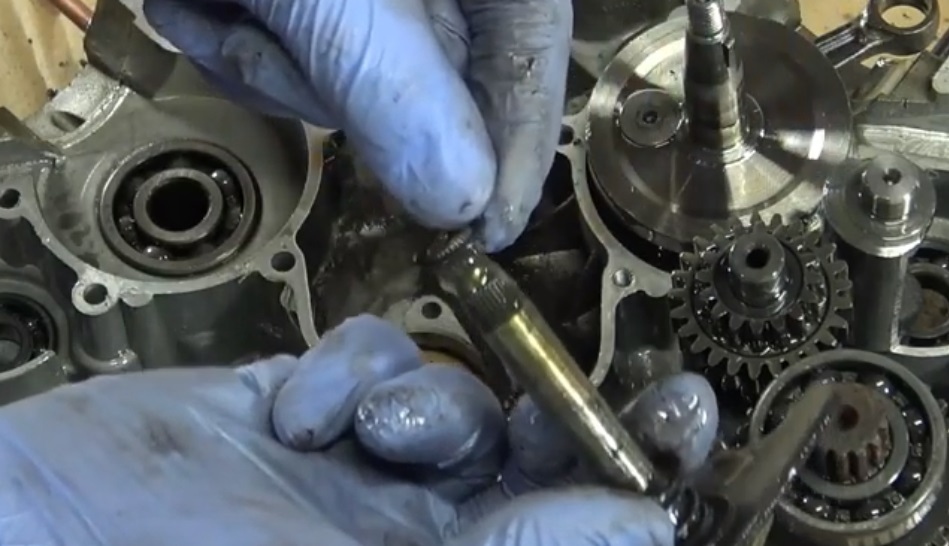
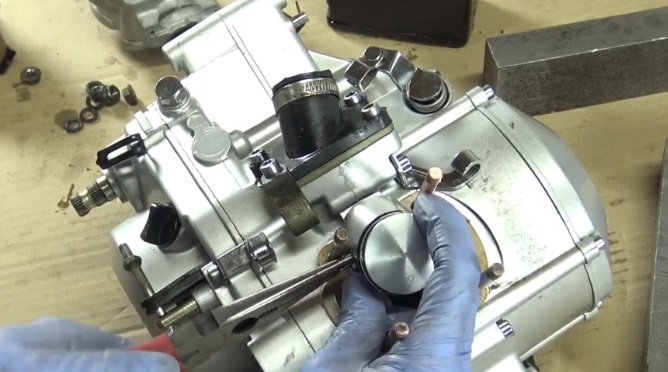
11) Put the nut on the crankshaft. Tap the nut with the mallet to clear the crankshaft.

11) Remove the nut.
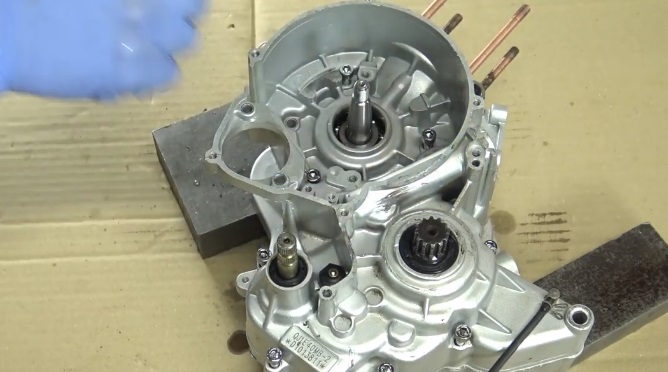
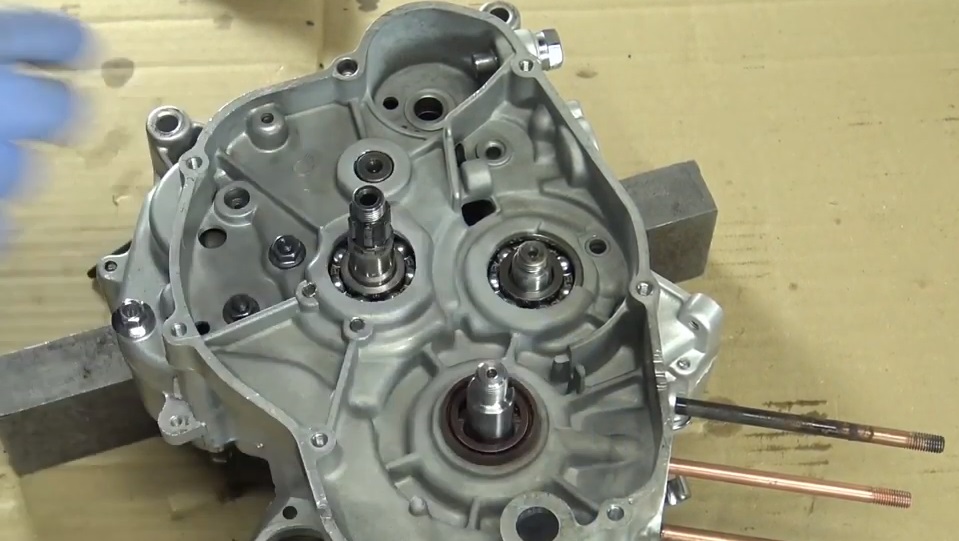
11) Remove the crankshaft.
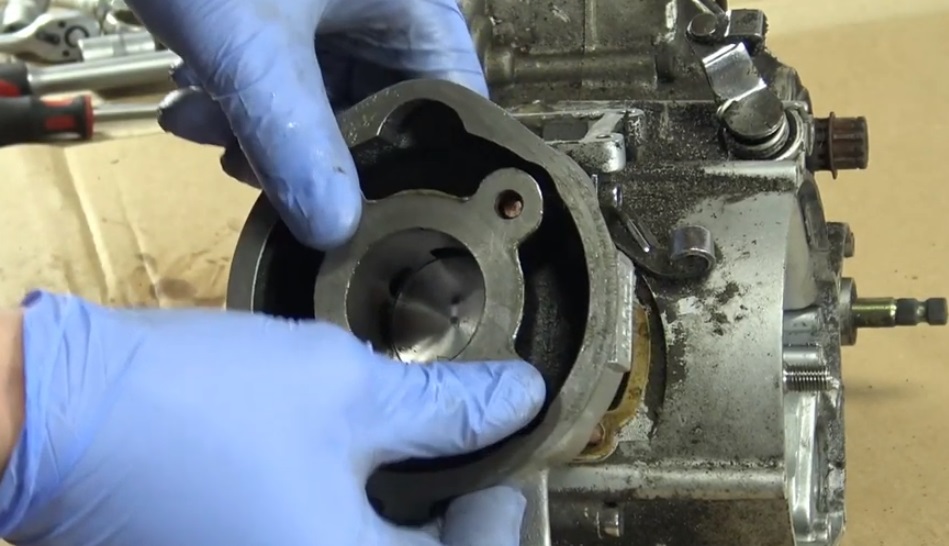
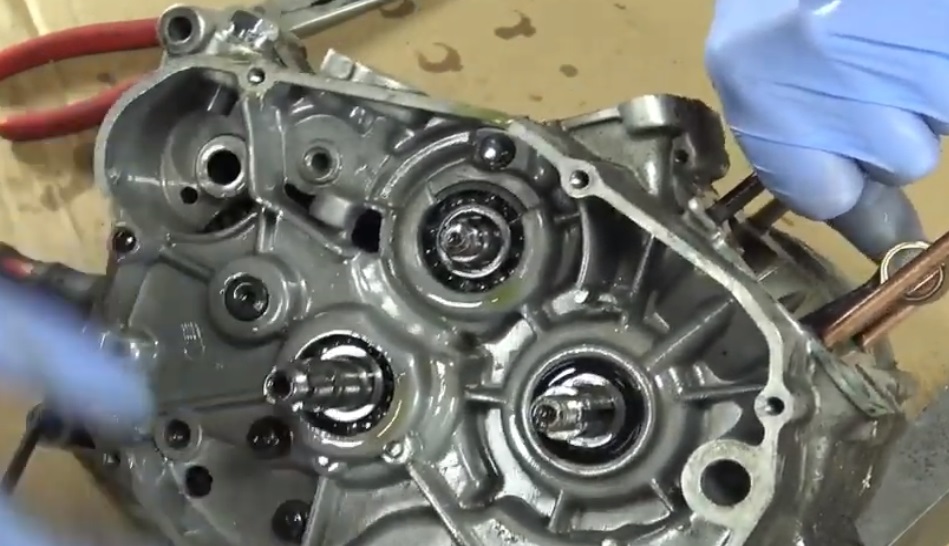
11) Get the bearing.
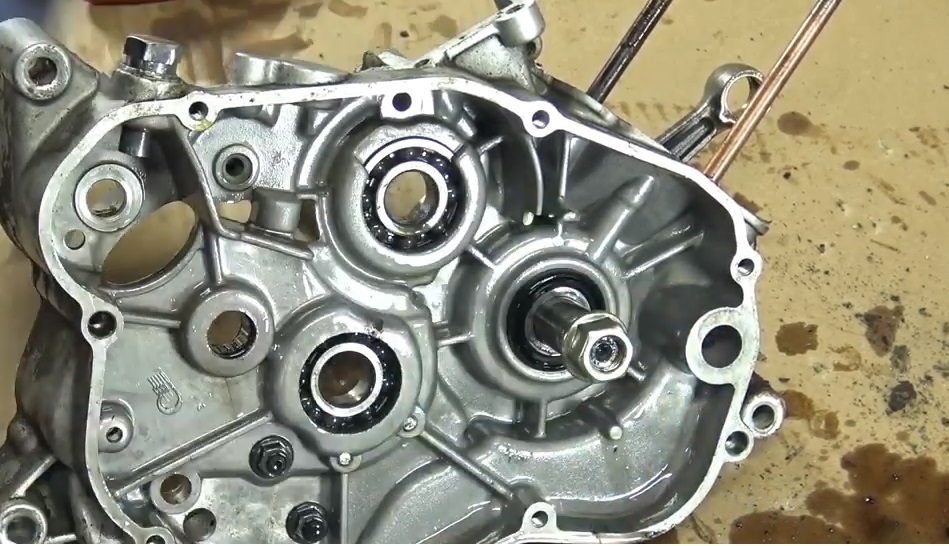
11) Finally, remove the oil seals and crankshaft bearings (on the left and right crankcases).
2 part: Reassembly of a new crankshaft on engine GENERIC
HOW TO REASSEMBLE YOUR CRANKSHAFT GENERIC
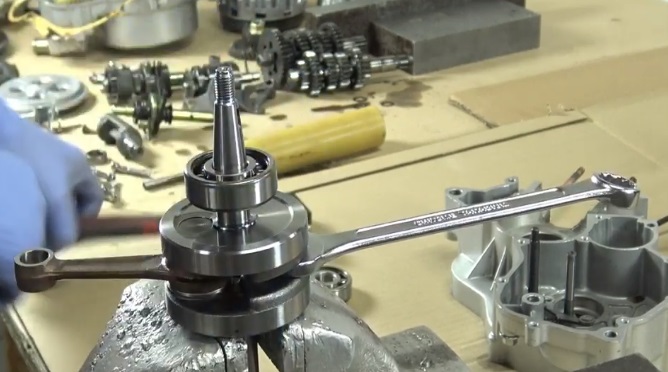
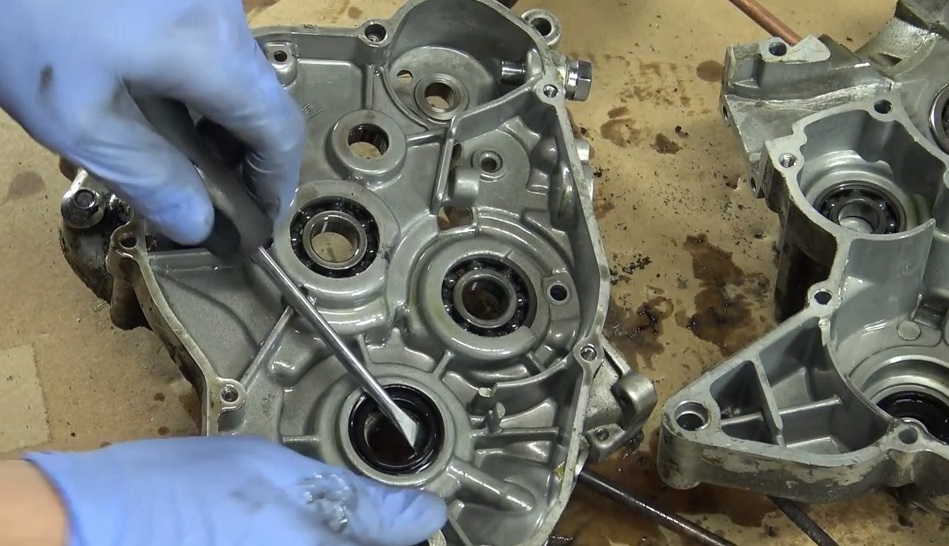
1) Put the new crankshaft bearings. Drive them in well with a hammer.
Tip: Put a wrench in the crankshaft when you tap on it to prevent the masses from getting closer.
2) Replace the engine balancing arm.
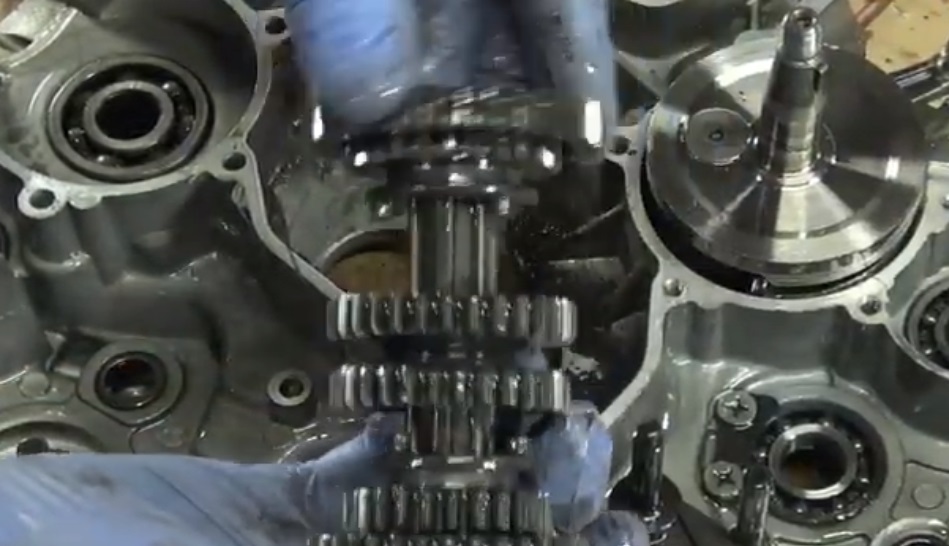
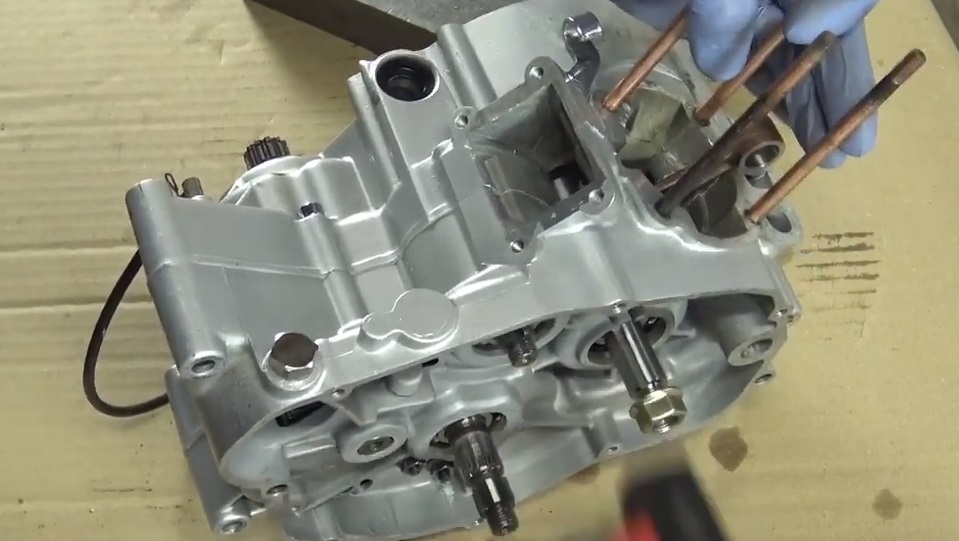
3) Put the gearbox shafts back.
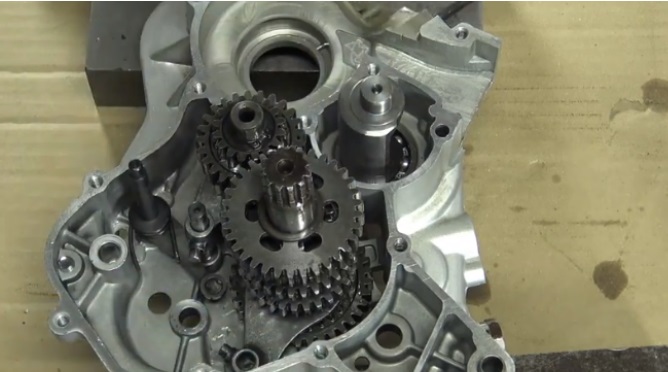
4) Replace the first gearbox fork.
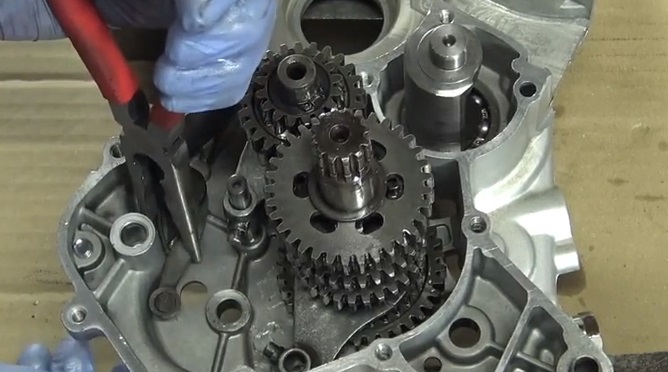
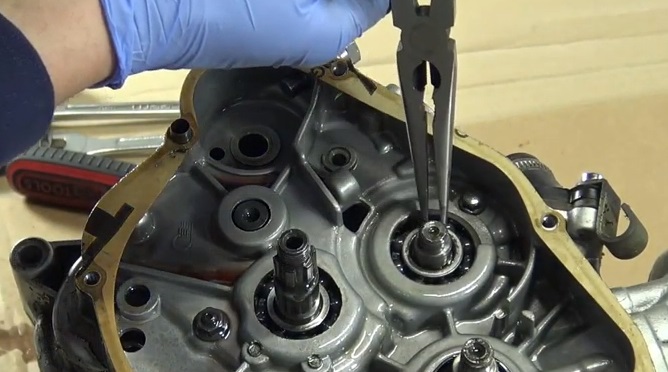
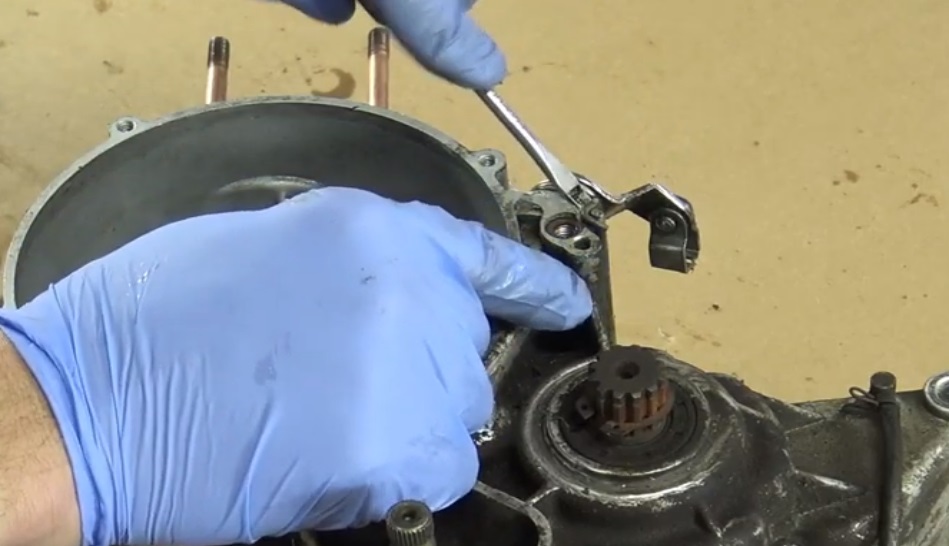
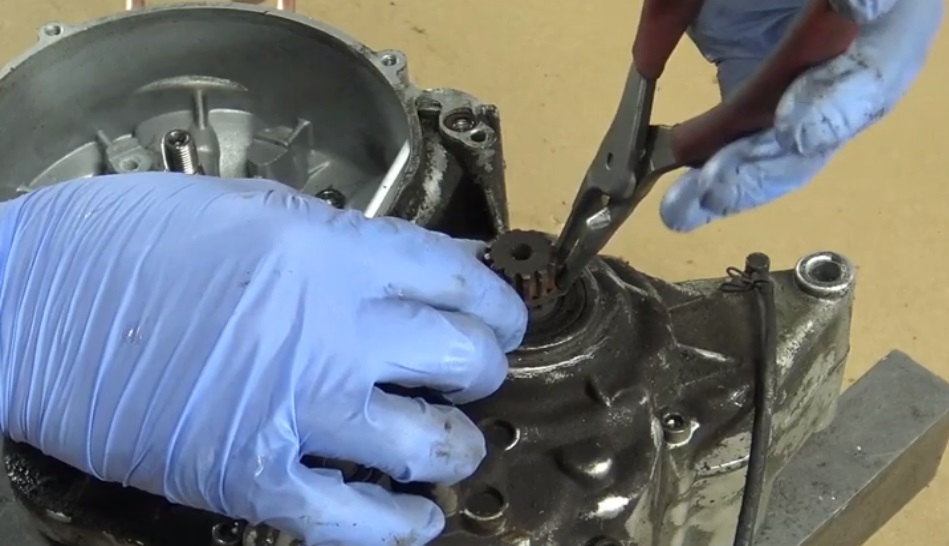
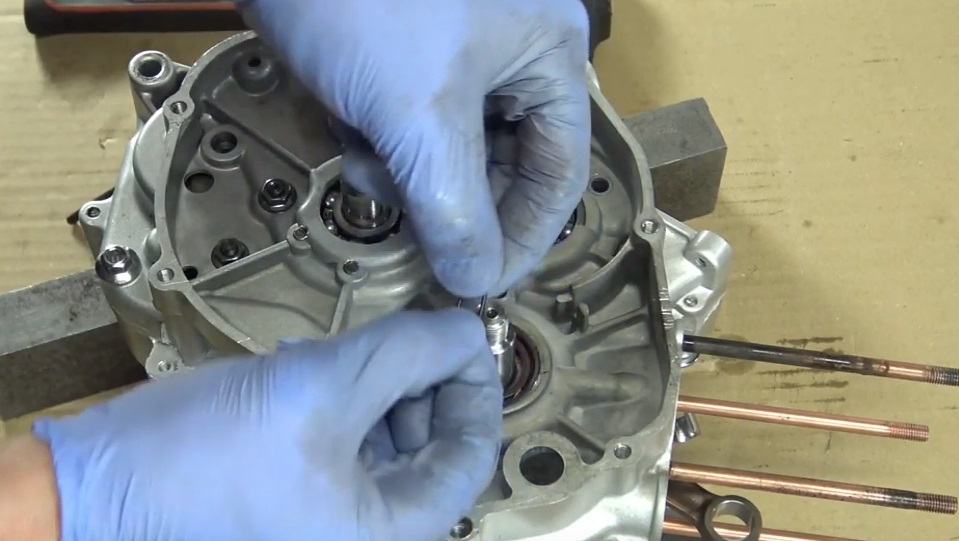
5) Using the needle nose pliers, position the locking finger
6) Replace the gearbox cylinder.
7) Replace the axle. Tip: Grab the first fork with pliers then hold it to put the pin.
8) Put the second fork back.
9) Replace the transmission axle.
11) Reposition the washer on the barrel.
11) Do not forget to put the washers back on the selector shaft (1 washer at each end).
11) Replace the gear selector shaft.
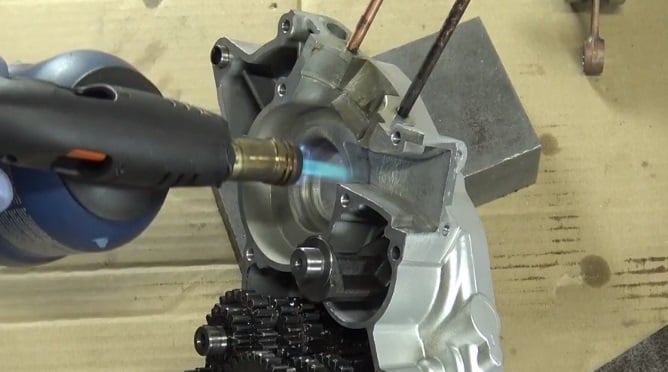
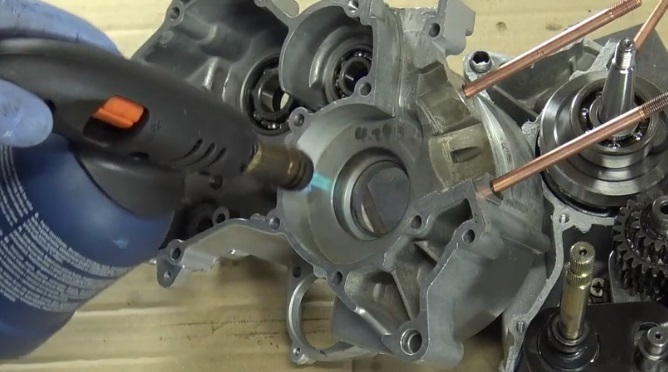
11) Heat the housing with a blowtorch or a stripper.
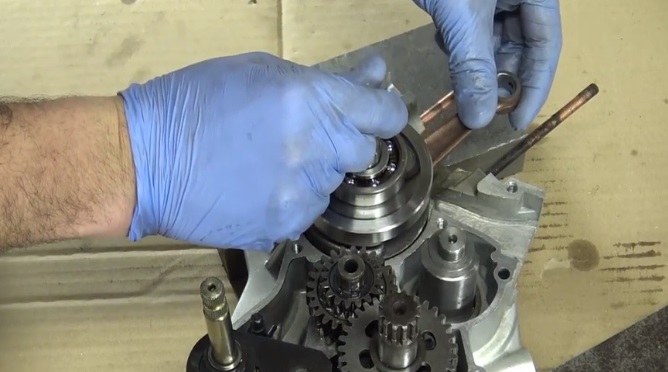
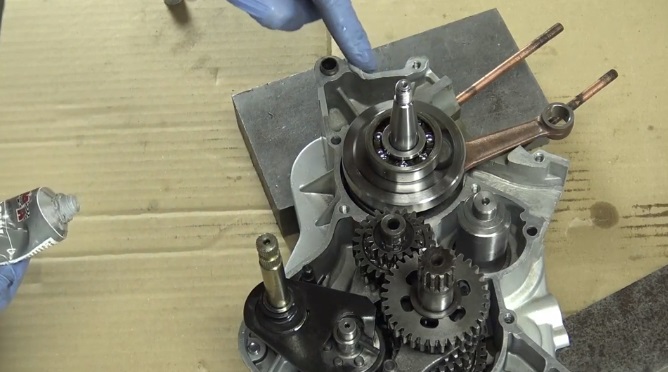
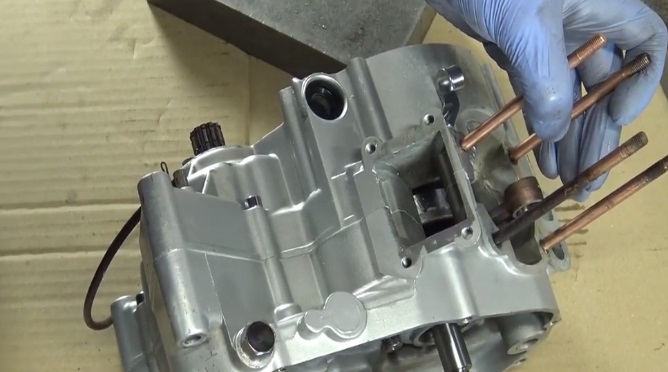
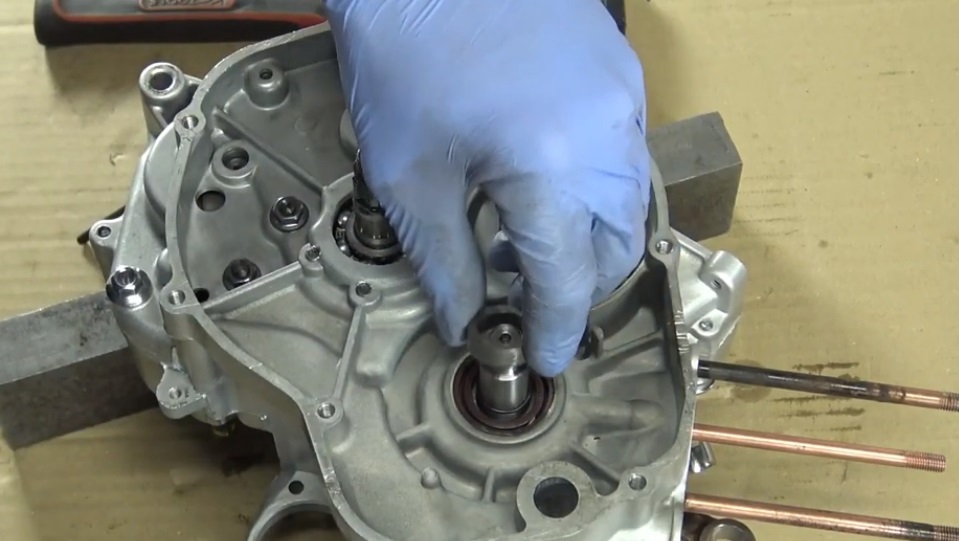
11) When the crankcase is hot, place the new crankshaft.
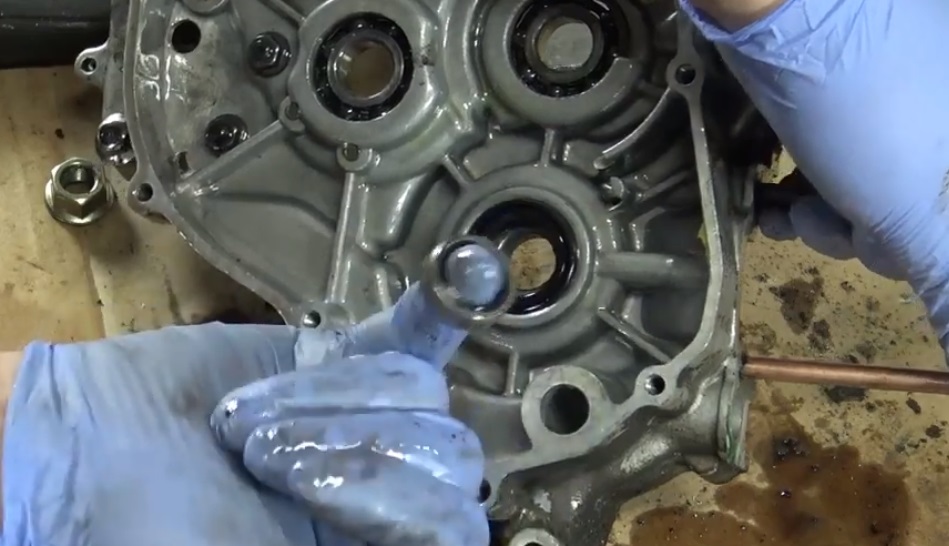
11) Apply joint compound all around the housing.
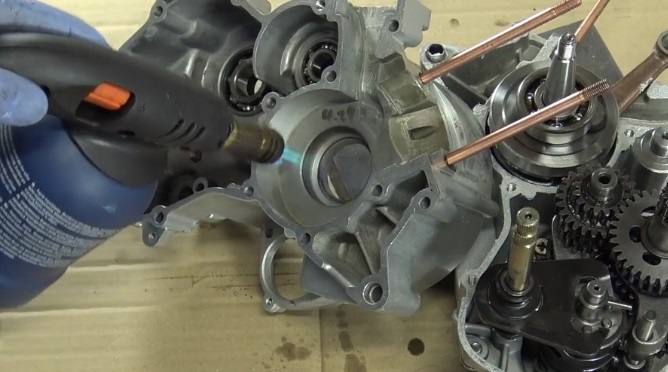
11) Heat with the torch the other part of the casing.
11) Close the cover by tapping on it using the mallet.
11) Replace the housing screws (12 screws). Tighten vigorously.
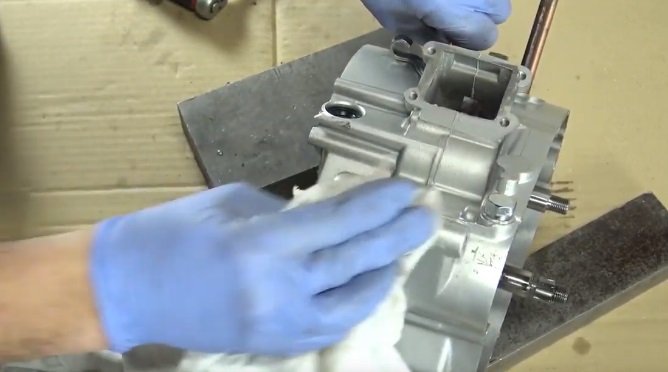
11) Wipe off excess sealant properly.
11) Replace the nut on the crankshaft.
11) Using the mallet, tap the crankshaft nut to center it.
11) Rotate the crankshaft to make sure it goes back properly. Remove the nut.
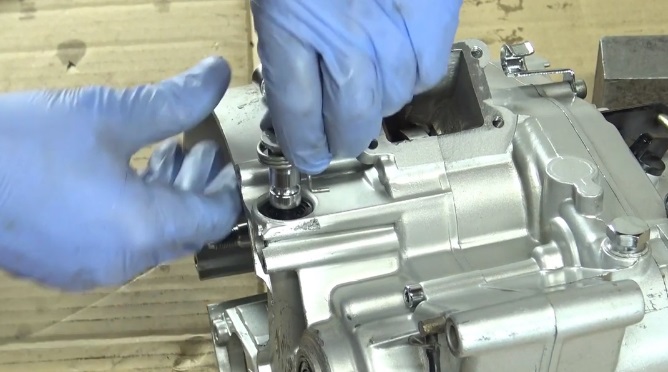
11) Install the crankshaft oil seal. Push in well with a thick pin and mallet.
11) Put on the crankshaft ring seal.
11) Replace the crankshaft ring.
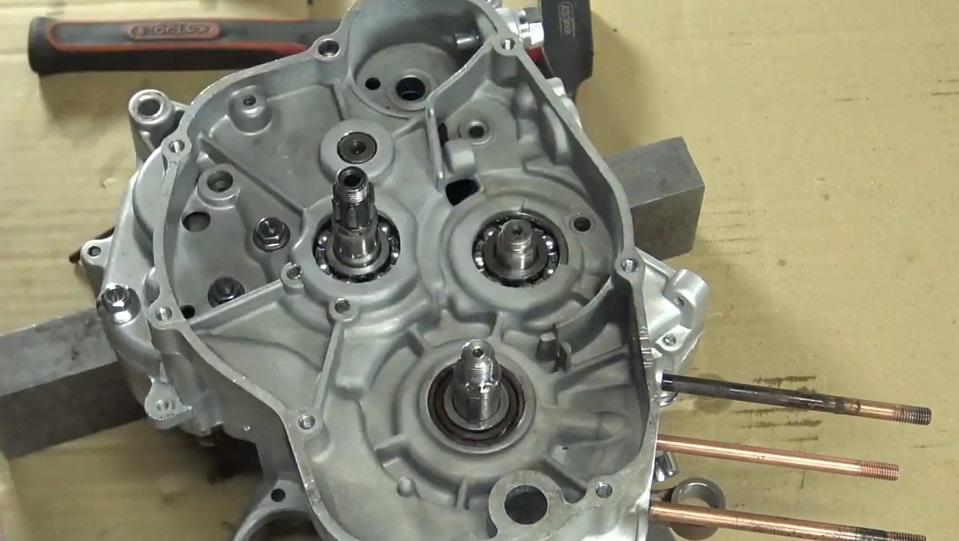
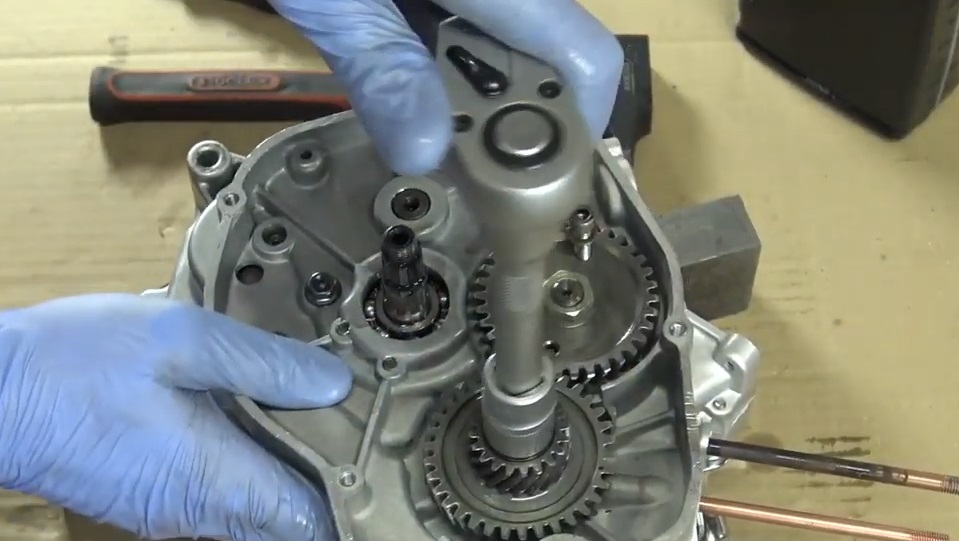
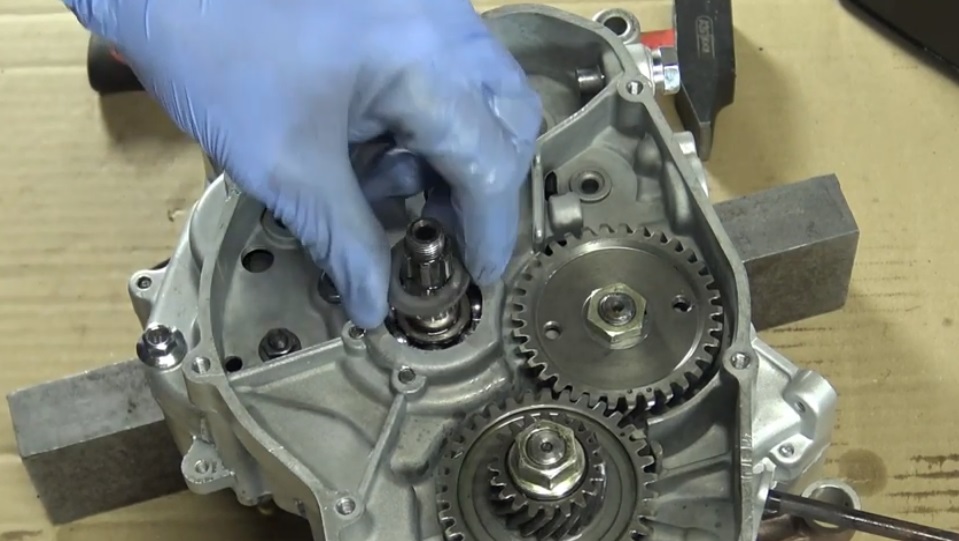
11) Replace the key.
11) Replace the 2 crankshaft gears, the washer and the nut.
11) Replace the balancing shaft key.
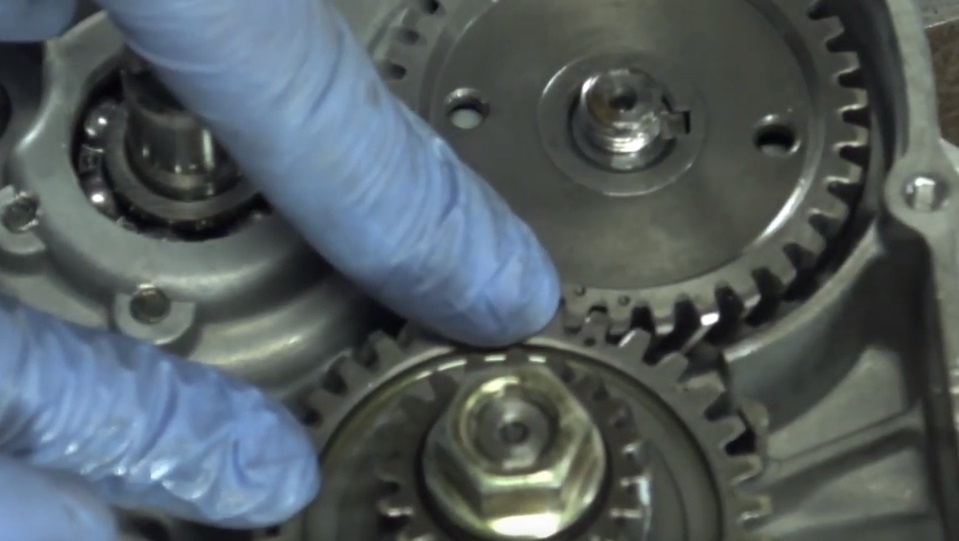
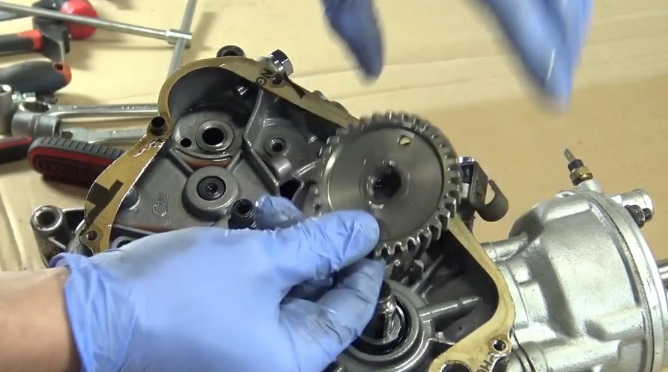
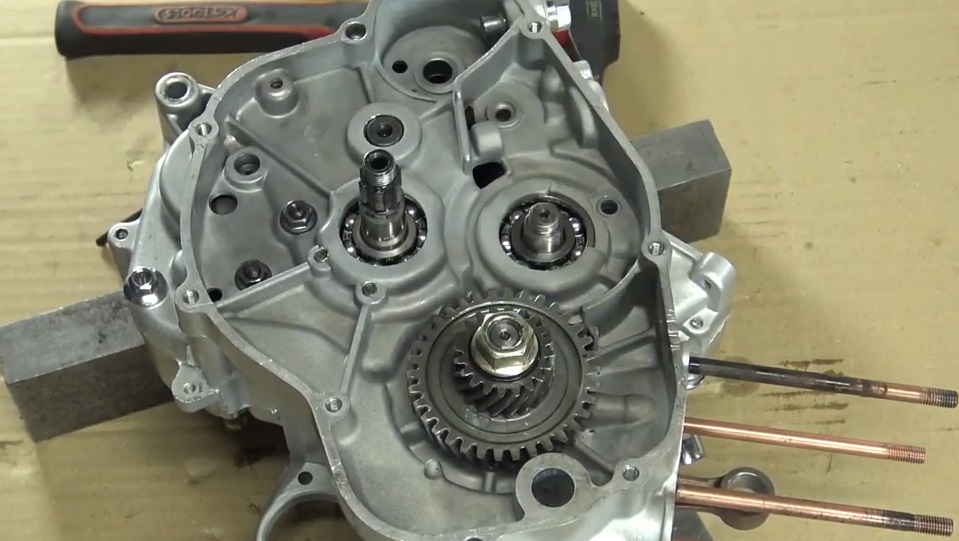
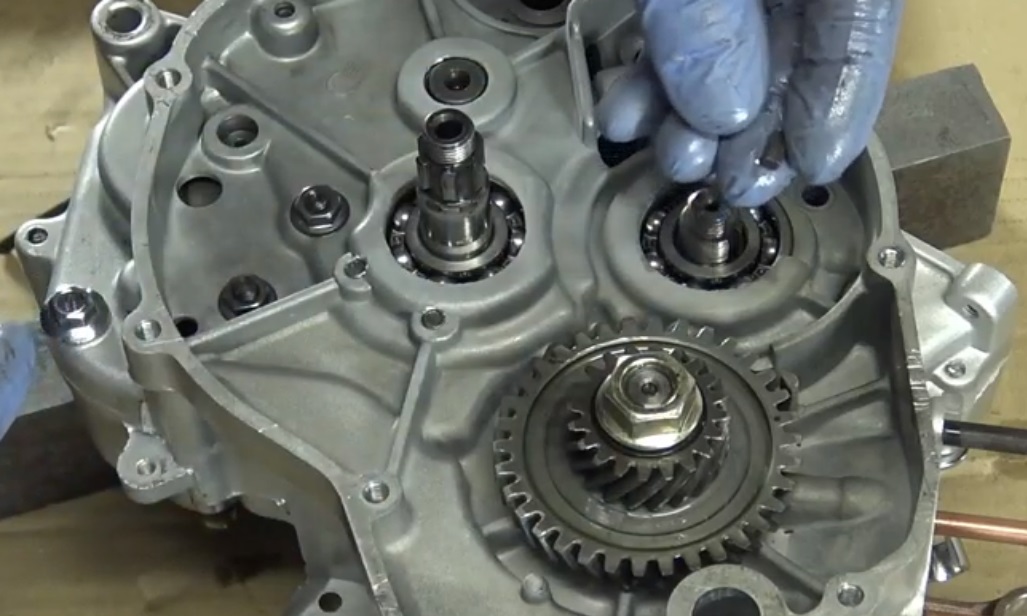
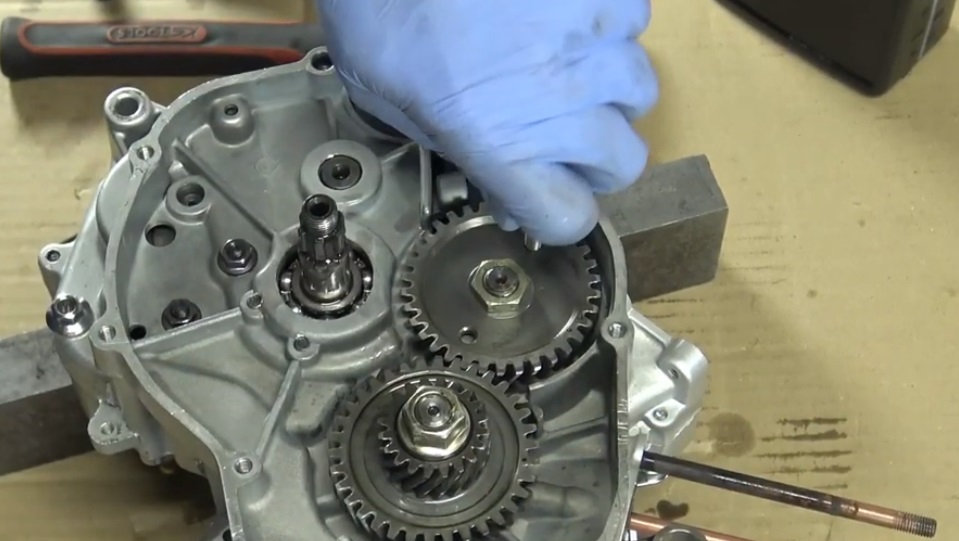
11) Place the pinion paying attention to the timing of the pinions.
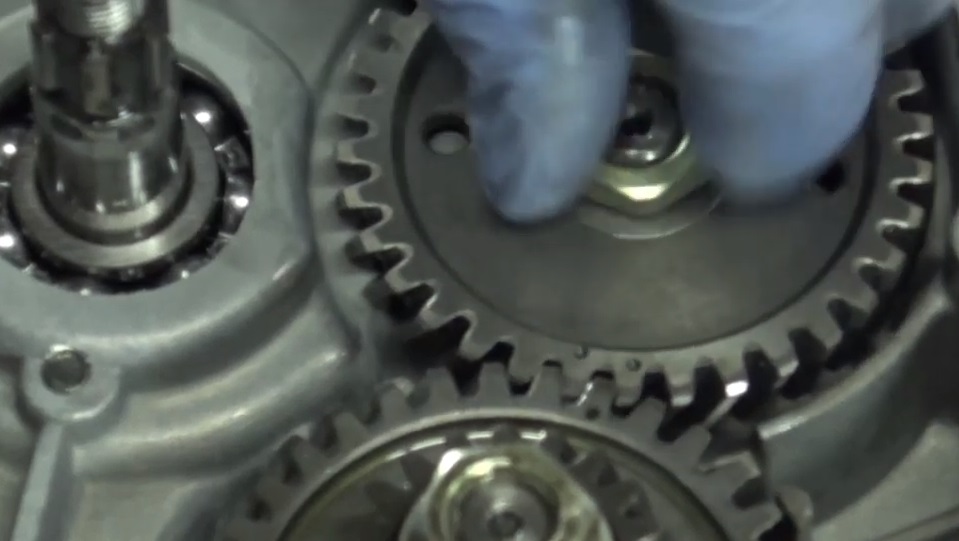
11) Replace the nut on the balance shaft pinion.

11) Lock the balancing shaft gear.
11) Tighten the pinions using the ratchet.
11) Unlock the pinion.
11) Replace the clutch housing washer.
11) Pour a little can oil.
11) Reassemble the clutch housing.
11) Replace the washer and then the clutch nut.
11) Replace the clutch housing nut retainer.
11) Position the nut.
11) Tighten the nut using the clutch key.
11) Bend the clutch retainer nut retainer washer.
11) Replace the clutch rod and ball.
11) Replace the clutch pin.
11) Install the clutch discs, putting gear oil between each disc.
Alternate filled disc and smooth disc.
11) Replace the pressure plate - pay attention to the mounting mark
11) Position the 4 springs and the 4 screws. Tighten vigorously.

11) Install a new crankcase gasket.
11) Replace the clutch cover.
11) Tapouse the mallet to close the casing securely
11) Replace the 8 clutch housing screws. Tighten properly
11) Replace the clutch rod and tighten. Remember to reposition the spring in the notch.
11) Tighten the clutch link screw.
11) Fit the crankshaft oil seal. Press it down properly.
11) Position the key on the crankshaft. Press it down with pliers
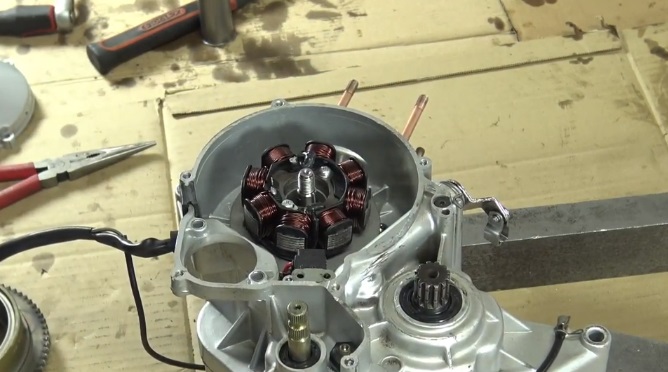
11) Position the stator.
11) Tighten the 2 screws of the stator support.
11) Then the 2 plug connection screws.
11) Finish par the ignition cable.
11) Replace the rotor and tighten the nut.
11) Replace the starter and fix - 2 screws.
11) Place the starter mounting bracket.
11) Tighten again using the BTR key.
11) Tighten the clamp on the mounting bracket.
11) Refit the ignition cover - 5 screws.
11) Replace the valves. Pay attention to the intake joints.
11) Reattach the intake pipe (4vis).
11) Remove the kickstop
11) Position the kicker and check the tension by turning the kicker.
11) Reposition the kick stopper, tighten slightly.
11) Remove the kick and tighten the kick stopper.
11)Place the new base gasket.
11) Lubricate the new needle cage, then position it.
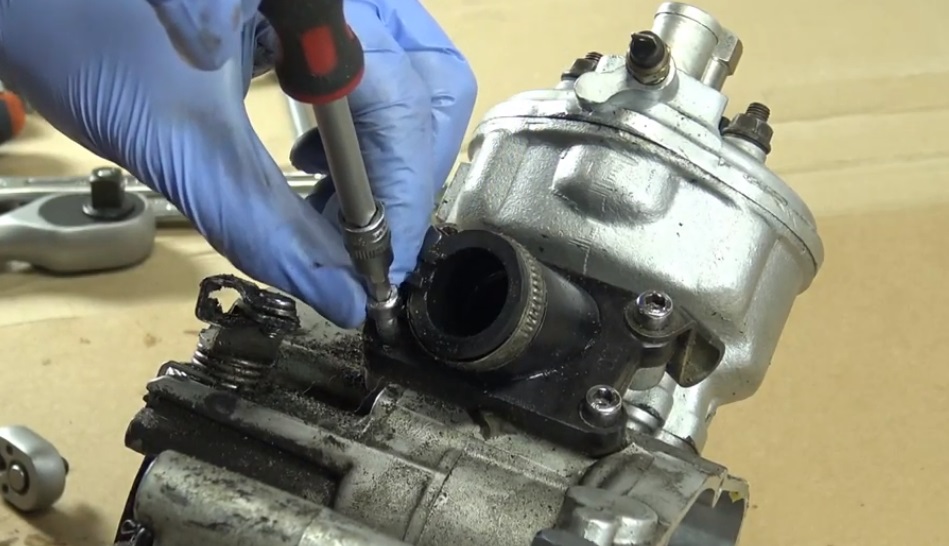
11) Put the piston and the cylinder. Push in the axle with the screwdriver
11) Replace the piston pin clip.
11) Reposition the cylinder. Remember to lubricate the base.
11) Position the cylinder head.
11) Replace the 4 washers and the 4 nuts.
11) Tighten the nuts with the torque wrench - torque tightening 18 NM.
You can now reset your engine by helping you this tutorial.
VIDEO: DISASSEMBLING CRANKSHAFT 50CC TYPE ENGINE AM6
VIDEO: REASSEMBLY CRANKSHAFT ENGINE 50CC TYPE AM6
![]() Cart
Cart

This product has been added to your cart
![]() Cart
Cart
You have already added this product to the cart or there is not enough in stock.