Parts and equipment for motorcycles, quads, scooters and bicycles


General information > Tips and Guides > Tutorials > Quad ATV > Cycle parts > Replacement of the chain kit
 QUAD CHAIN KIT REPLACEMENT TUTORIAL
Ce tutorial aims at you help replace chain kit of your quad thanks to the pics and explanations associated. In this example we used a KYMCO quad Maxxer 300, but the procedure remains the same for the other quads.
The chain kit is an essential element for the performance of your vehicle.
Its lifespan may vary depending on its maintenance (tensioning and lubrication of the chain), the type of driving, the quality of the chain and the sprocket, the cubic capacity of the quad and the number of runs. Generally, a maintained chain kit will easily be able to do between 30h and 50h or between 1500 and 2500 km depending on the external aggressions (sand, earth, mud, etc.) present during driving.
Several indicators should alert you when wear is felt:
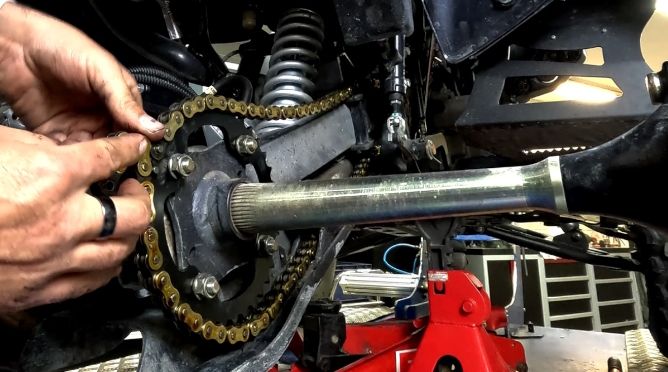
- When you pull the crown chain, the latter is very flexible and play is felt between the crown teeth and the chain.
- The links of the chain are relaxed.
- The crown and/or pinion teeth are worn.
Finally, before any change of a chain kit, you must first make sure that other important parts are not worn: swinging arm pads, chain guide and rollers. It is important that these parts are in good condition when assembling your chain kit.
Difficulty :

Temps necessary:
40 minutes
HOW TO REPLACE YOUR QUAD'S CHAIN KIT
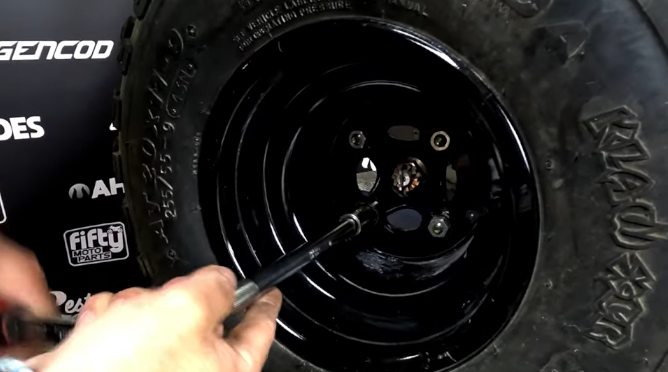
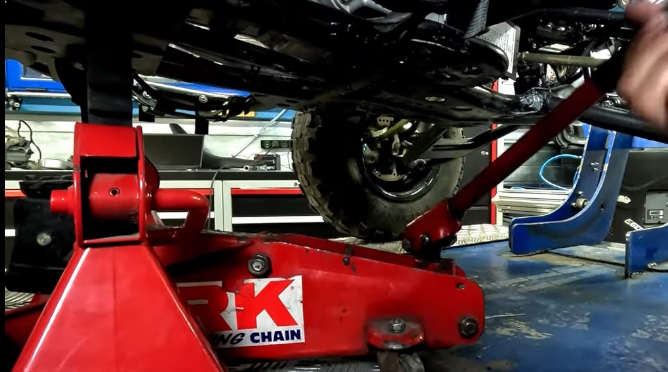
1) Start par loosen the right rear wheel of your quad
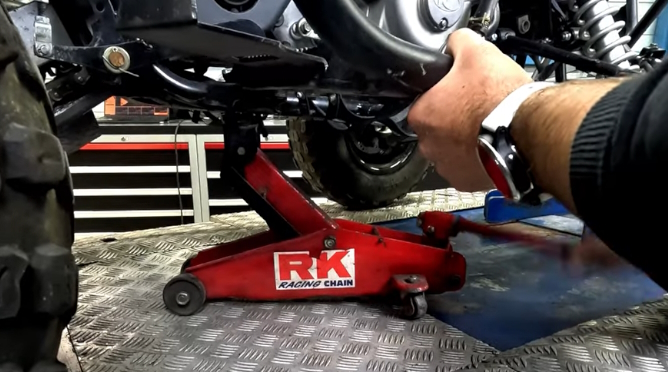
2) Raise your quad using the jack
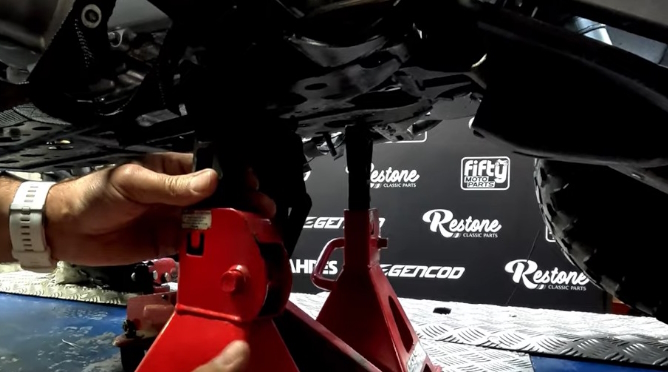
3) Place the two jack stands to secure the lift
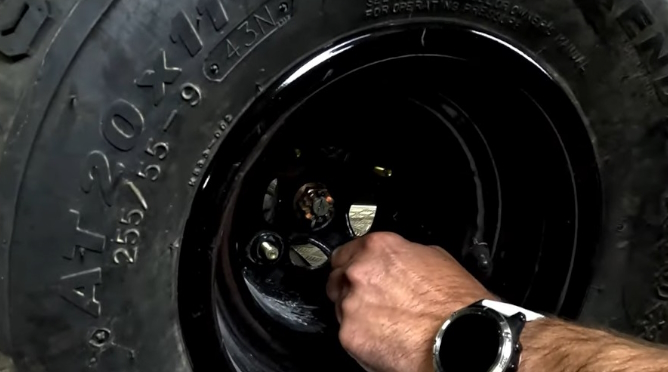
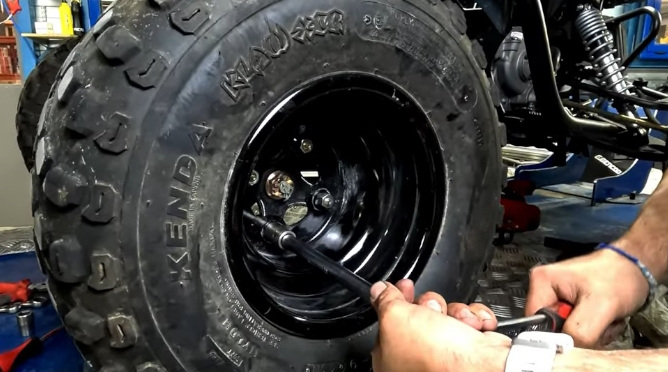
4) Complete wheel disassembly
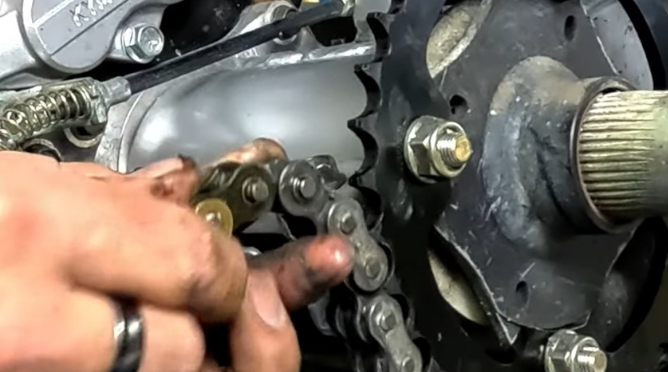
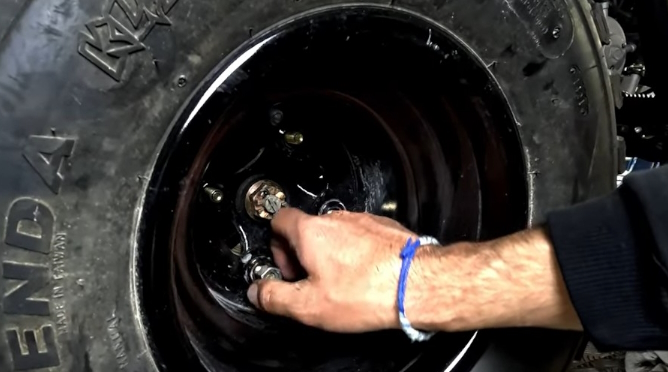
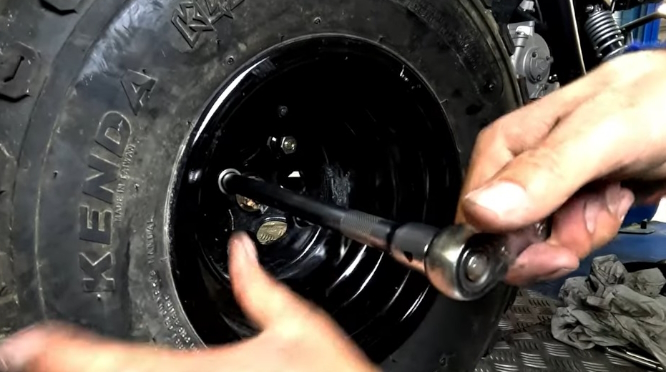
5) Loosen the crown nuts
6) Remove the screws to release the crown
7) Position the new crown
8) Insert the screws and install the nuts
9) Tighten the nuts
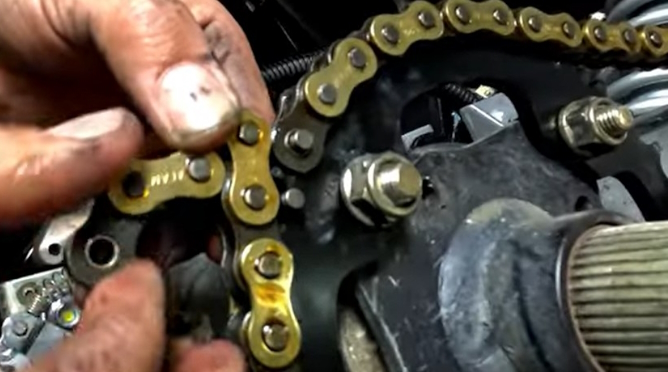
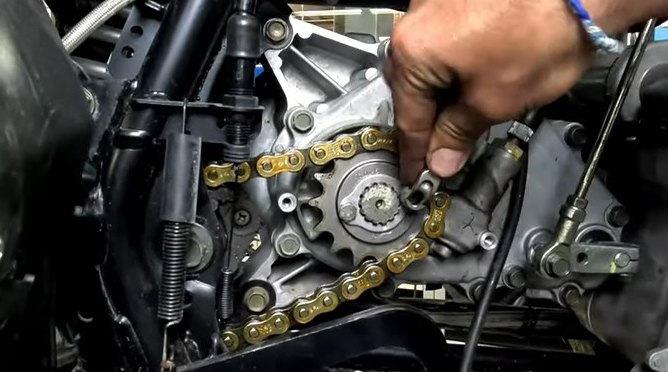
11) Remove the quick release from your chain
11) Remove the connecting link
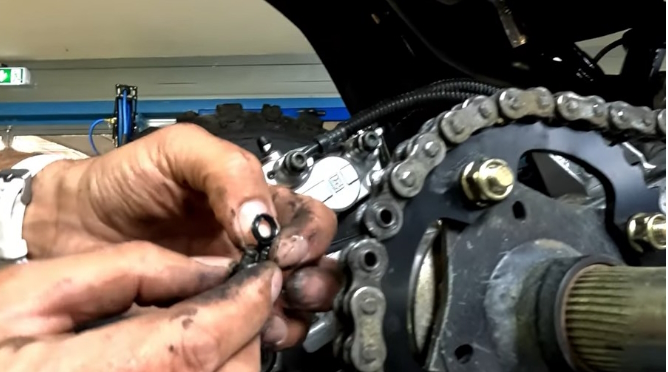
11) Remove the false link
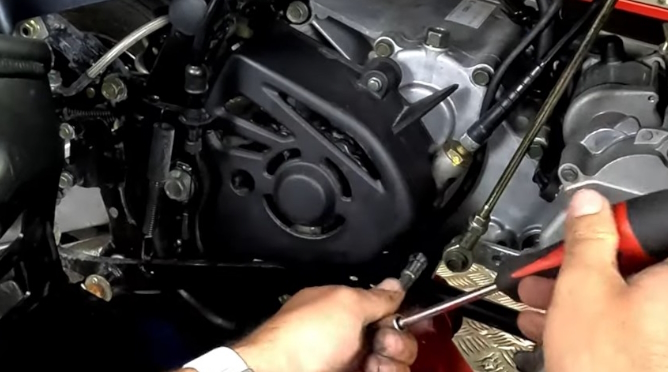
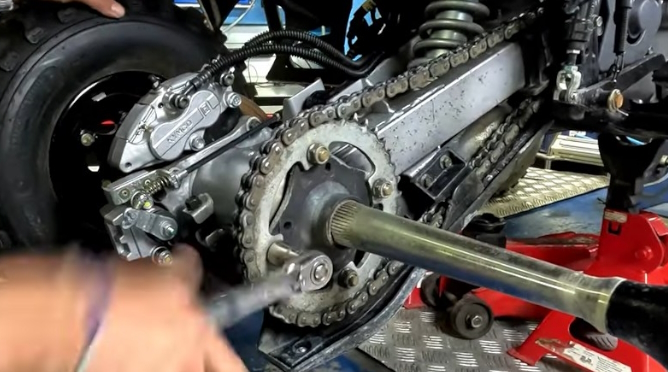
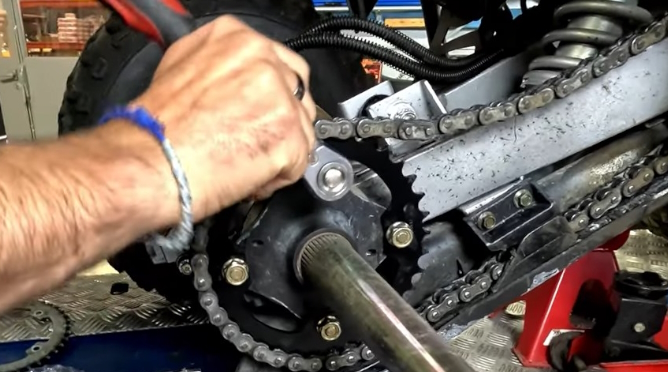
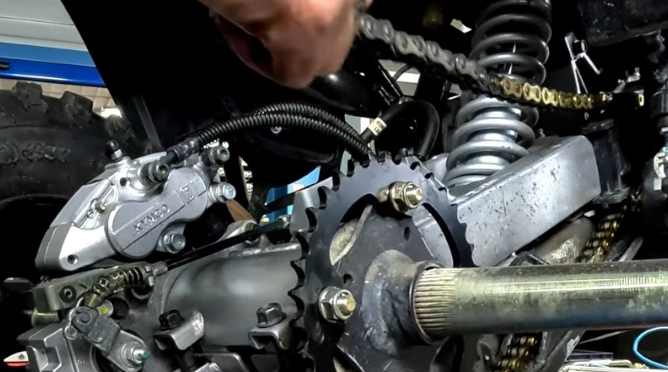
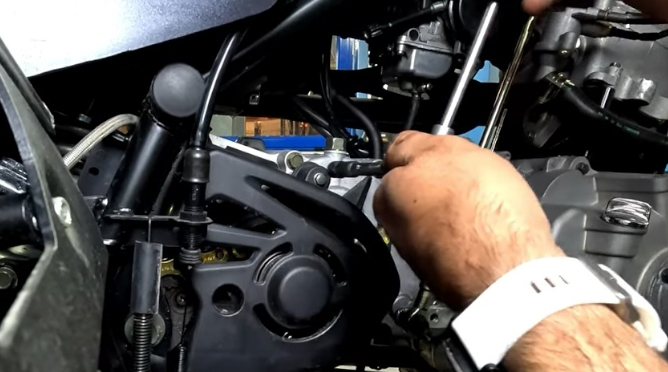
11) Remove the 3 screws from the sprocket cover (out of the box)
11) Remove the screws from the pinion plate
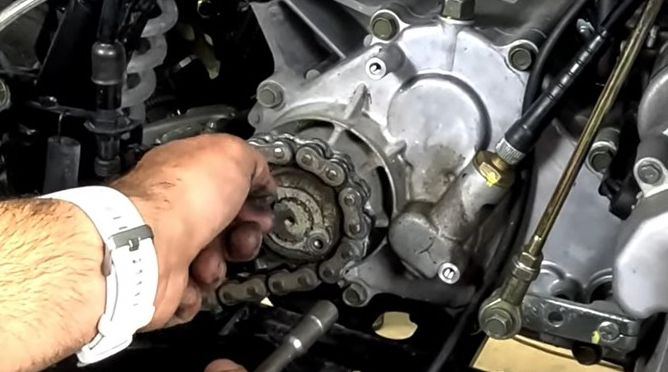
11) Pull out the pinion plate
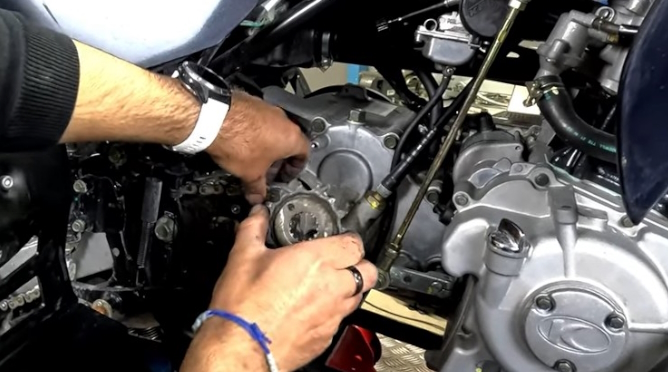
11) Remove the gearbox output sprocket
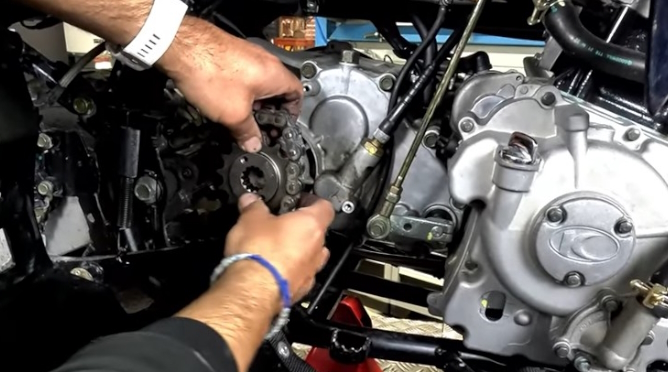
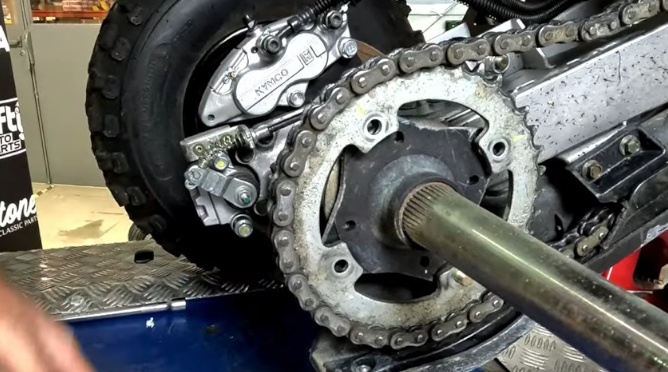
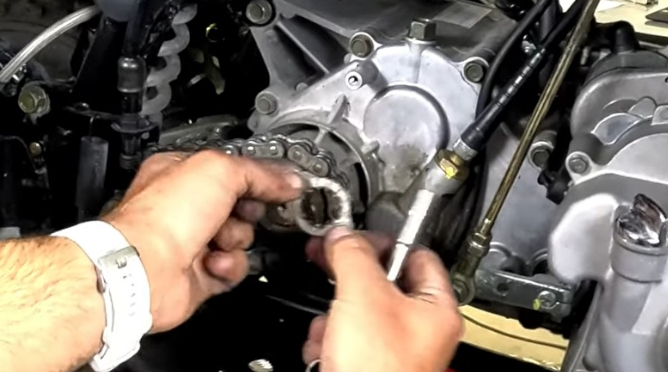
11) Install the new sprocket
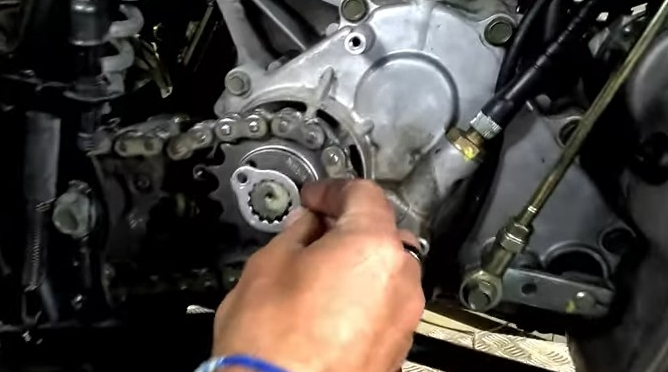
11) Refit the pinion plate
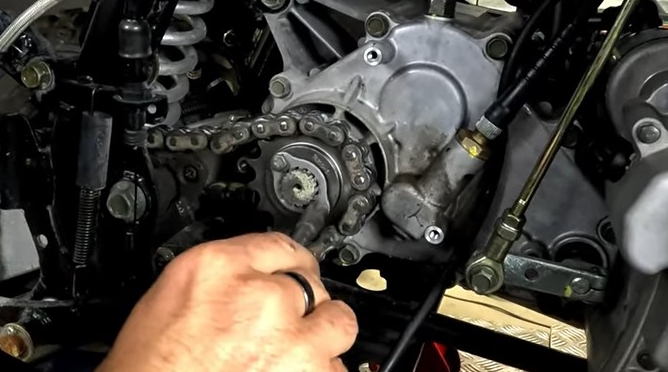
11) Retighten the 2 screws of the pinion plate
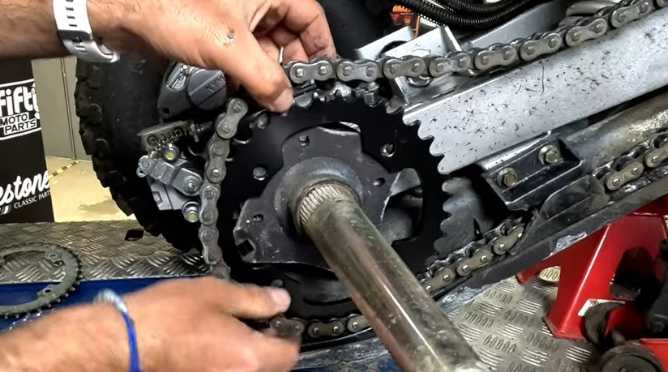
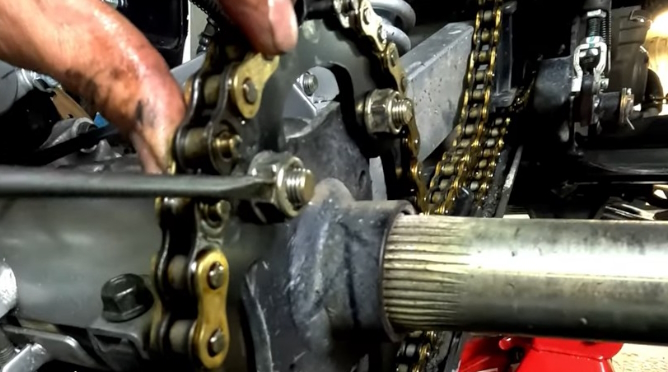
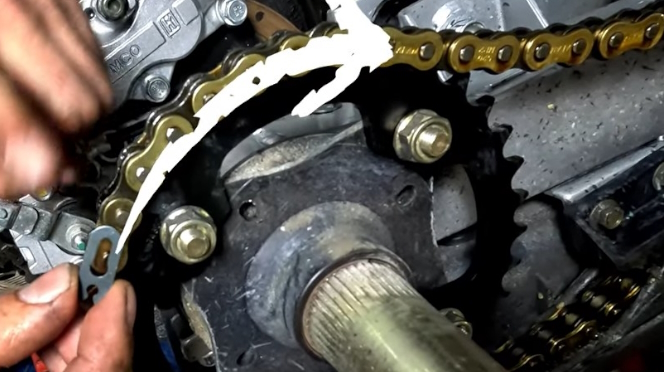
11) Insert the end of the new chain over the old one at the open link
11) Pull the old chain so that the new one passes
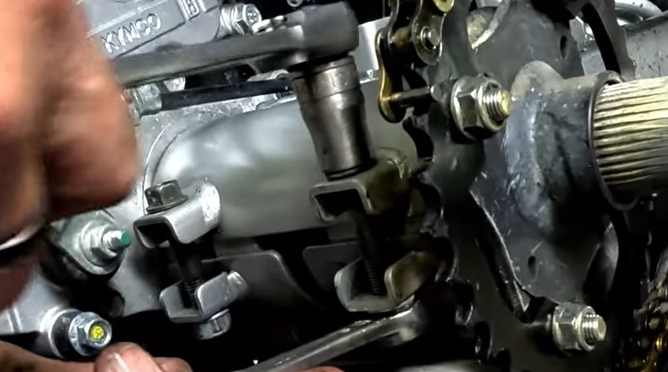
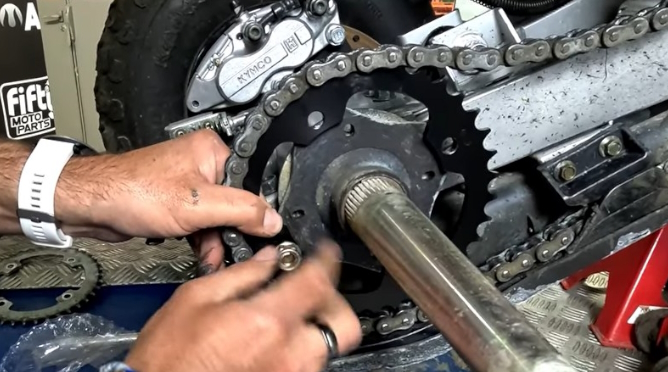
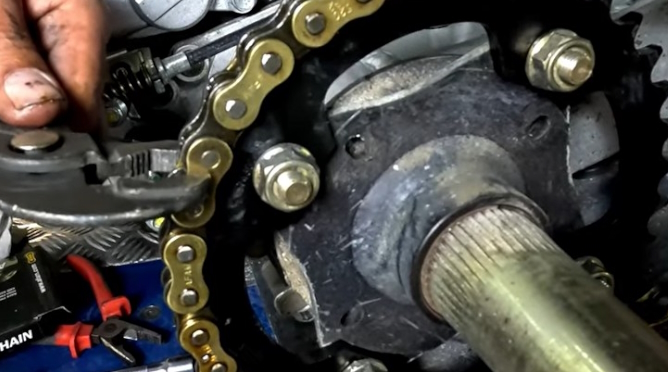
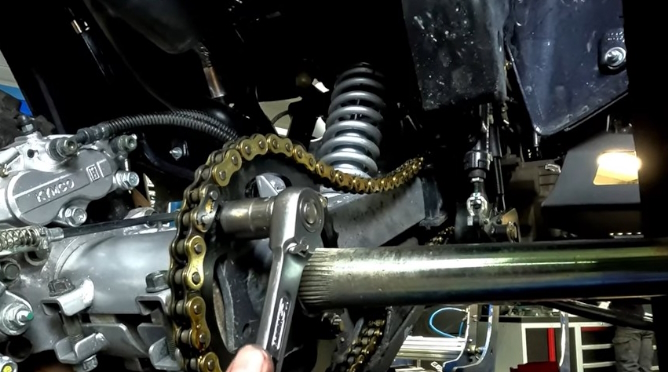
11) Reset the chain tension, i.e. loosen the screws holding the eccentric pin
11) Using a screwdriver, lock the crown

11) Move the quad wheels forward to disengage the eccentric
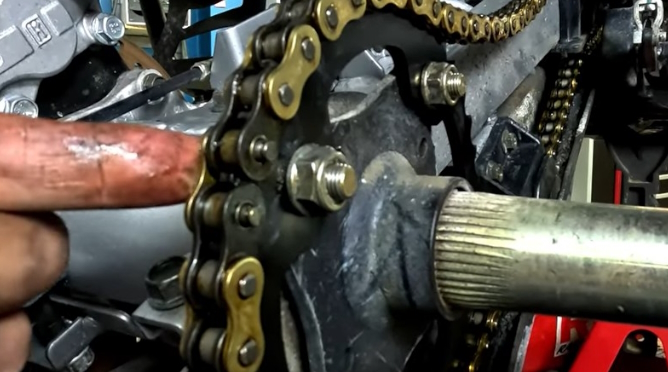
11) With tension disengaged, position the chain on the crown to check the correct size (of the chain)
11) The chain is too long, you have to remove some links
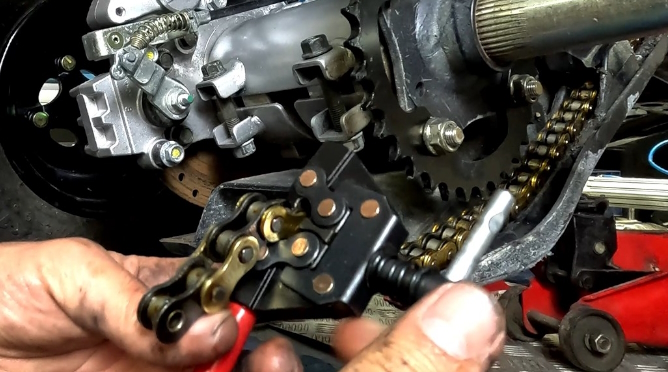
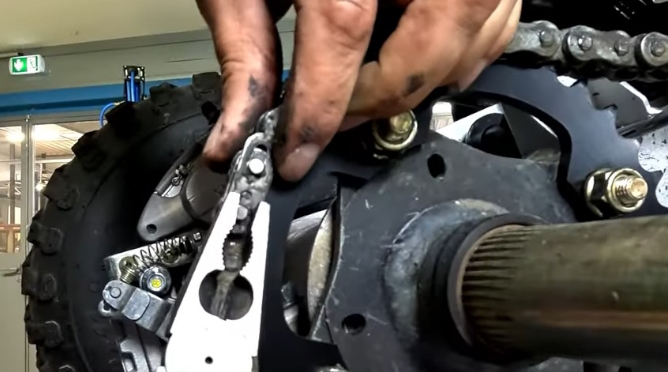
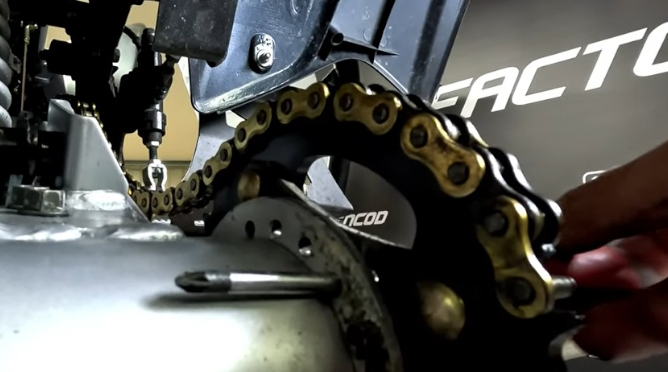
11) The use of the chain tool will make it possible to blow up the link plate and remove the excess link(s)
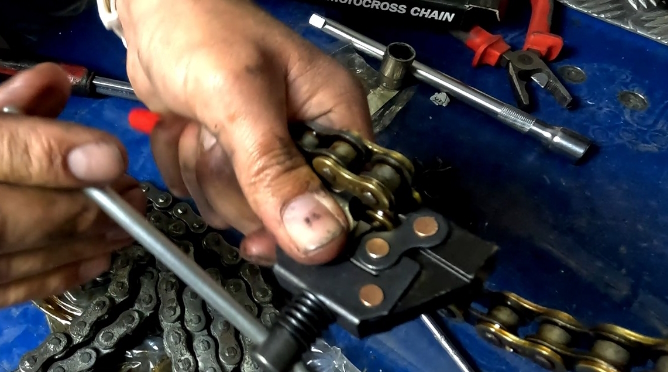
11) Tighten the chain tool to separate the link plate. Perform this action on the two crimps of the link plate
11) To facilitate the extraction, position the chain on the crown
11) With the flat screwdriver, pop off the link plate then remove the link
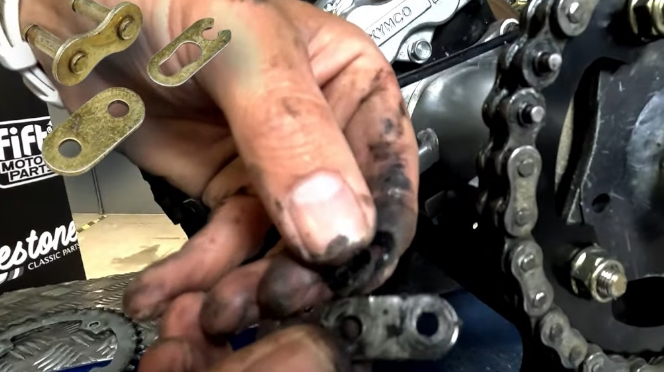
11) Install the dummy link on the chain
11) Place the link plate using the pliers
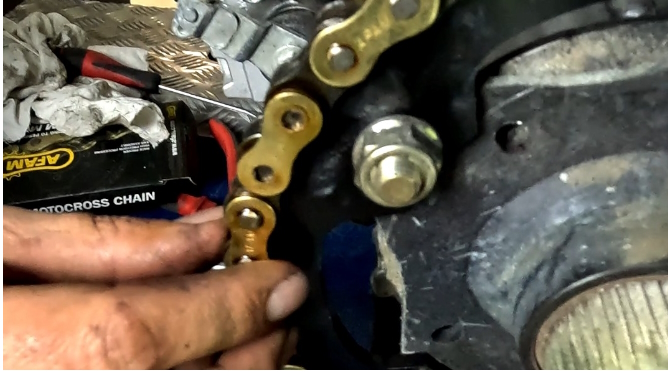
11) Position the quick coupler making sure that the closed part is oriented in the direction of travel
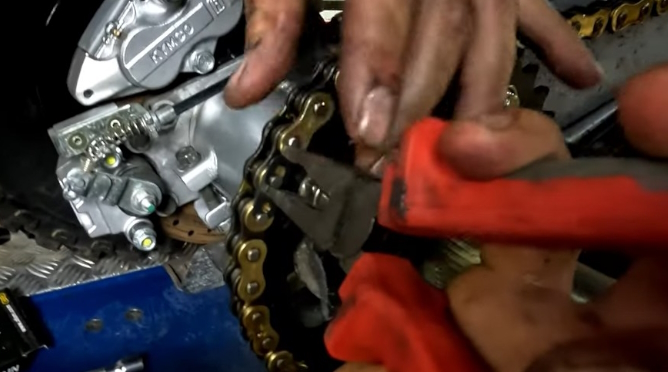
11) Use the pliers to insert the quick coupler into its housing
11) Replace the wheel
11) Put the nuts back on the wheel
11) Using the jack, raise the quad to remove the stands
11) Lower the quad and retighten the wheel
11) Tighten the pinion plate
11) Replace the sprocket cover
11) Tighten the crown

42) All you have to do is tighten and grease the quad chain as explained in the tutorial "Tighten and grease the chain"
Valve clearance is part of routine motorcycle maintenance. You can do it preventive or for simple verification. The consequences can be serious; indeed, if the clearance is too low, there is a loss of compression. If the clearance is too great, the valve wears out prematurely.
Replacing a pellet (whether intake or exhaust) can be more tricky.
all parts are suitable for the engines of your 125 motorcycle. You will find at 50factory.com new or used parts for all brands as well astools suitable and all products for the maintenance of your two wheels
VIDEO: REPLACING A CHAIN KIT (QUAD)


HERE 100% OF THE PARTS INDICATED IN STOCK REALLY ARE!


 Cart
Cart
This product has been added to your cart
 Cart
Cart
You have already added this product to the cart or there is not enough in stock.